
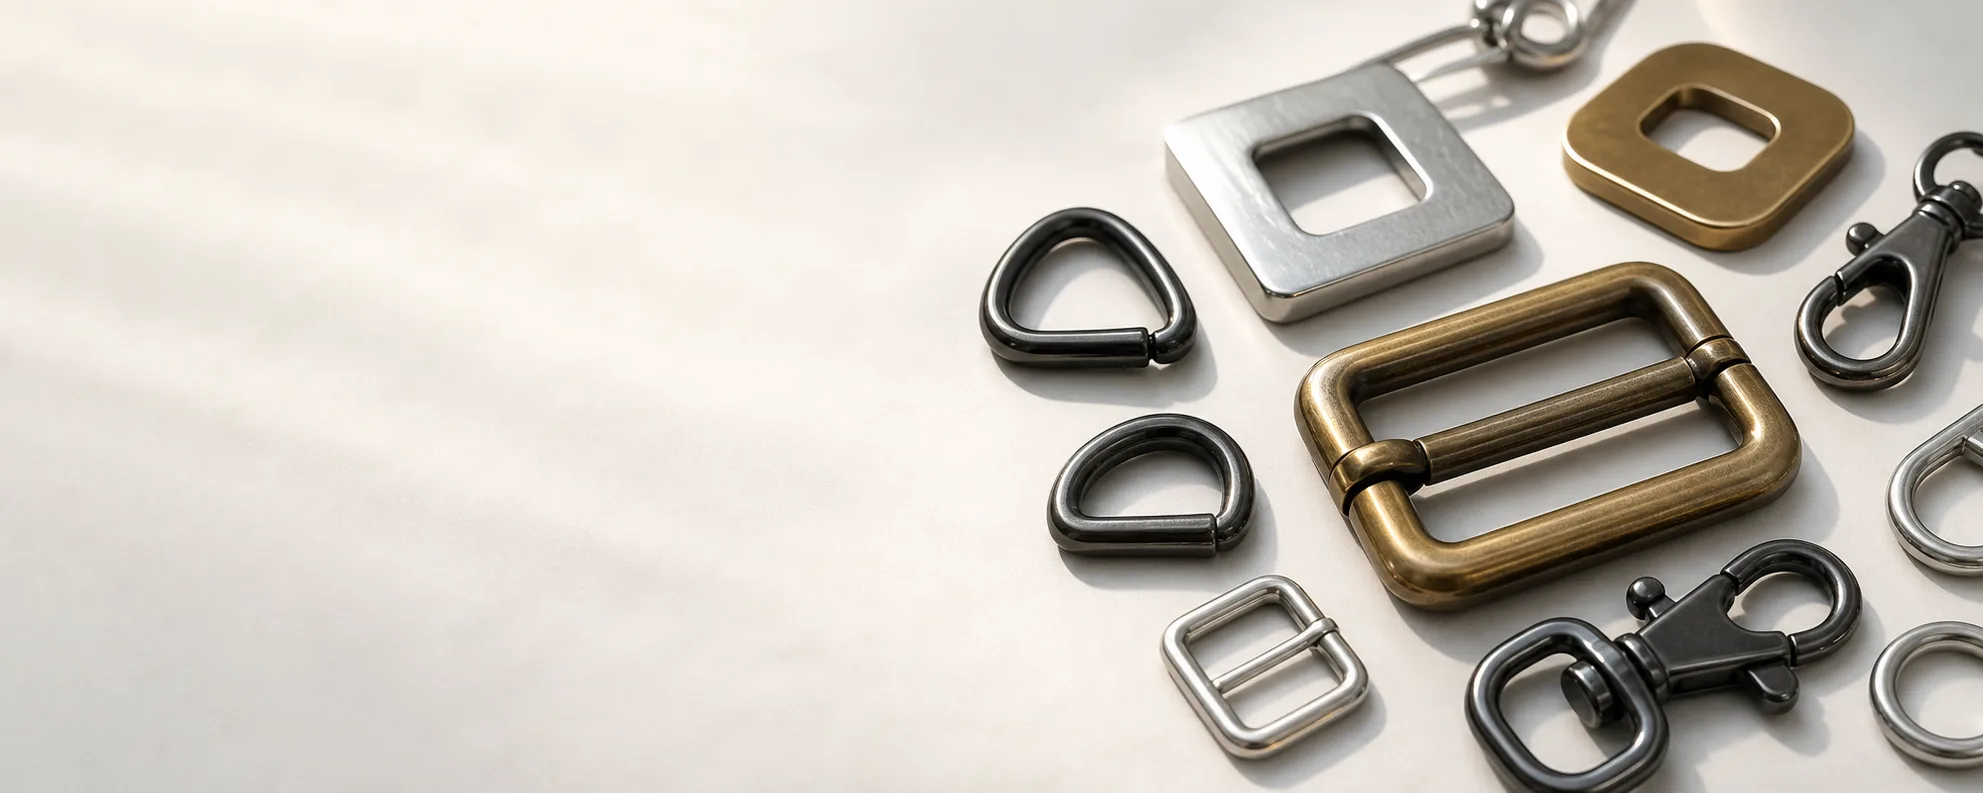
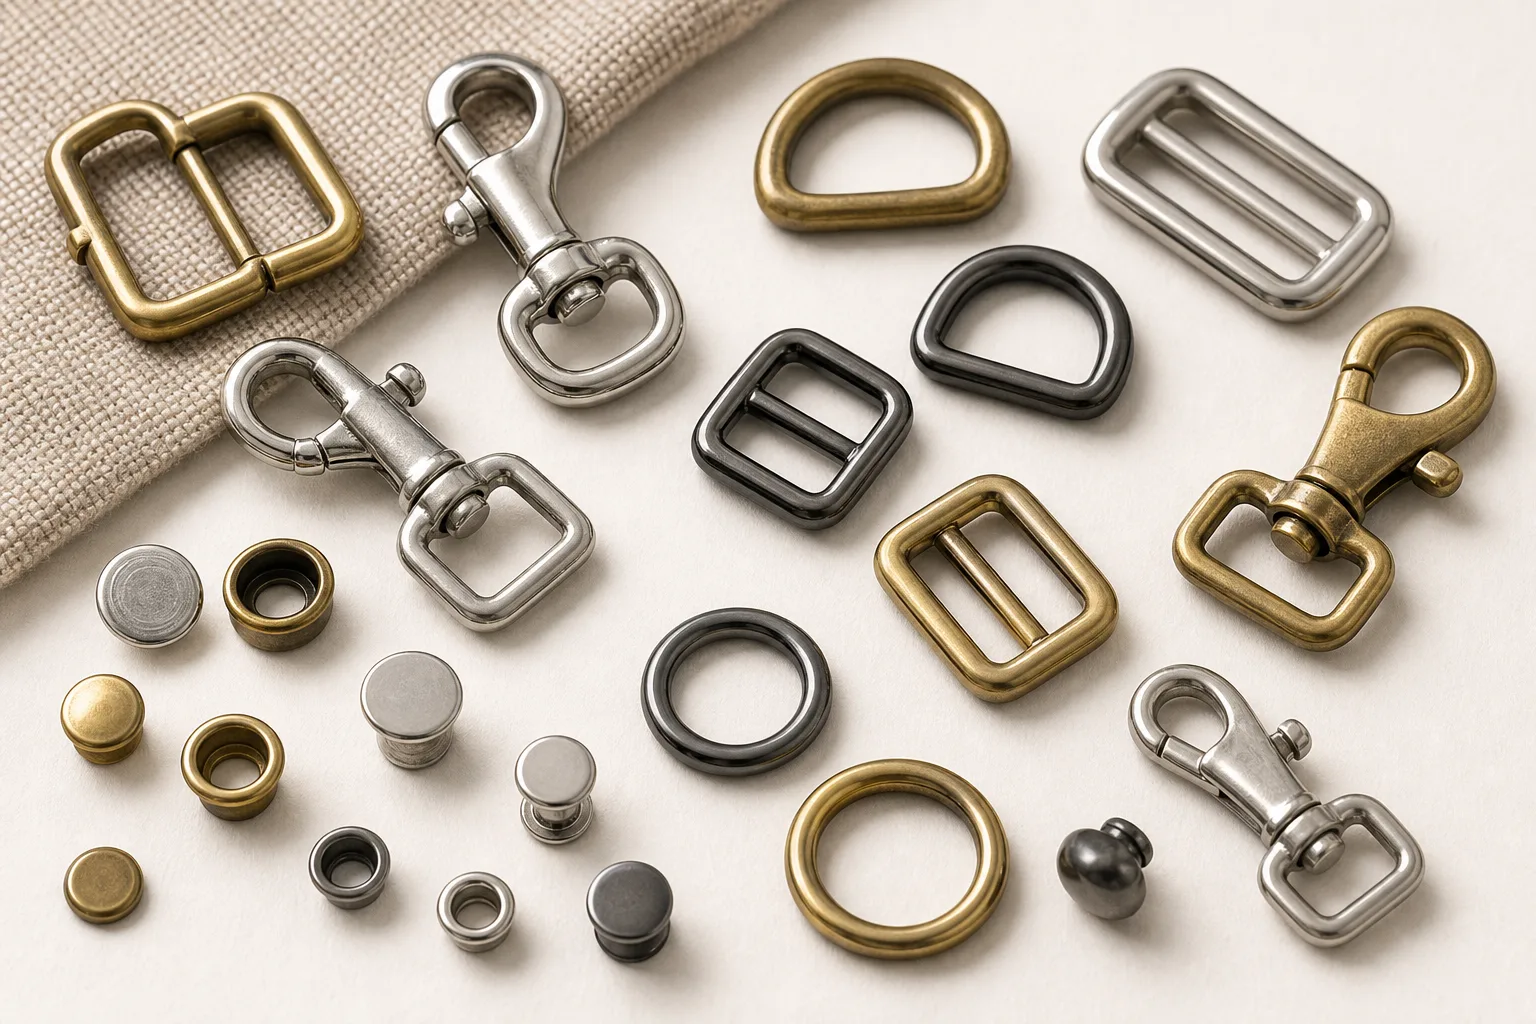
Brands increasingly use a metal version of their logo on premium packaging — shopping bags, gift boxes, garment bags — rather than only on the product. The emblem is small, but it has to read clearly from arm's length, survive handling and attach without spoiling the outside of the bag. Most of the decisions that make it work are taken at the artwork and mounting stage, before any tooling is cut.
From vector artwork to a cut-out emblem
The emblem is made from your vector artwork (AI, EPS, PDF or SVG). The outline of the logo becomes the outline of the part, and the areas inside it that should show the bag through — the counters of letters, gaps between strokes — are cut out rather than printed or filled.
Without a background plate, every piece of the logo has to be connected to the rest. Islands such as the inside of an O, A or R are not attached to anything once the counter is cut out, so they either fall away or need a thin bridge to hold them. This is reviewed on your artwork in DFM, and we propose the smallest change that keeps the logo reading correctly.
Line width, size and thickness
Small emblems are limited by their thinnest strokes. As a guide for die-cast zinc alloy, strokes and bars below roughly 0.8–1.0 mm are usually thickened slightly so they fill in the mould and do not bend in use; the exact minimum for your logo is confirmed against the artwork before tooling.
Overall size and thickness follow the logo proportions and the mounting. A magnet or rear posts need some depth behind the face, so a very thin emblem may be built with a slightly thicker back than face, keeping the visible profile slim.
Mounting option 1: concealed posts and a backing plate
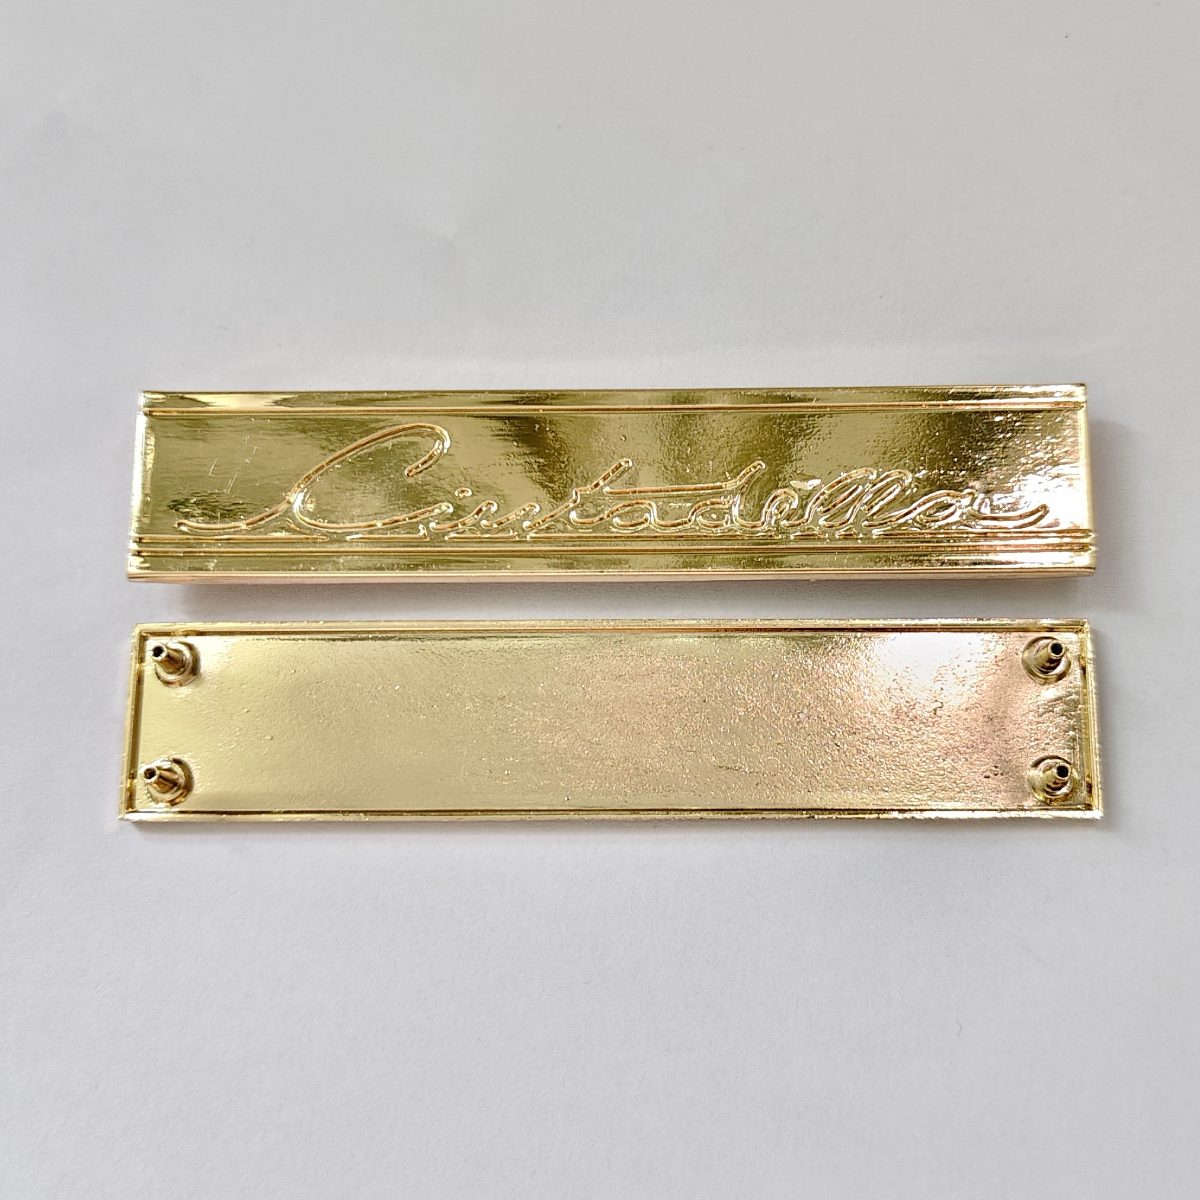
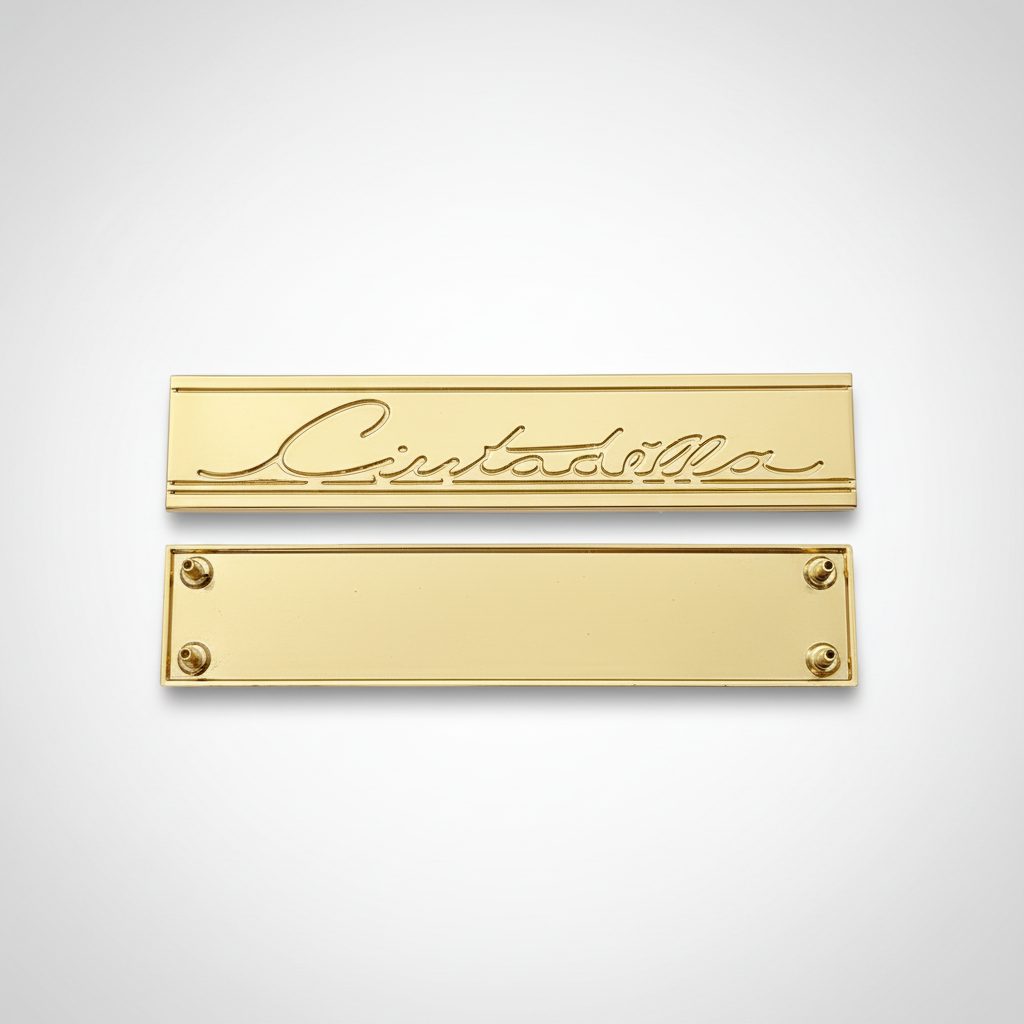
Rear posts are cast on the back of the emblem, pass through small holes in the bag or box, and are secured on the inside with a backing plate or washers. Nothing is visible from the front, and the emblem cannot be removed without opening the fixing.
This is the most secure option and suits emblems that should stay on permanently. On paper or board the holes and the backing plate are positioned with the packaging maker so the wall is reinforced where the posts pass through.
Mounting option 2: concealed magnetic mounting
A magnet is set into the back of the emblem and a matching magnet or steel plate sits on the inside of the bag or box, so the emblem holds through the wall with no holes and no visible fastener. The customer can lift it off and reuse it — on another bag, a box or a garment.
Holding force through the wall depends on the magnet size that fits behind your emblem, the thickness and stiffness of the paper or board, and what sits between the two magnets. Rather than quote a figure in the abstract, we test magnetic hold on your actual stock at sample stage and check that the emblem does not slide, rotate or drop off in normal handling. Where the packaging maker can add a reinforcement panel inside, magnetic mounting becomes noticeably more secure.
Finishes
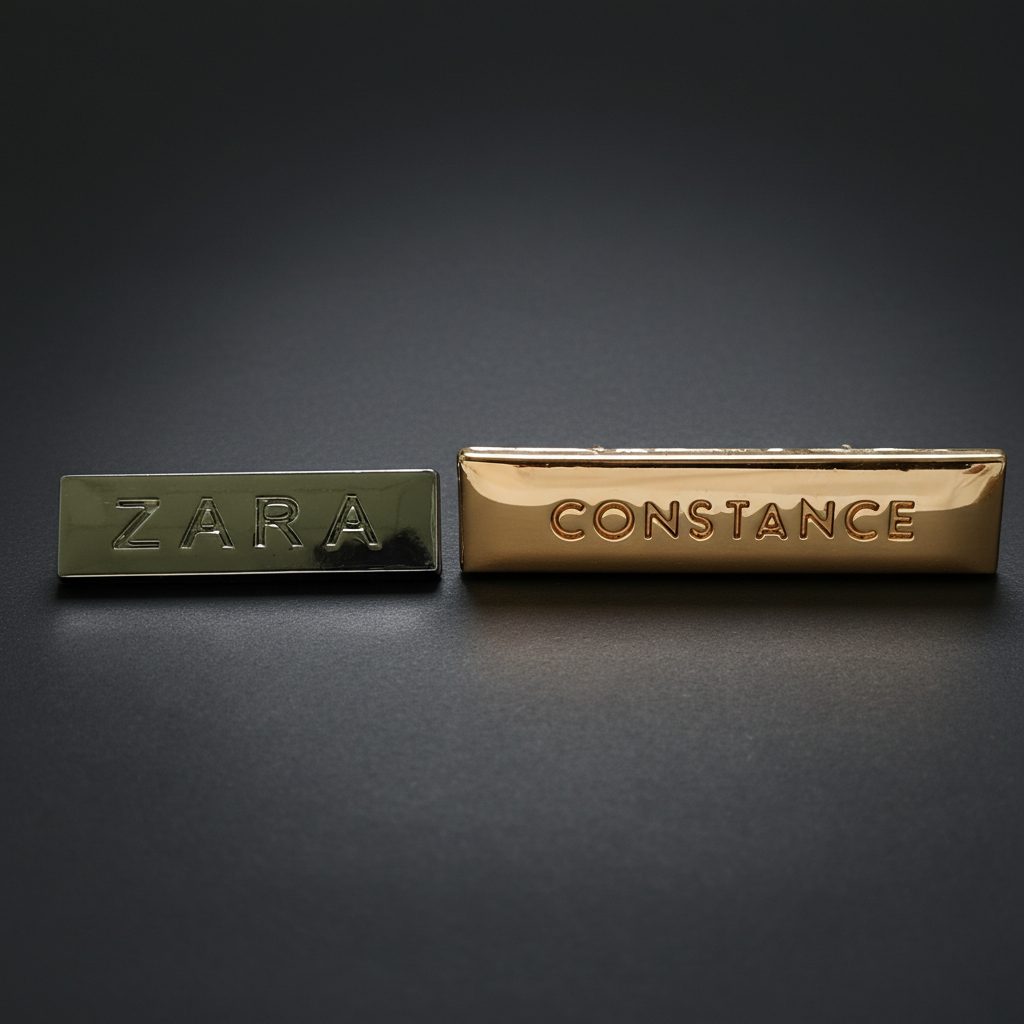
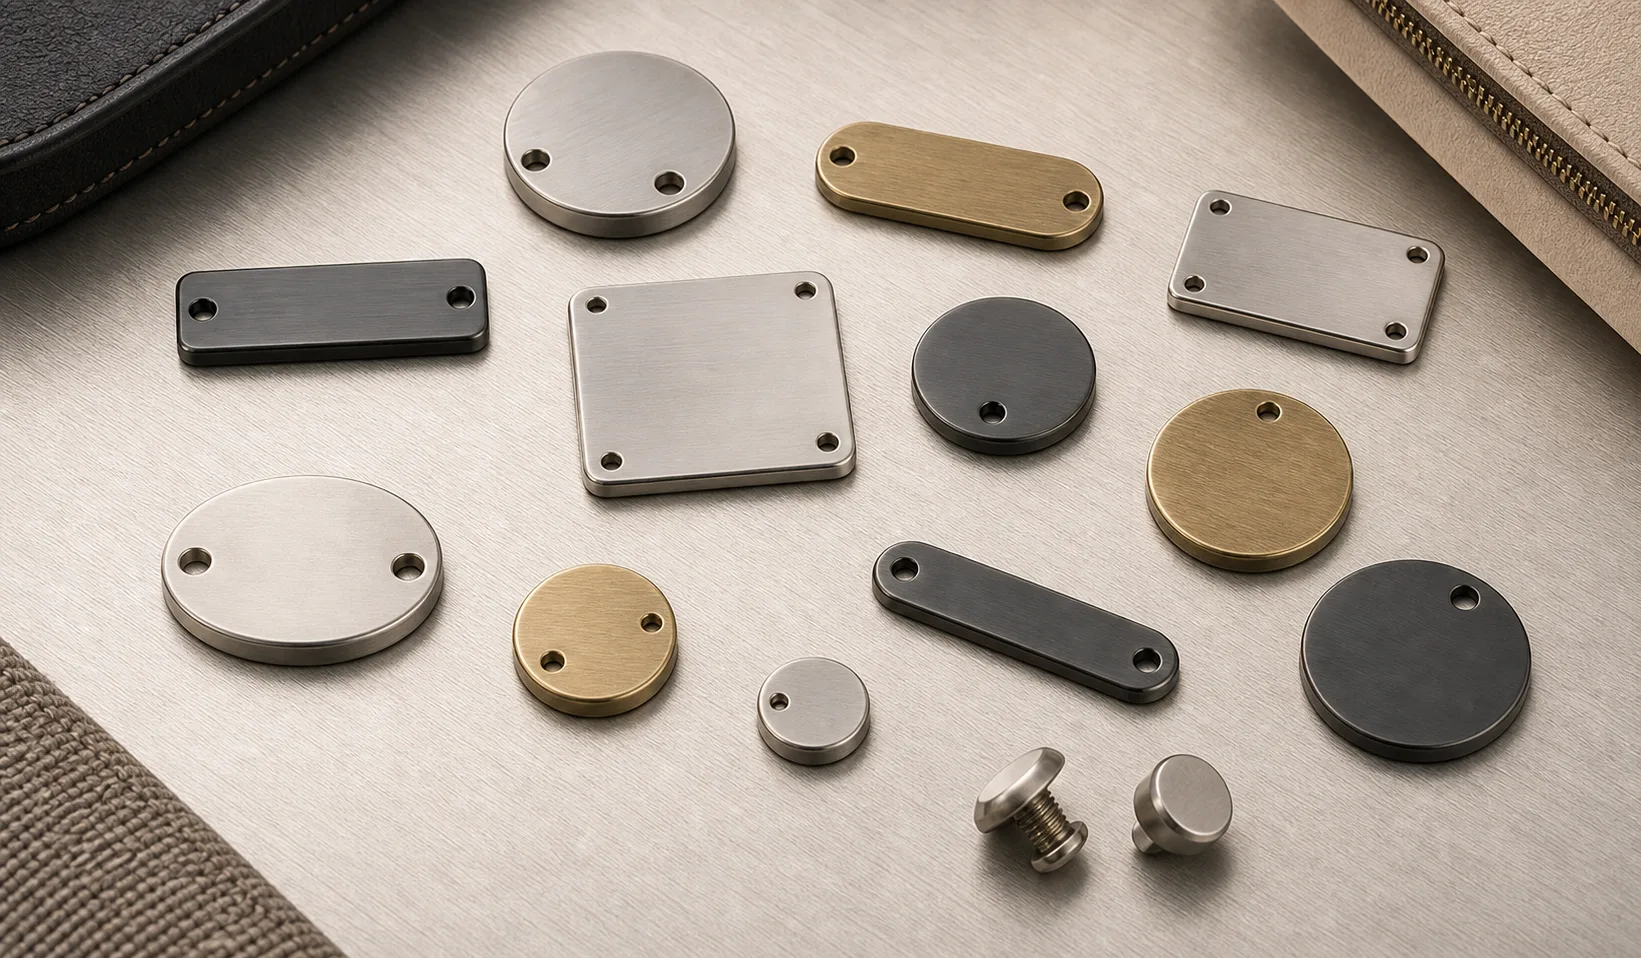
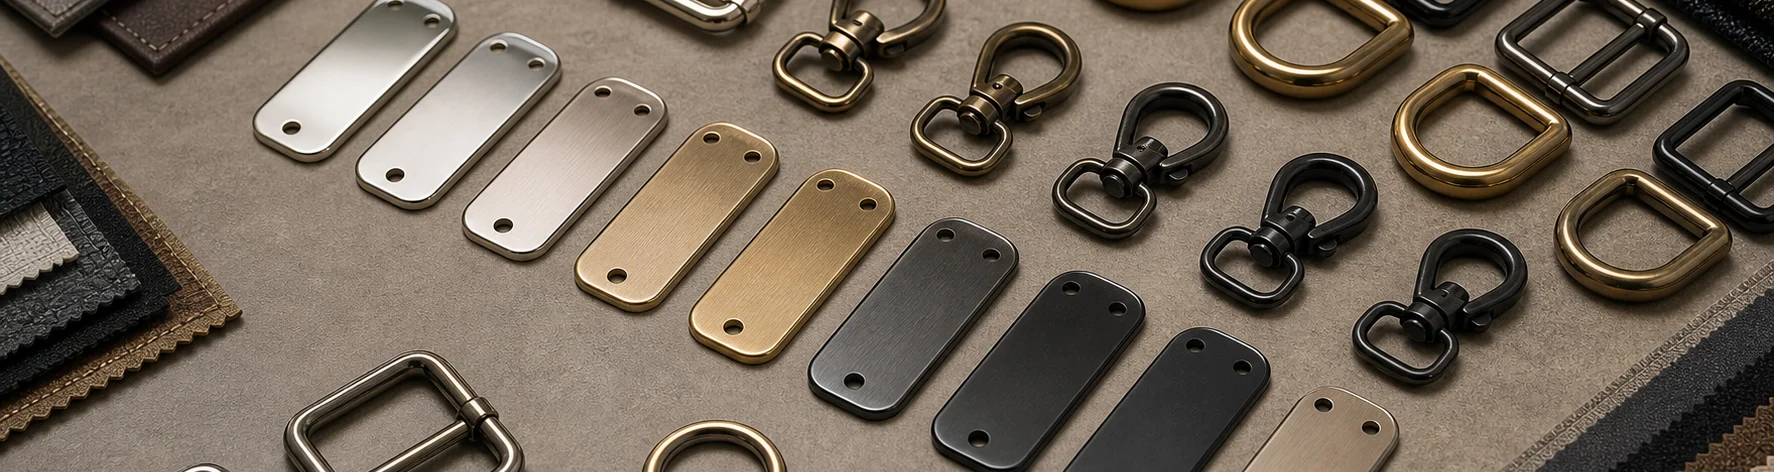
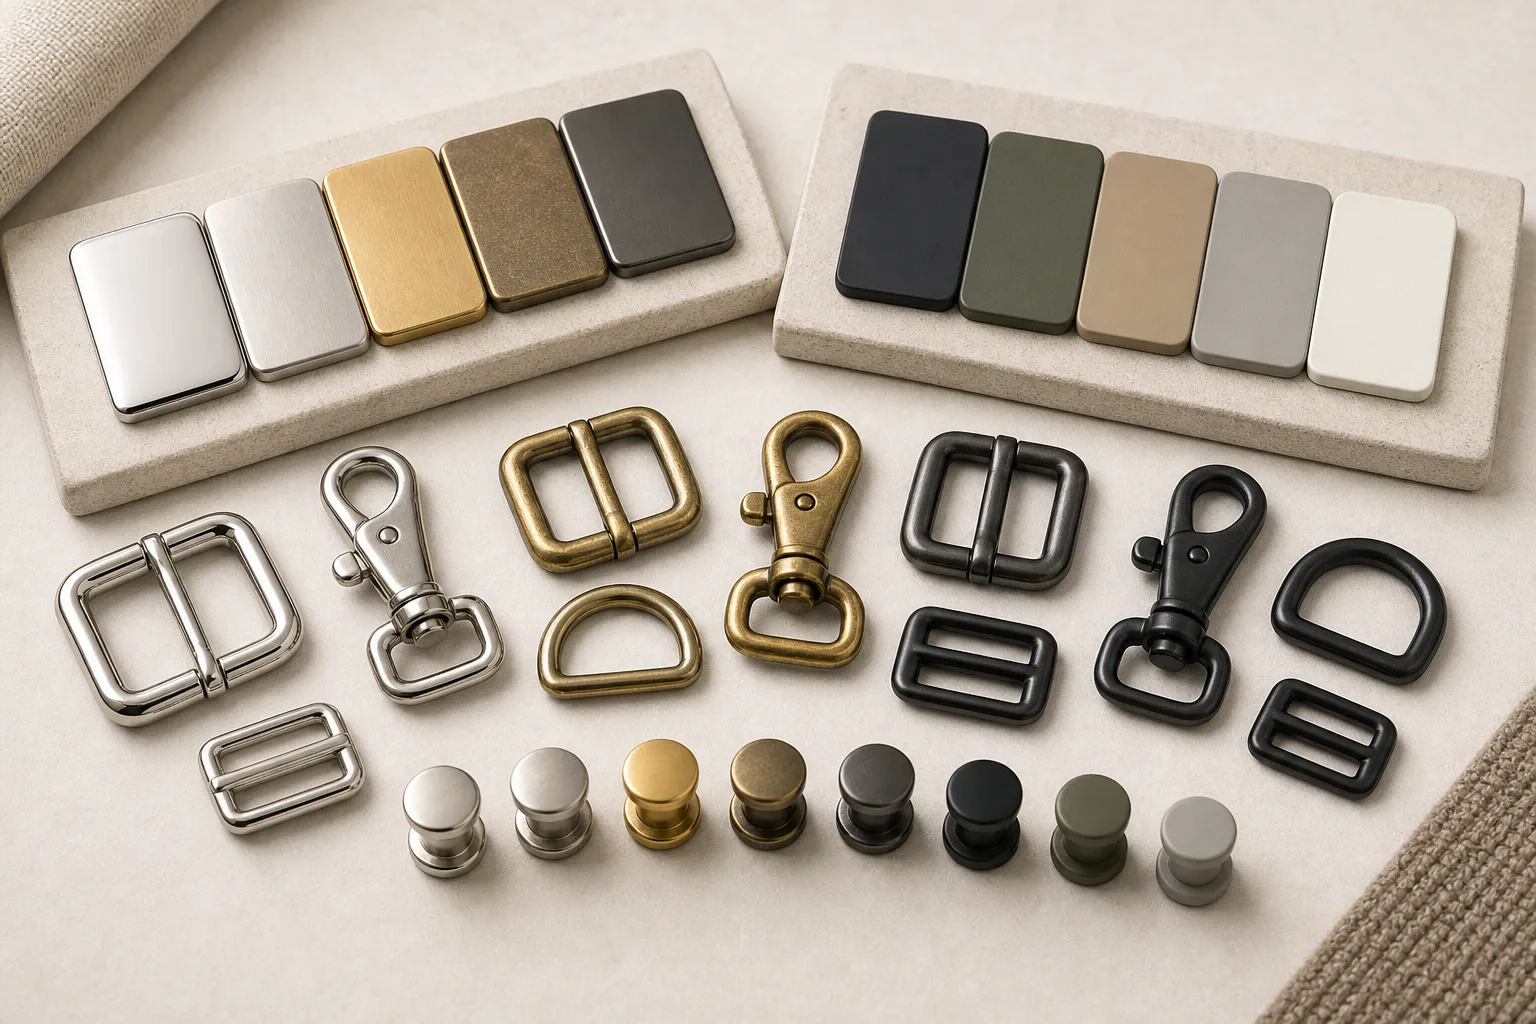
Common choices for logo emblems are bright or brushed nickel, satin silver, gold, gunmetal and matte black, with the option of enamel colour fill in recessed areas. Two finishes can usually be made from one mould — for example a satin silver and a matte black version of the same emblem.
Each finish has its own minimum per design and colour; custom surface finishing starts from 300 pcs per design and colour, and the finishing table lists the minimum by process.
Tooling, samples, MOQ and lead time
A new emblem needs its own mould, quoted separately from the unit price and once per design. The emblem MOQ starts at 100 pcs per design.
Samples take 7–10 days after the artwork and mounting are agreed, and bulk production 15–25 days after sample approval. For magnetic mounting, send a few sheets of the actual paper or board, or a finished bag, so the sample can be tested on it.
Engineer the cut-outs and line widths from the vector artwork first, then choose the mounting: posts and a backing plate for a permanent emblem, concealed magnets for a clean outside and a removable, reusable emblem — tested on your own packaging stock at sample stage.
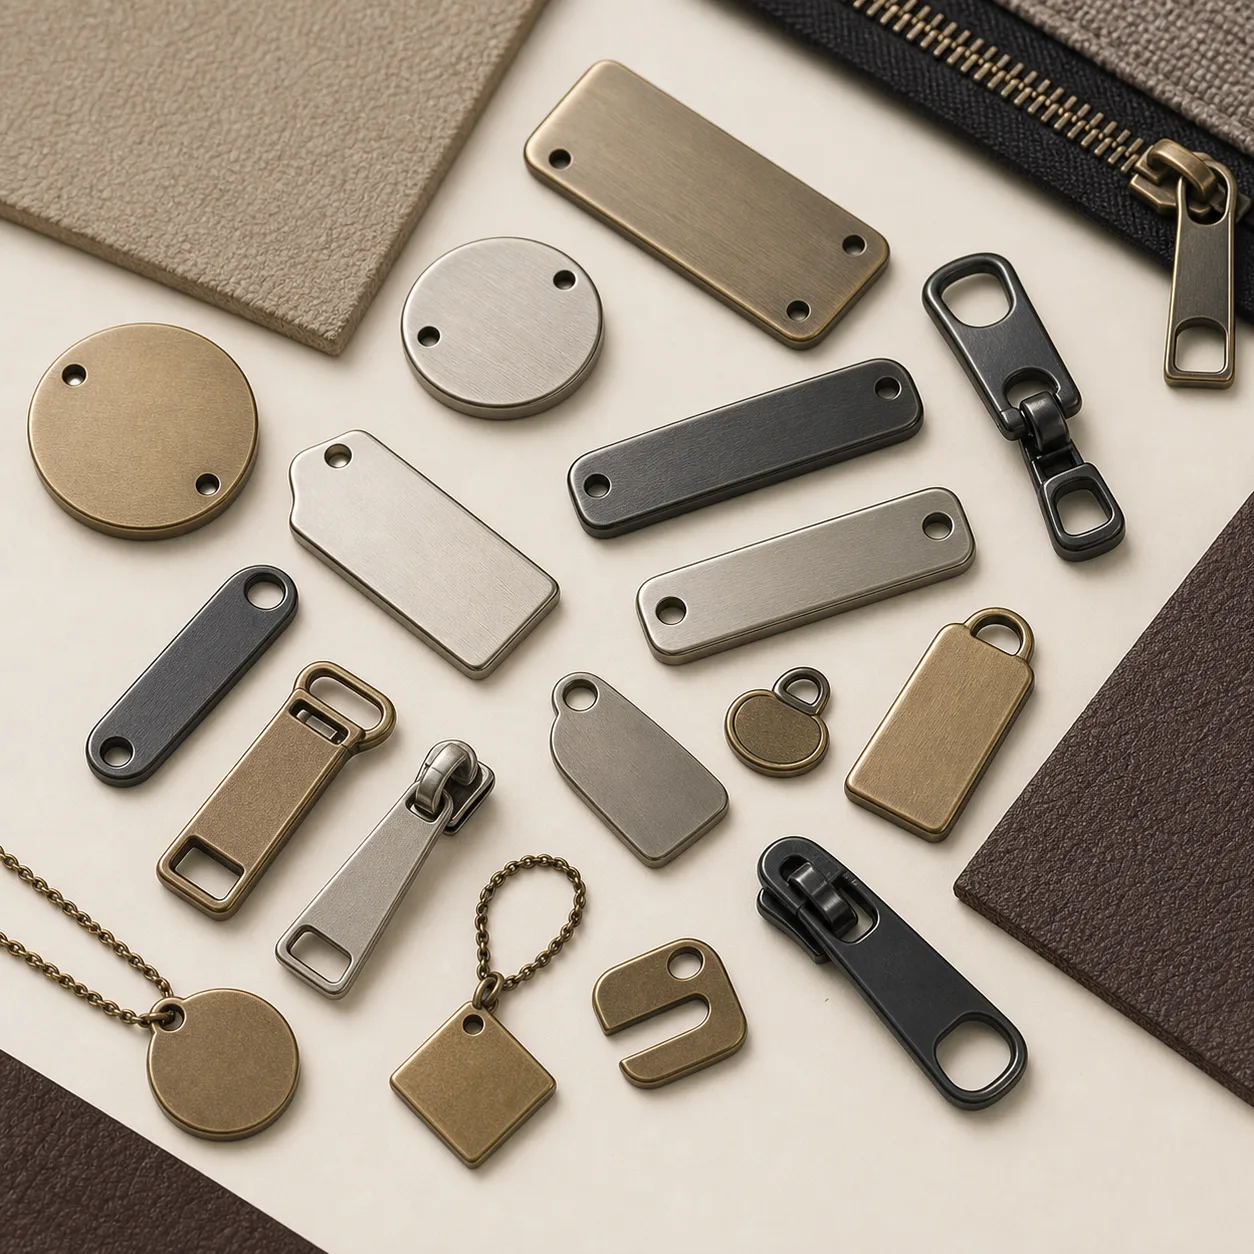
 Buyer Guides
 Buyer Guides
 Finish Guides
 Finish Guides
 Quality Guides
 Finish Guides