
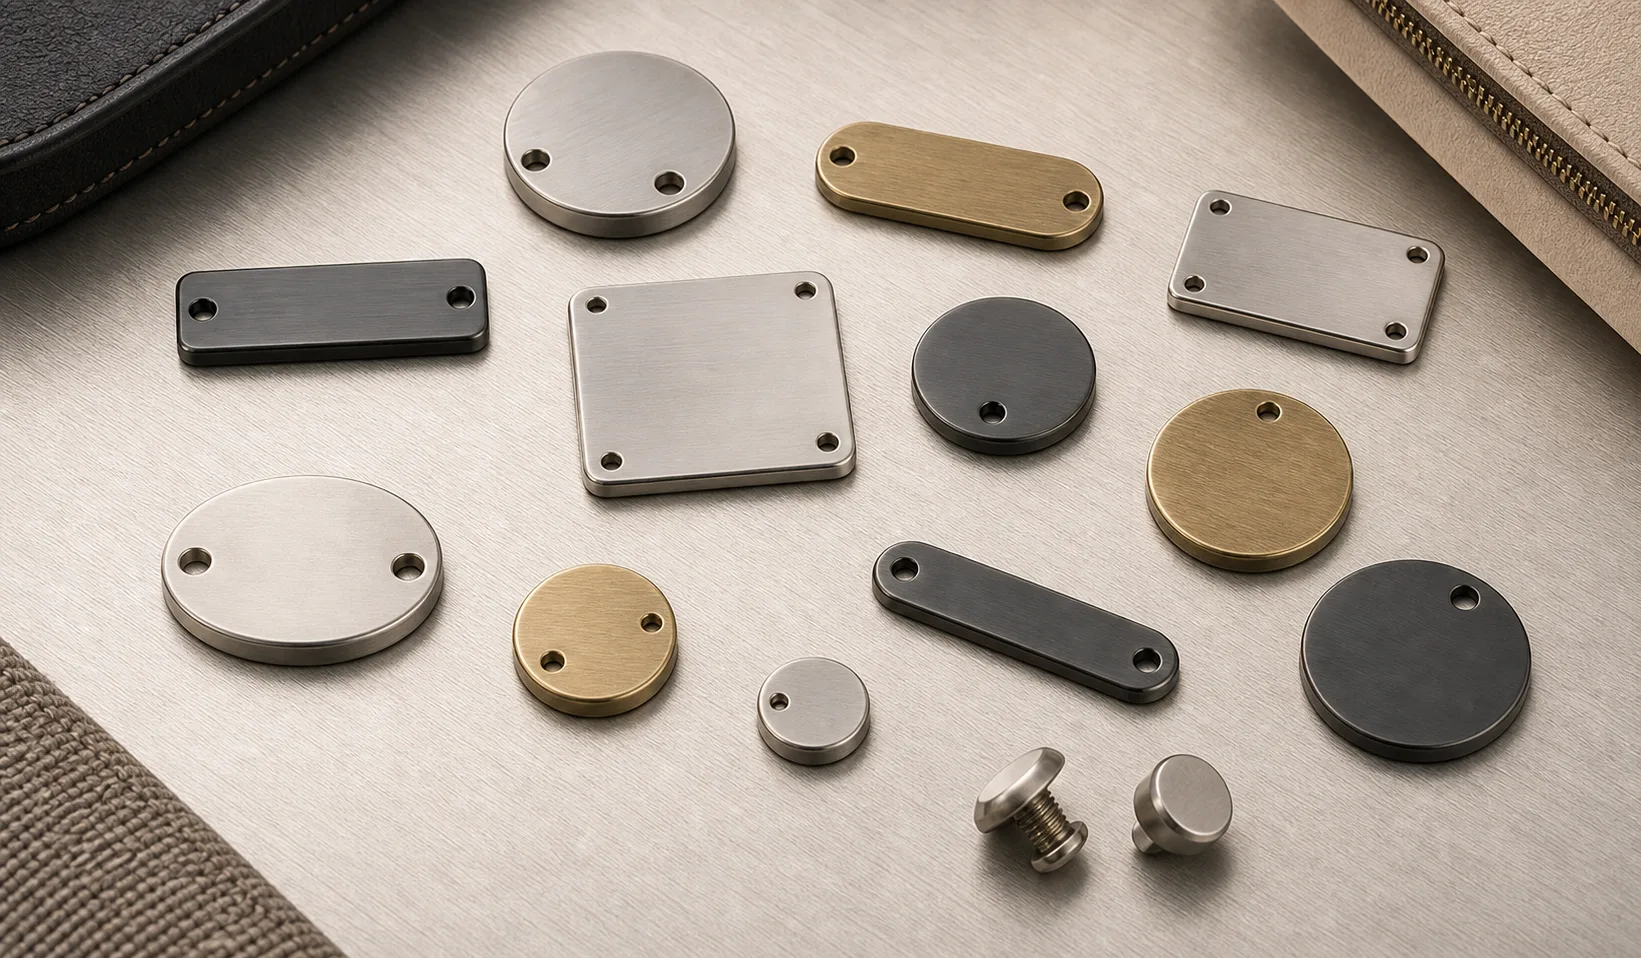
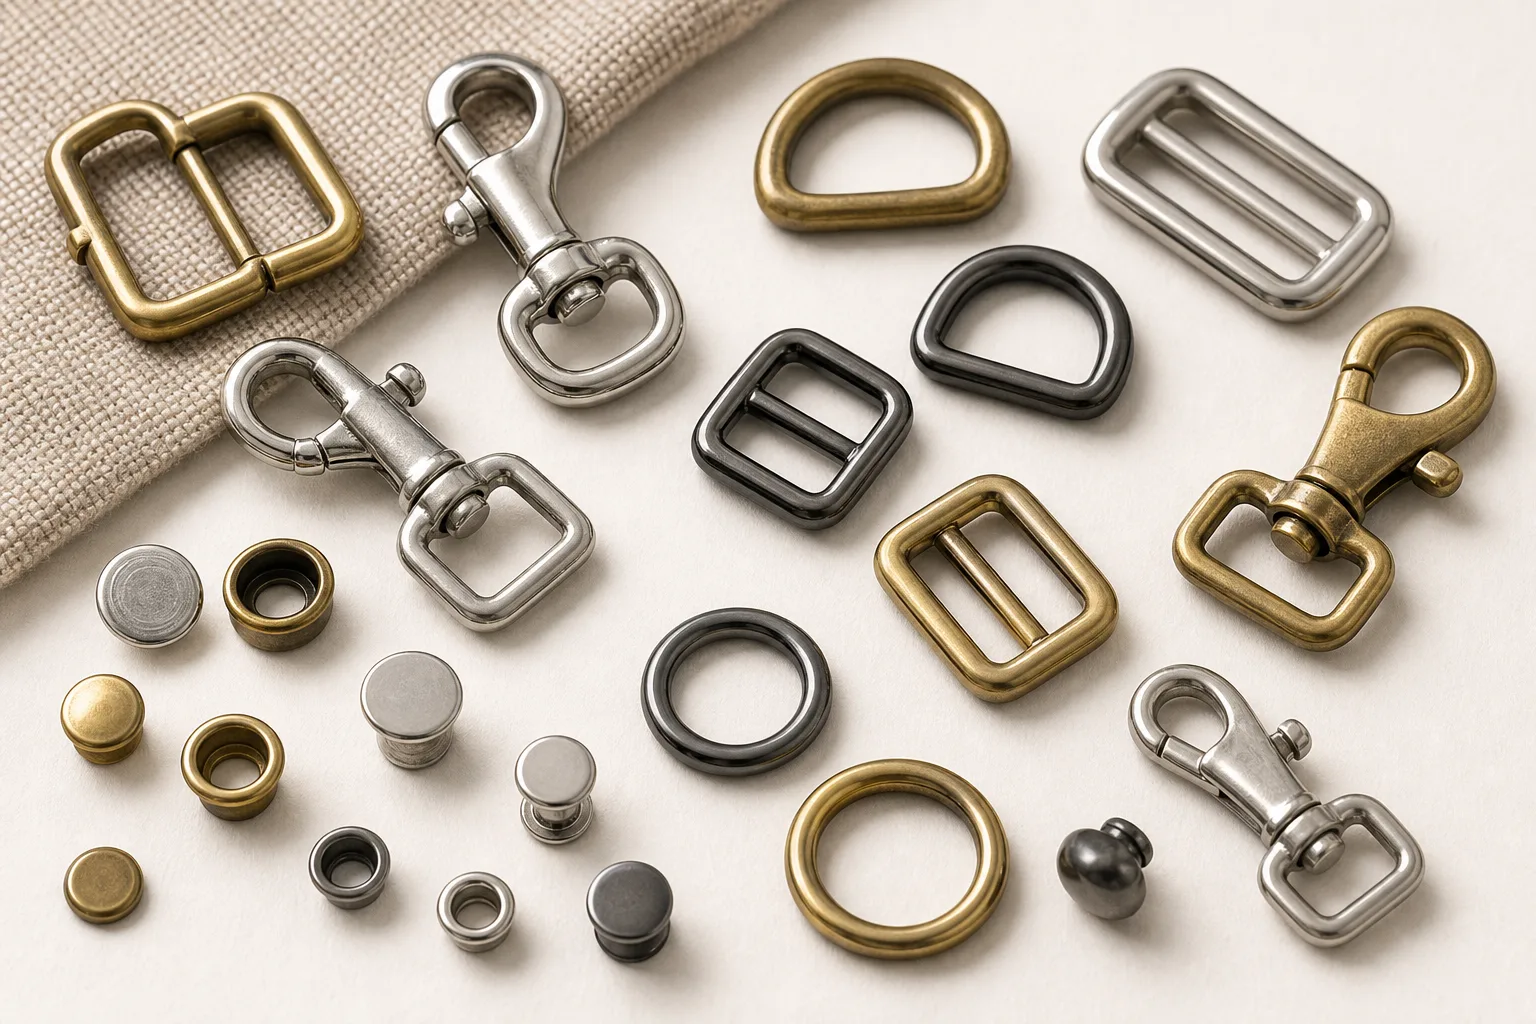
Logo hardware is where a brand is most exposed on a product and where sourcing mistakes are most visible. The recurring problem is order of decisions: buyers choose a look first, then discover the chosen construction cannot carry it. This guide runs the decisions in the order that avoids remaking tooling.
Construction first, mark second
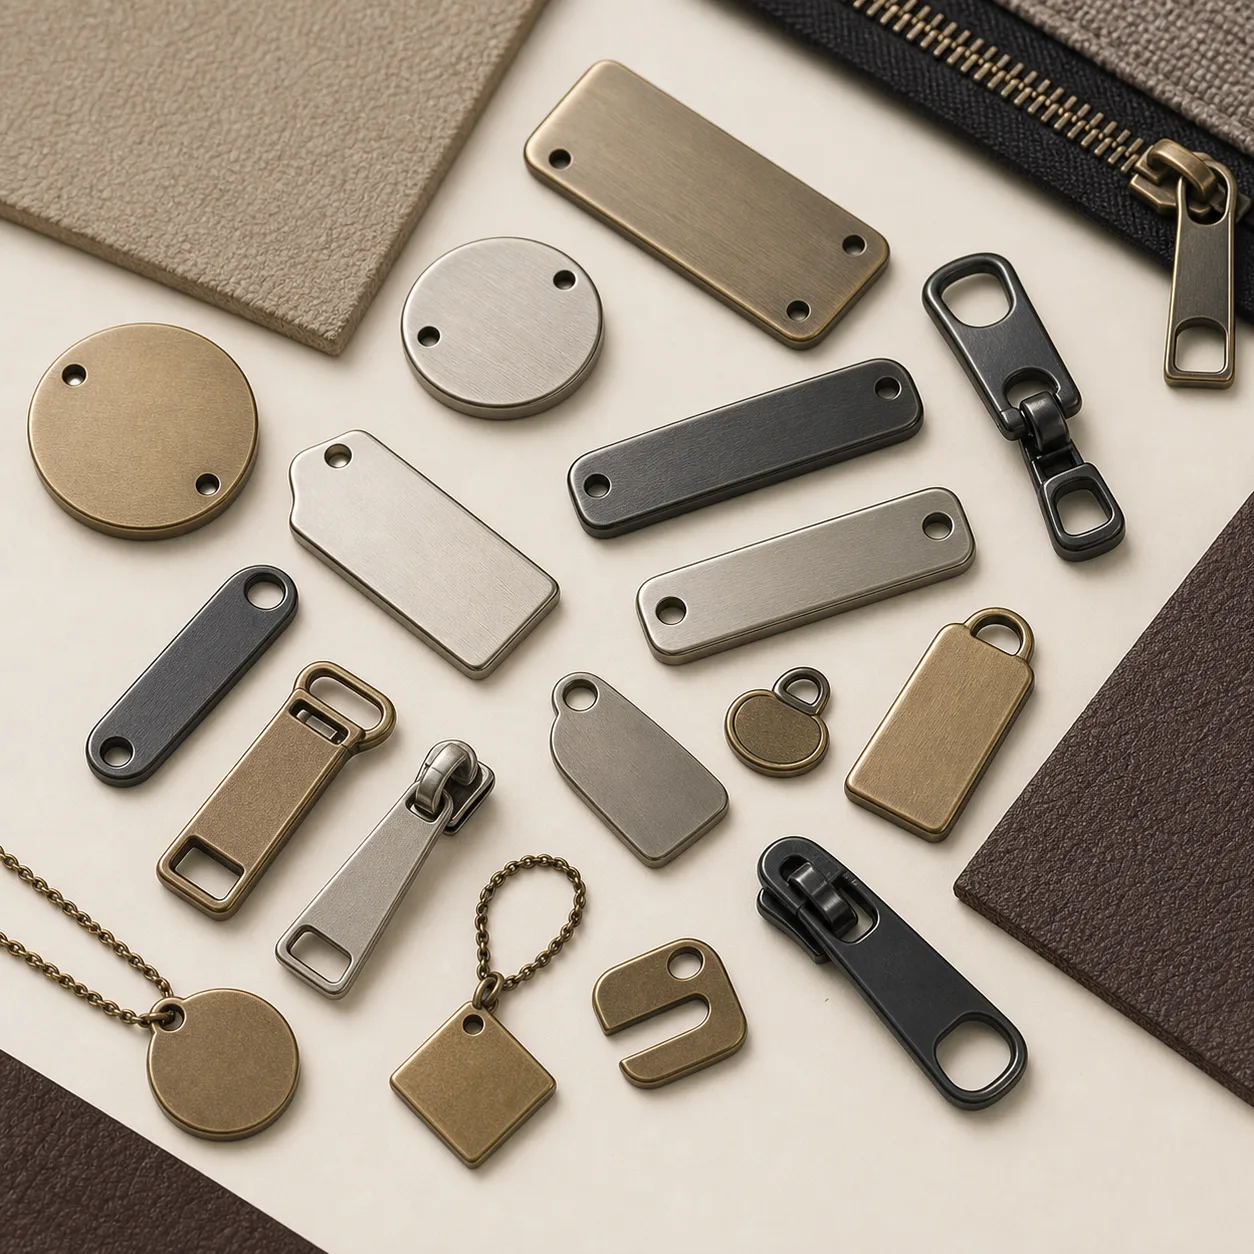
A cast part is formed in a mould, so relief detail is built into the tooling and every piece carries it identically. A stamped part is pressed from sheet, which gives a thin, clean profile but limits how deep a form can be. A machined or turned part can carry fine surface detail but is a different cost structure. Each of these makes some marking methods natural and others awkward.
Deep relief and undercut detail belong to casting. Fine, shallow marks and precise line work belong to laser or engraving on a smooth face. Enamel and epoxy fill need a recess for the colour to sit in, which the tooling has to provide. Choosing the mark before the construction is the common route to a mould that has to be remade.
The marking methods in practice
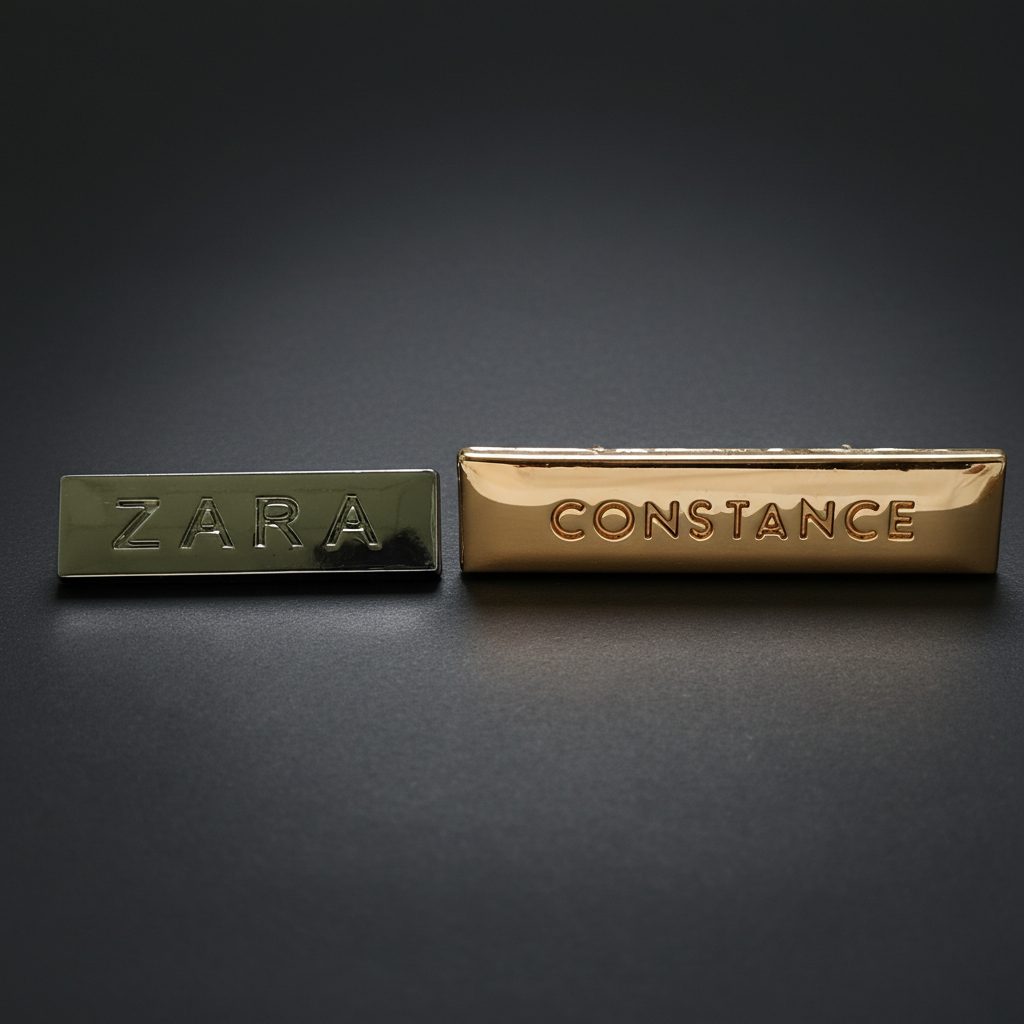
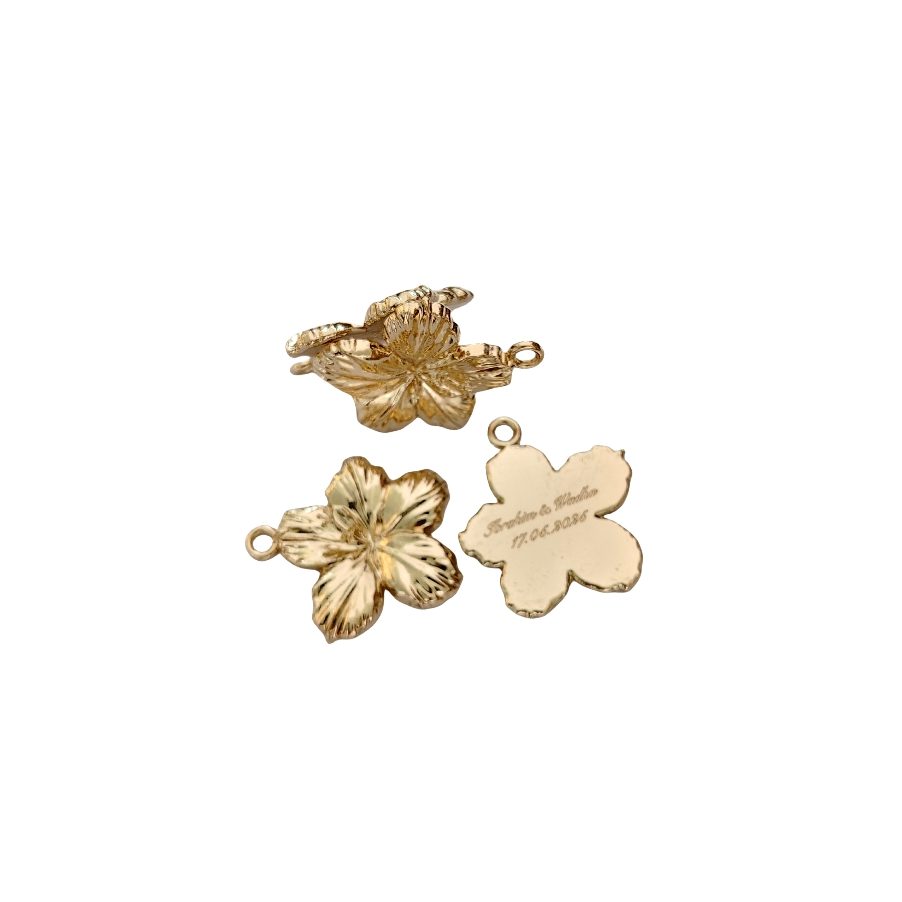
Moulded relief: the logo is part of the cast form, raised or recessed. Consistent across the run, no secondary operation, but changes mean new tooling. Laser marking: a surface mark, usually contrasting rather than deep, fast to change and well suited to small runs and variable data. Engraving: mechanically cut, giving a visible depth and a different light response from laser. Stamping: a die pressed into the surface, giving a crisp impression on flat faces. Enamel or epoxy fill: colour set into a recess, used where the brand needs colour rather than metal tone alone.
These are not interchangeable looks. A laser mark and a moulded relief of the same logo photograph differently, catch light differently, and wear differently. If the brand has an existing standard, match the method, not just the outline.
Preparing artwork for metal
Artwork drawn for print does not automatically work at 20mm in metal. Hairlines disappear, tight counters fill, gradients cannot be reproduced, and fine serifs break up. The usual outcome of sending print artwork unchanged is a first sample that is technically accurate and visually wrong.
Send vector artwork, state the finished size the mark must occupy, and ask the supplier to mark up where the artwork needs adapting before tooling starts. Expect to approve a modified version for metal — that adaptation is normal work, not a compromise of the brand.
Tooling, minimums and lead time
Custom logo hardware almost always involves tooling, and tooling is a one-time cost with its own lead time before any production runs. Who owns the tool, whether it is stored, and what happens on a repeat order are commercial questions worth settling in writing at the start rather than at reorder.
This guide does not quote tooling costs, minimum quantities or lead times, because they depend on the part, the method and the confirmed artwork. What is safe to plan around is the sequence: artwork adaptation, tooling, first sample, revision, approved sample, then production.
Attachment and where the plate sits
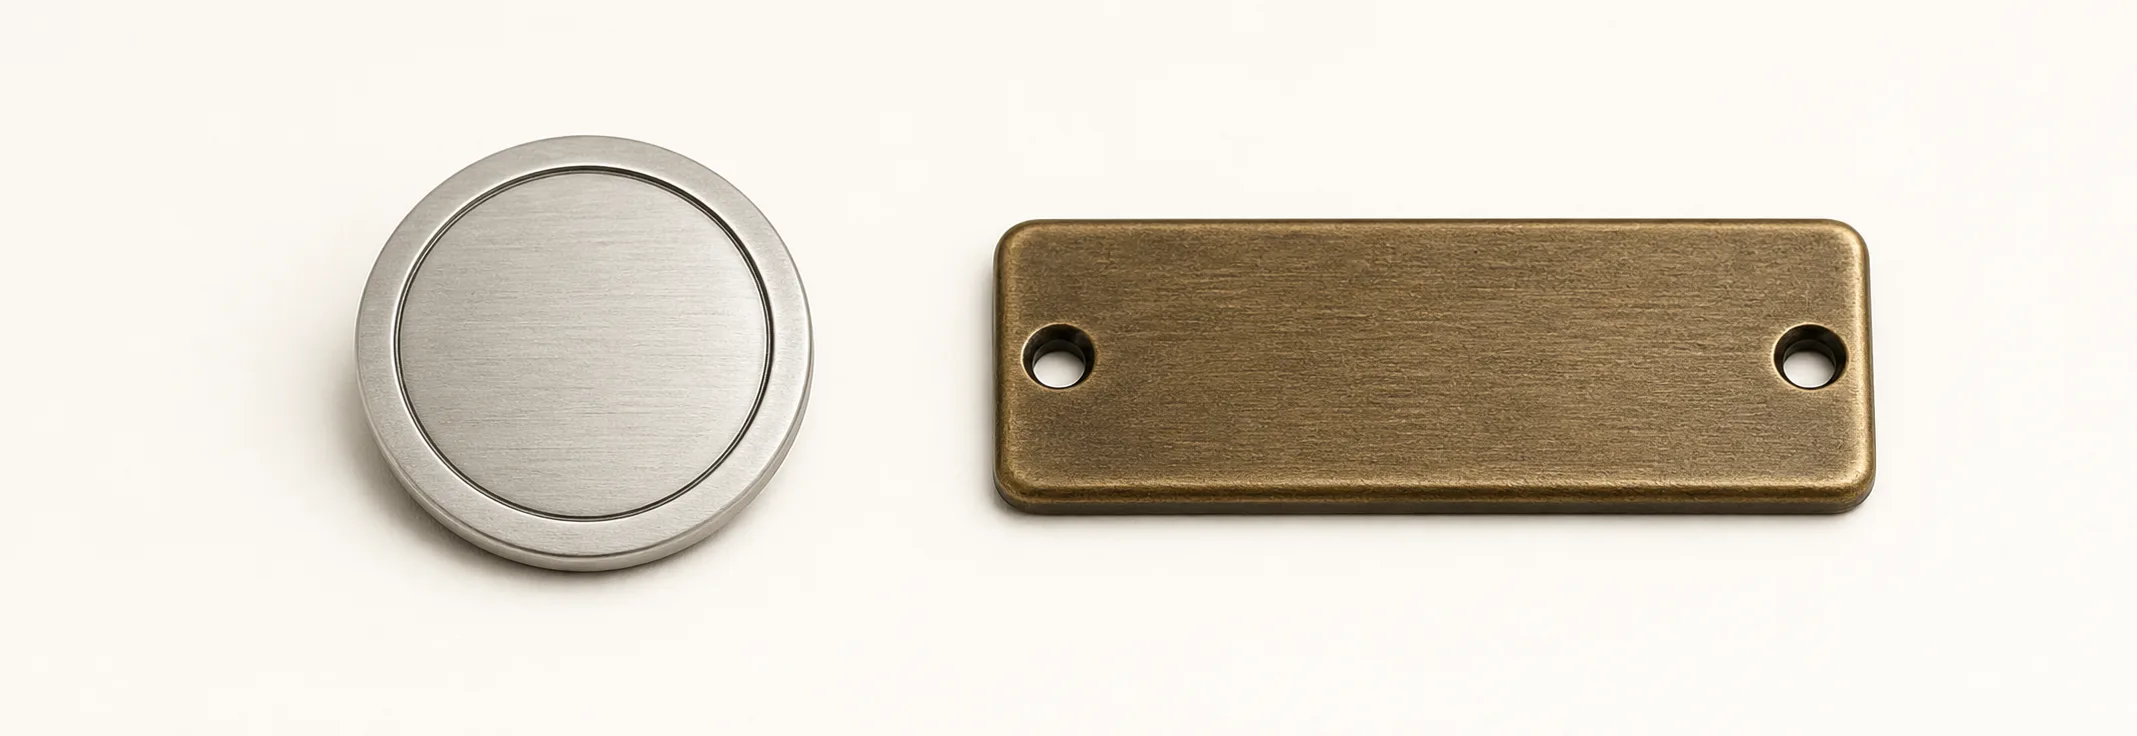
A logo plate has to be fixed to the product, and the fixing is part of the design. Prong-backed plates pass through slits and fold over a washer. Sew-on flanges need a stitch line the operator can reach. Screw fixings suit thicker leather. Adhesive suits flat, non-flexing panels only.
Placement affects wear as much as appearance. A plate on the base of a bag will be abraded; one on a flap will not. If the plate is brand-facing in product photography, ask to see the sample under directional light rather than flat lighting.
What to send with an inquiry
Vector artwork, the finished size the mark must occupy, the preferred marking method if the brand has a standard, the part type and construction, attachment method, base material and thickness at the fixing position, finish direction, quantity, and whether the part is visible in photography.
If you are matching existing branded hardware, send a physical piece. Method, depth, finish and edge treatment can all be read from it directly, which shortens the tooling conversation considerably.
Decide construction, then marking method, then adapt the artwork for metal — in that order. Reversing it is what produces remade tooling and samples that are accurate but wrong. Where a brand standard already exists, match the method rather than only the outline.
 Buyer Guides
 RFQ & Sample Guides
 Buyer Guides
 Buyer Guides
 Quality Guides
 Custom Hardware Guides
 Buyer Guides