
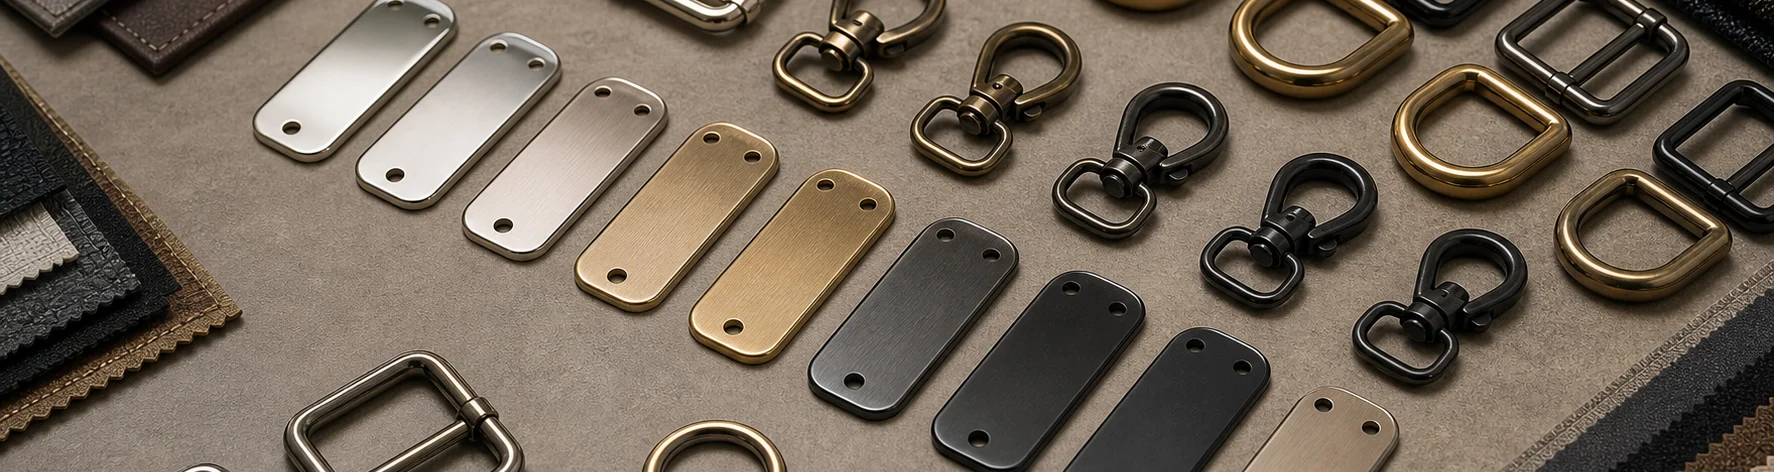
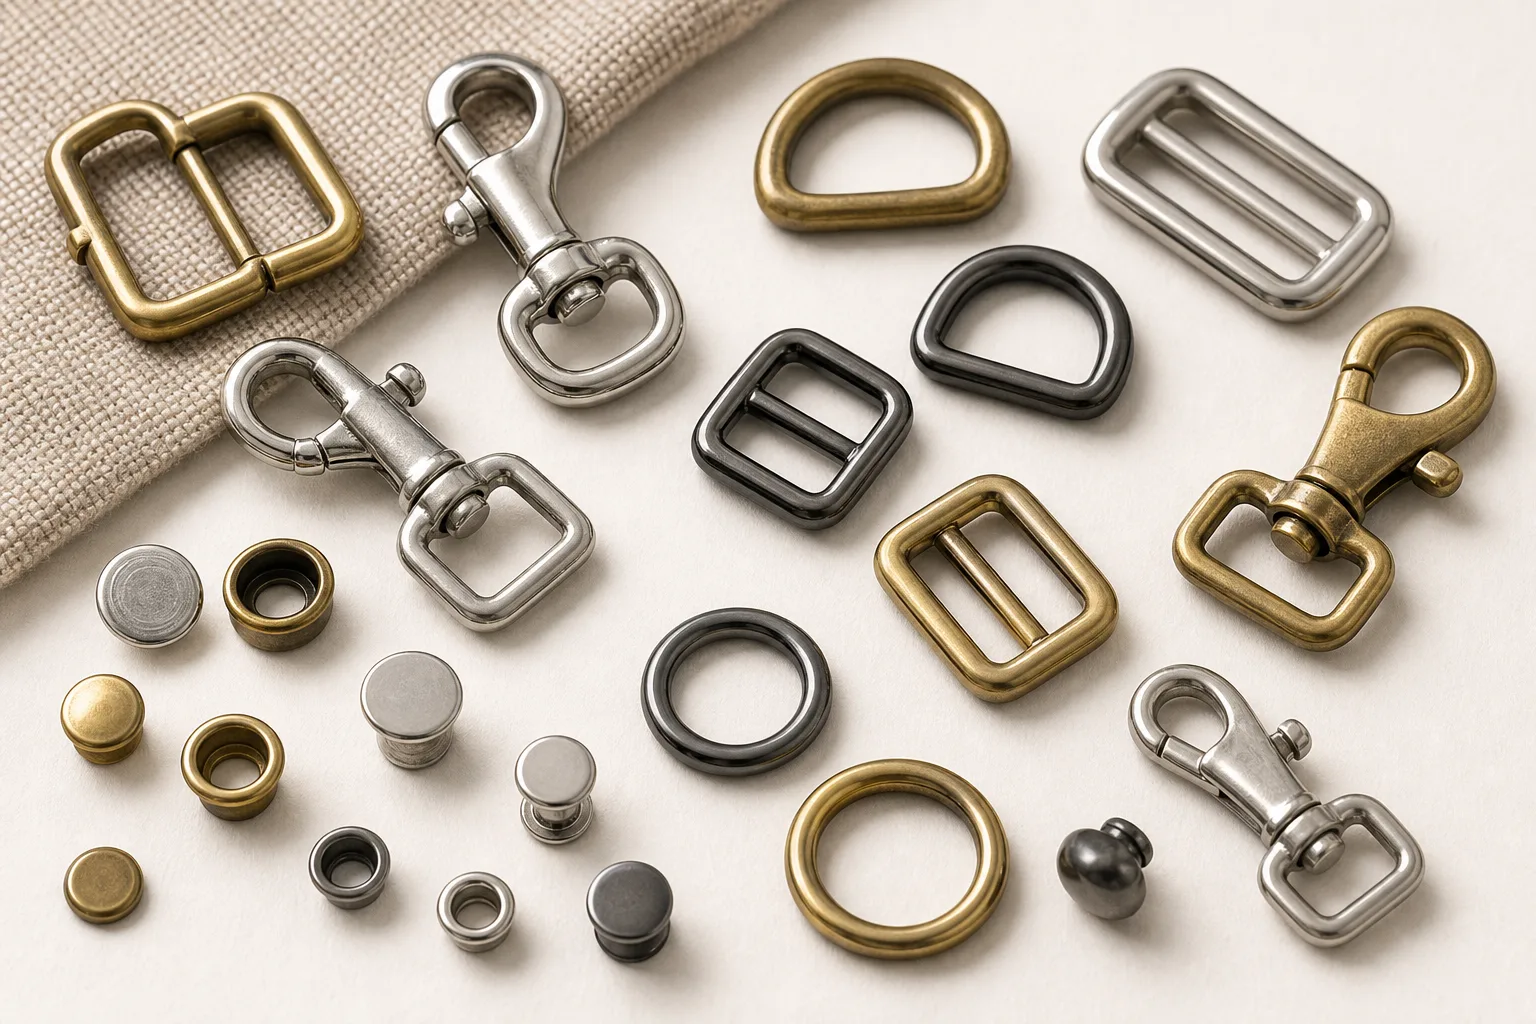
When a brand colour has to appear on metal hardware, these are the two usual routes and they are not interchangeable. The decisive question is asked early: does the tooling provide a recess for colour to sit in? If not, enamel is off the table for that part regardless of what the design shows.
Filled recess versus applied coat
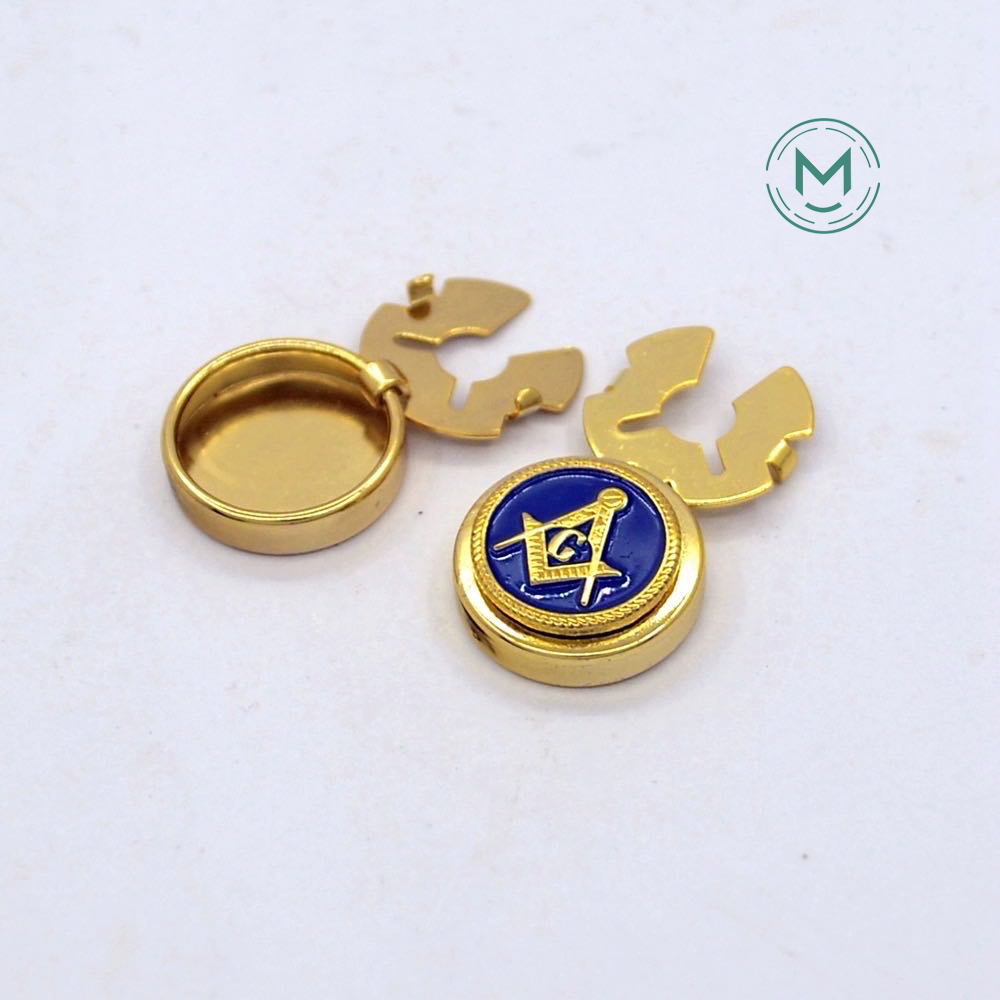
Enamel is a filling operation. The part is made with a recess — a channel around a logo, a sunken panel, a cavity — and colour is deposited into it and cured. The metal around the recess stays exposed, which is what gives an enamelled part its crisp metal-and-colour look.
Paint is applied over the surface. It can cover everything or be applied selectively, and colour can go anywhere the process can reach. The edge of a colour area then depends on masking, printing or pad application rather than on a physical wall.
Edge definition and why it matters for logos
A recess wall gives a hard, repeatable edge. Every part is identical because the tooling defines the boundary. That is why enamel is the usual route for brand marks that must be crisp at small size.
A painted edge is as good as the masking or printing that defines it, and small variations show at small scale. For large areas of colour that is fine; for a fine logo outline it can be the difference between sharp and slightly soft.
What the tooling has to provide
This is the practical constraint that catches designs out. Enamel requires the recess to be in the part, which means the tooling has to be designed for it. Deciding on enamel after the tooling is cut means a tooling change.
Recess depth and wall geometry also affect how the colour sits and how it cures. Discuss the enamel intent when the part geometry is being designed, not when the finish is being chosen.
Colour range and matching
Both routes can reach brand colours, and both are matched by physical sample rather than by name. Enamel and paint of the same nominal colour will not look identical because the surrounding metal border changes how the colour reads.
Where colour has to match another material — a fabric, a printed label — approve against that material rather than against a standalone chip.
Wear behaviour
Enamel sits below the surrounding metal, so the raised metal takes the abrasion and the colour is partly protected. Paint on a raised surface is exposed at exactly the points that get rubbed.
That is a structural advantage for enamel where the part is handled, and it is one reason enamel is used on hardware that lives in a pocket or against clothing. This guide does not state wear cycles for either; if it matters, agree the test and standard.
Choosing between them
Choose enamel when a brand mark or colour detail must be crisp and protected, and when the part geometry can carry a recess. Choose paint when colour must cover broad areas, when the part has no recess and tooling cannot change, or when a matte or textured colour surface is wanted.
Combining them is normal: a painted body with an enamelled logo panel, or a plated part with enamel fill in the mark only. Say what each area needs and let the supplier propose the sequence.
Enamel fills a recess the tooling provides and is protected by the metal around it; paint coats a surface and can go anywhere but is exposed where the part is rubbed. Decide before tooling is cut, because enamel cannot be added to a part that has nowhere to put it.
 Finish Guides
 Finish Guides
 Finish Guides
 Finish Guides
 Finish Guides
 Finish Guides
 Custom Hardware Guides