
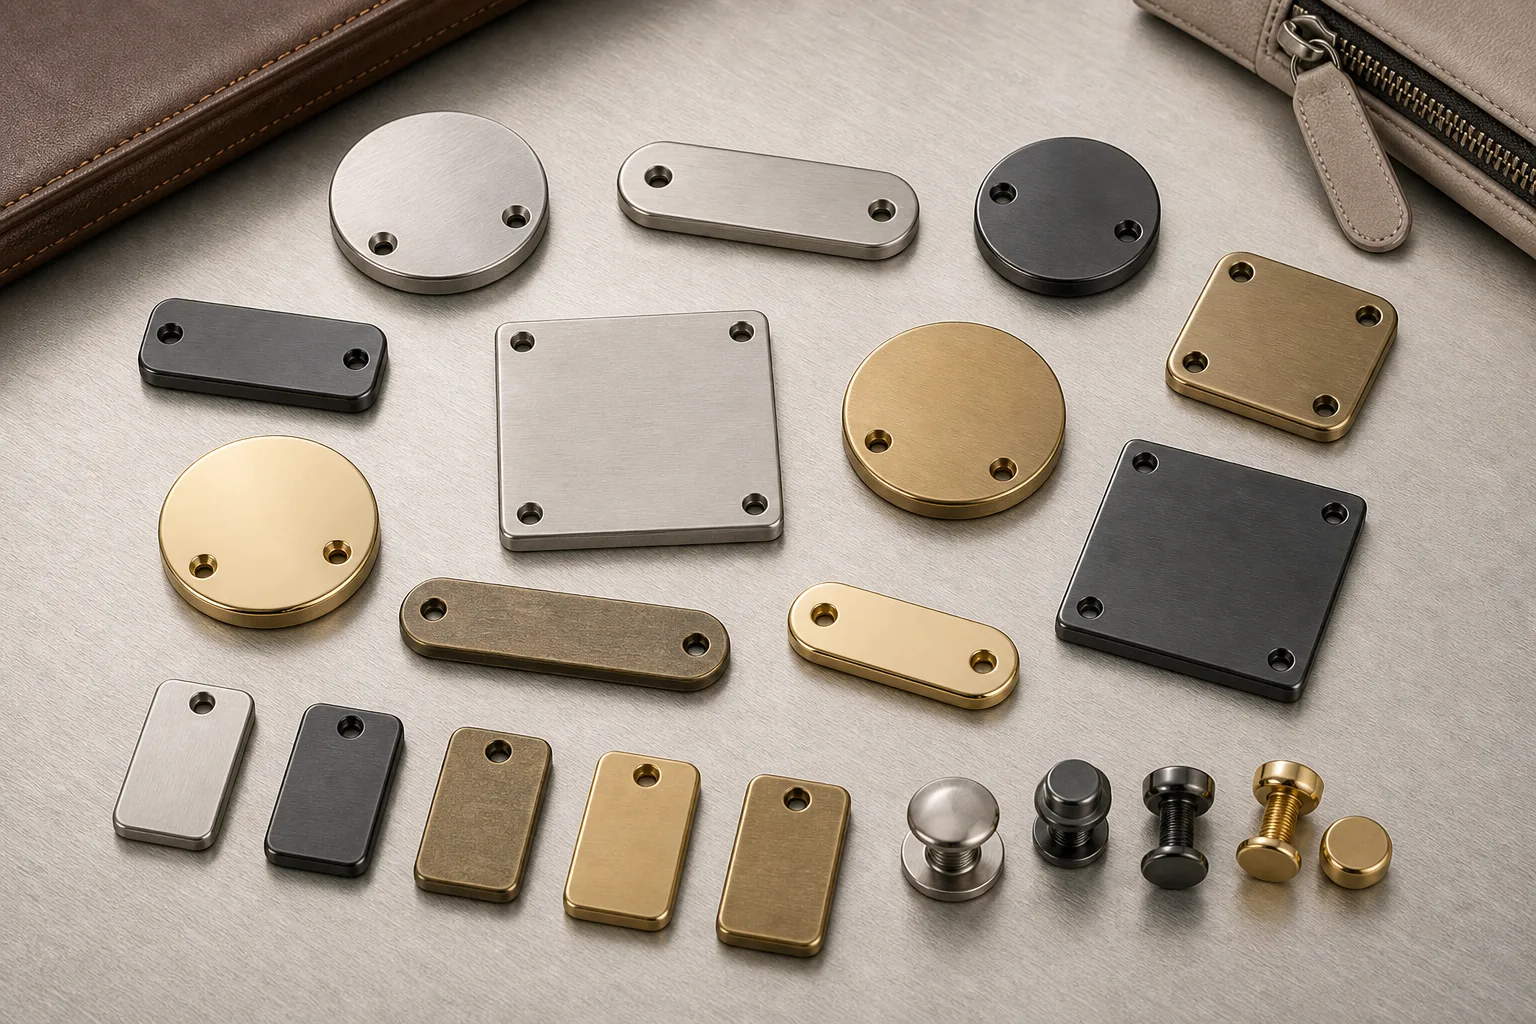
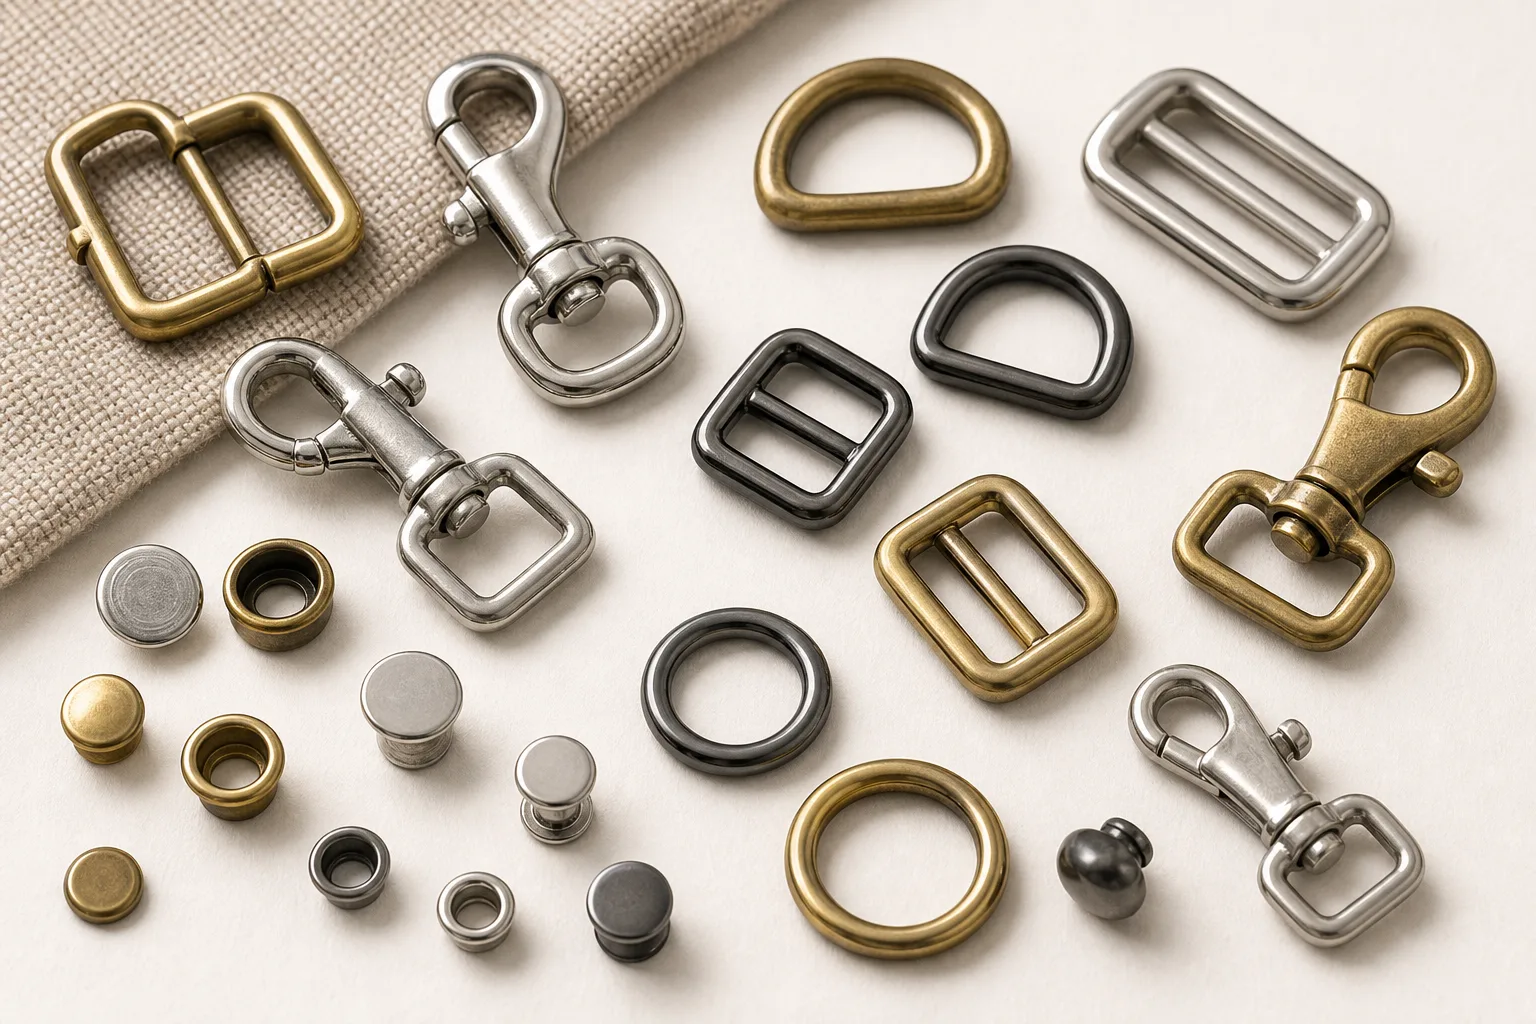
Laser marking is the most flexible way to put a brand on metal hardware: no tool, fast changes, fine detail. Its limitations are equally specific, and both sets of properties come from the same fact — the mark lives at the surface rather than in the geometry.
What the laser actually does
Depending on the material and settings, a laser can darken a surface, lighten it, or ablate a very thin layer. On plated hardware it typically produces contrast against the surrounding finish rather than cutting a visible groove.
Run a fingernail across a laser mark and you often feel nothing. That is the defining property, and everything else follows from it.
No tooling, and what that buys
Because the mark comes from a file rather than a tool, artwork changes cost setup time instead of a new mould. That suits small runs, seasonal variations, multiple brands on one part family, and any programme where the mark is still being finalised.
It also means marking can happen late in the process, which gives flexibility in scheduling that a moulded mark does not.
Sequence: before or after finishing
Marking after plating puts the mark on the finished surface, usually giving the crispest contrast — but it is then on the layer that will wear. Marking before plating puts it under the finish, which changes the appearance and can soften it.
Neither is universally right. Ask which the supplier proposes and see samples of both if the mark matters, because two samples of nominally the same mark can look quite different.
Detail limits and legibility
Laser resolves finer detail than debossing or engraving, which is why small marks with thin line work usually go this route. Even so, artwork drawn for print needs adapting: hairlines can disappear, tight counters can fill visually, and gradients cannot be reproduced.
Send vector artwork and state the finished mark size. Expect to approve a version adapted for metal at that size.
Where the lack of depth is a problem
On hardware rubbed continuously — a frequently opened buckle gate, a pull that runs against fabric, a part in a pocket — a surface mark can wear. A debossed or engraved mark has geometry that survives even when the finish above it changes.
If the mark must persist for the life of the product on a high-contact part, that is an argument for depth rather than laser. Say how the part is handled and let the supplier advise.
What to specify
Vector artwork, finished mark size, substrate and finish, whether marking is before or after finishing, the contrast wanted, how the part is handled in use, and quantity.
This guide states no durability figures for laser marks, because they depend on the substrate, the finish, the marking parameters and the test method. If persistence matters, agree how it will be verified.
Laser marking gives fine detail and free artwork changes because the mark lives at the surface — and that same fact is why it can wear on high-contact parts. Choose it for flexibility and detail, and choose depth when the mark must outlive the finish.
 Finish Guides
 Comparison Guides
 Finish Guides
 Finish Guides
 Finish Guides
 Finish Guides