
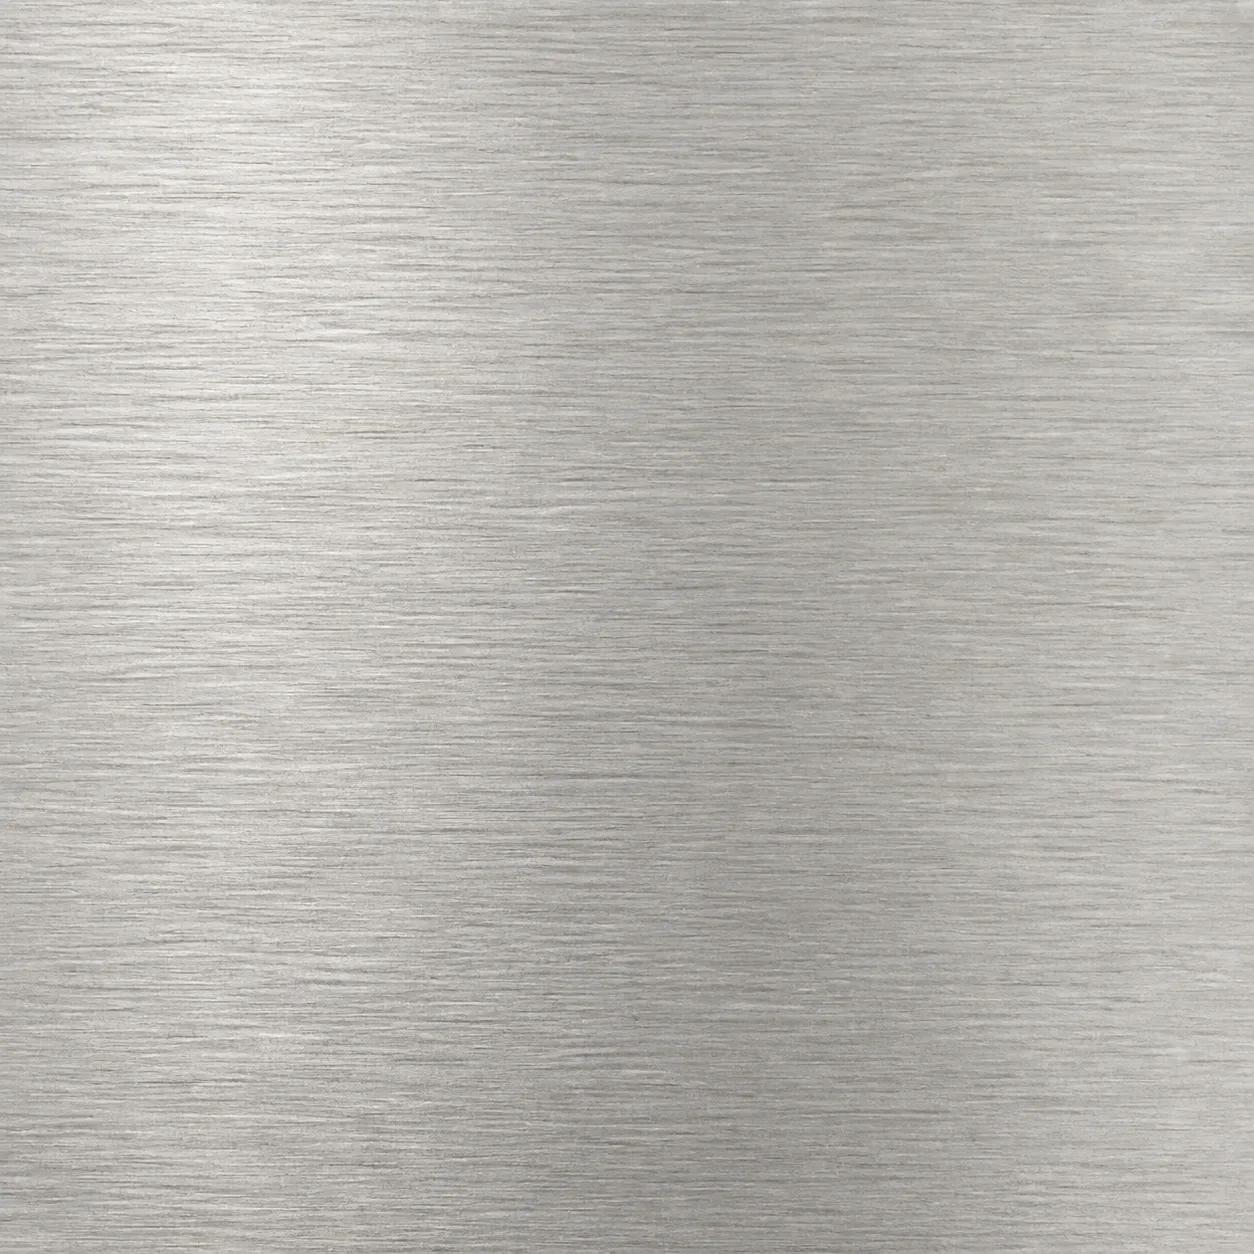
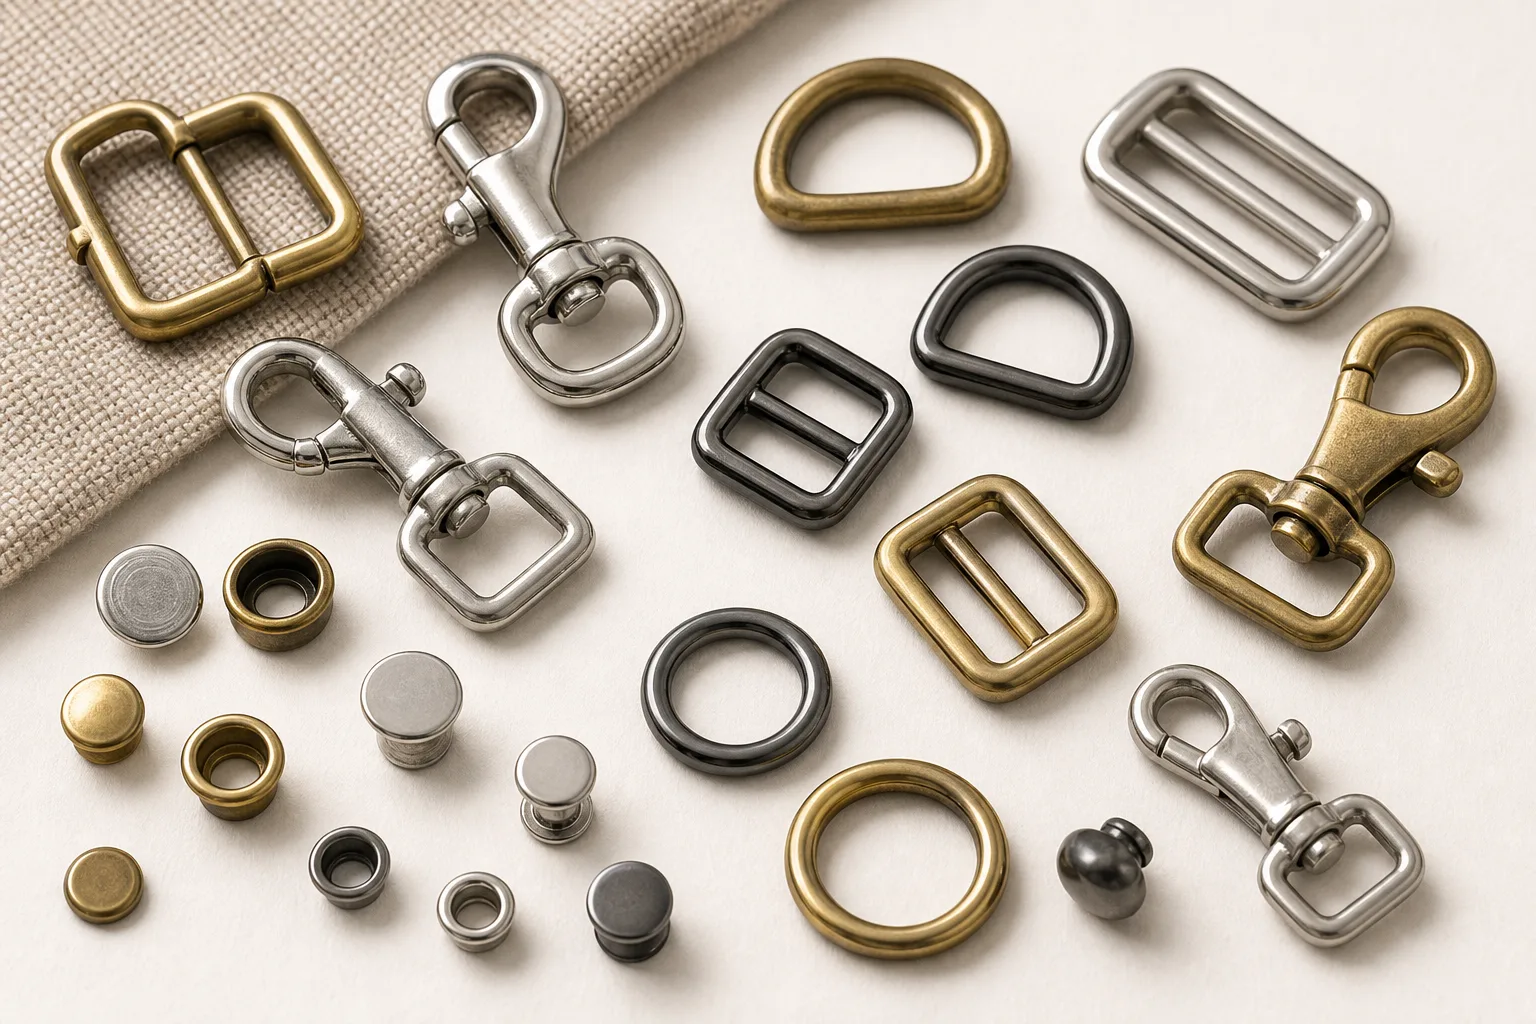
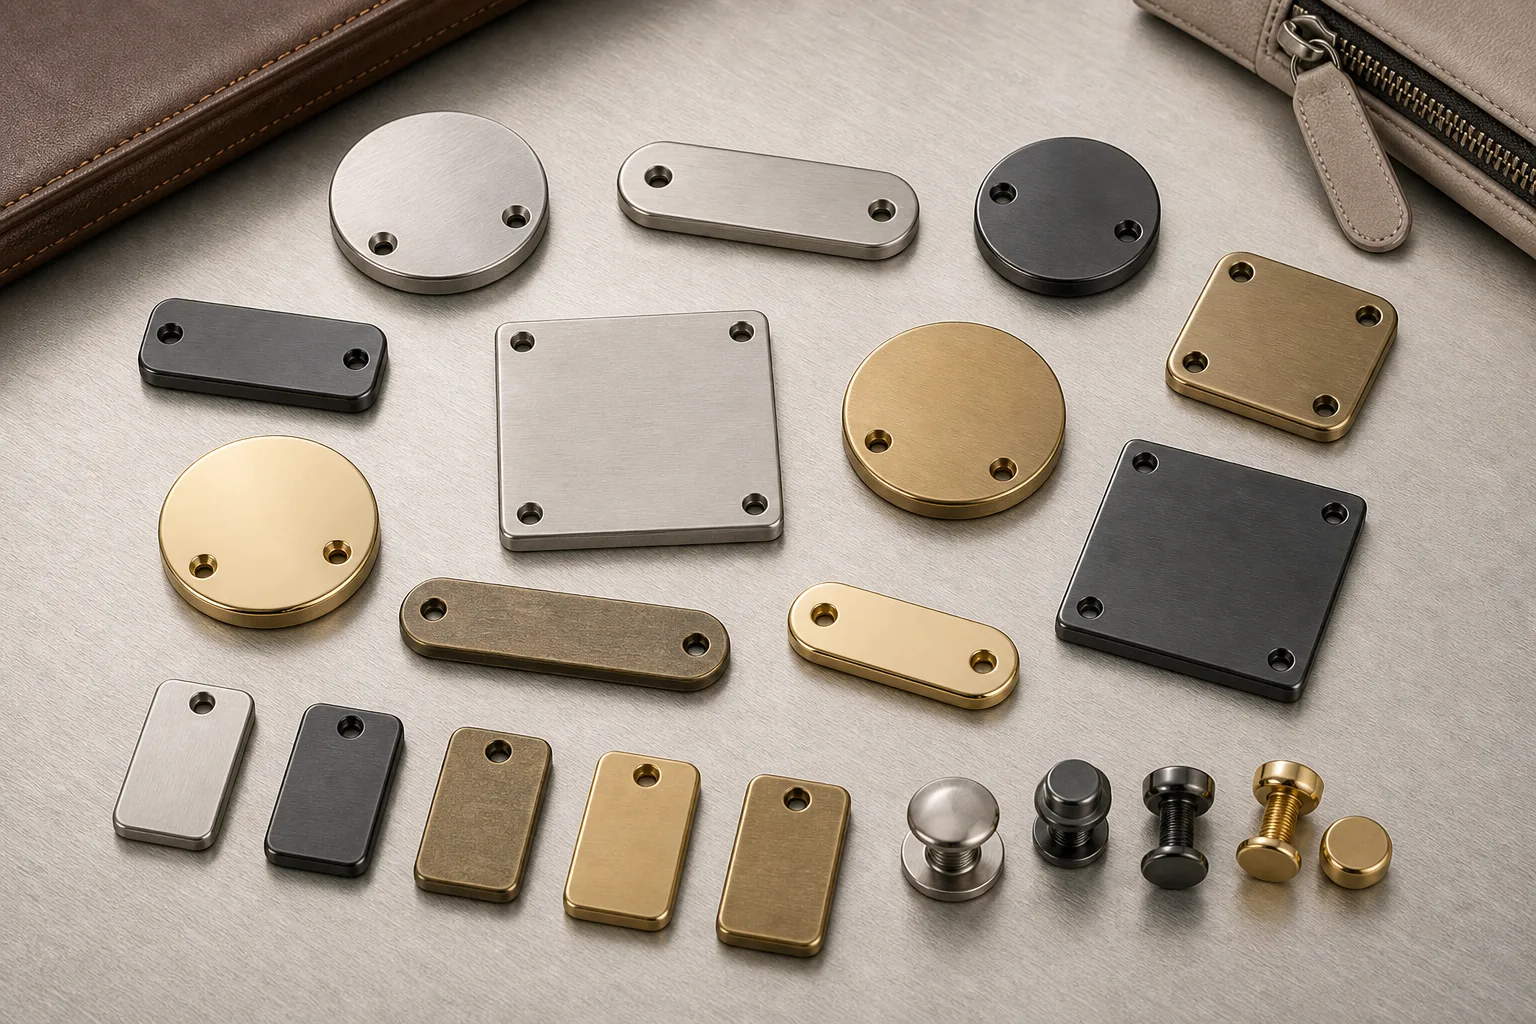
Brushed finishes look simple and are among the easiest to get subtly wrong, because two things are usually left unstated: which way the grain runs, and what happens on the parts of a shape a brush cannot touch. Both are decisions, and both are cheap to make and expensive to fix.
What brushing does to the surface
An abrasive belt, wheel or brush cuts fine parallel lines into the surface. Those lines scatter light along their length and reflect across it, which is why a brushed part looks different depending on how it is turned.
The grain also has a coarseness, from a very fine satin-like brush to a visibly linear one. That is a separate specification from the direction and should be set with a physical sample.
Direction is a design decision
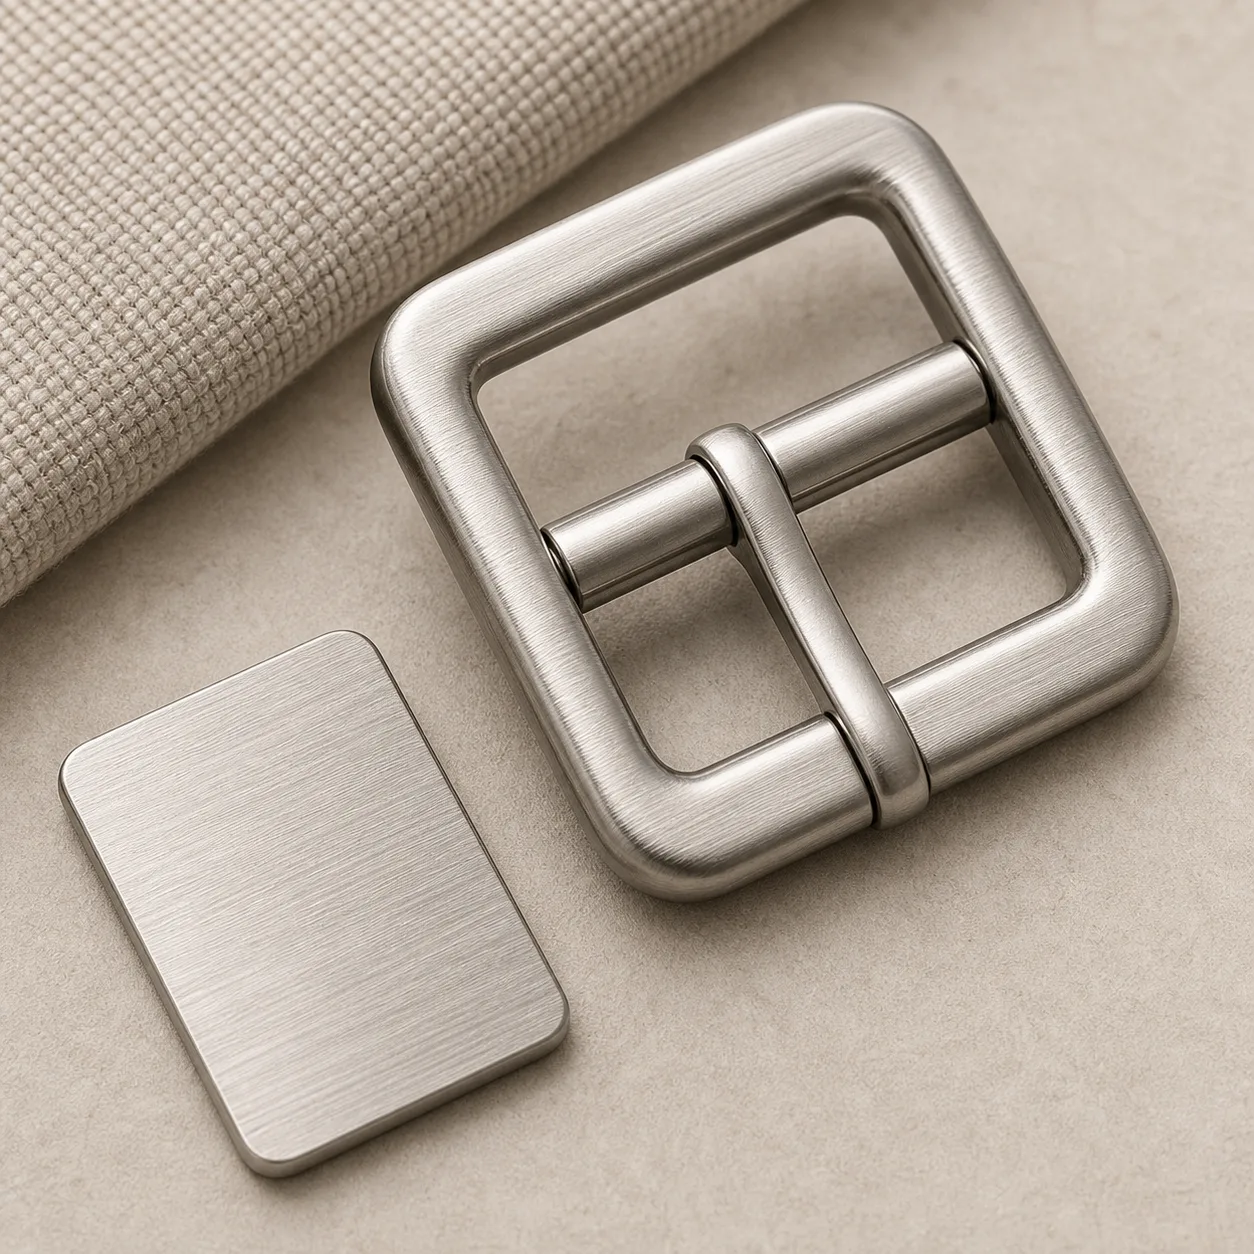
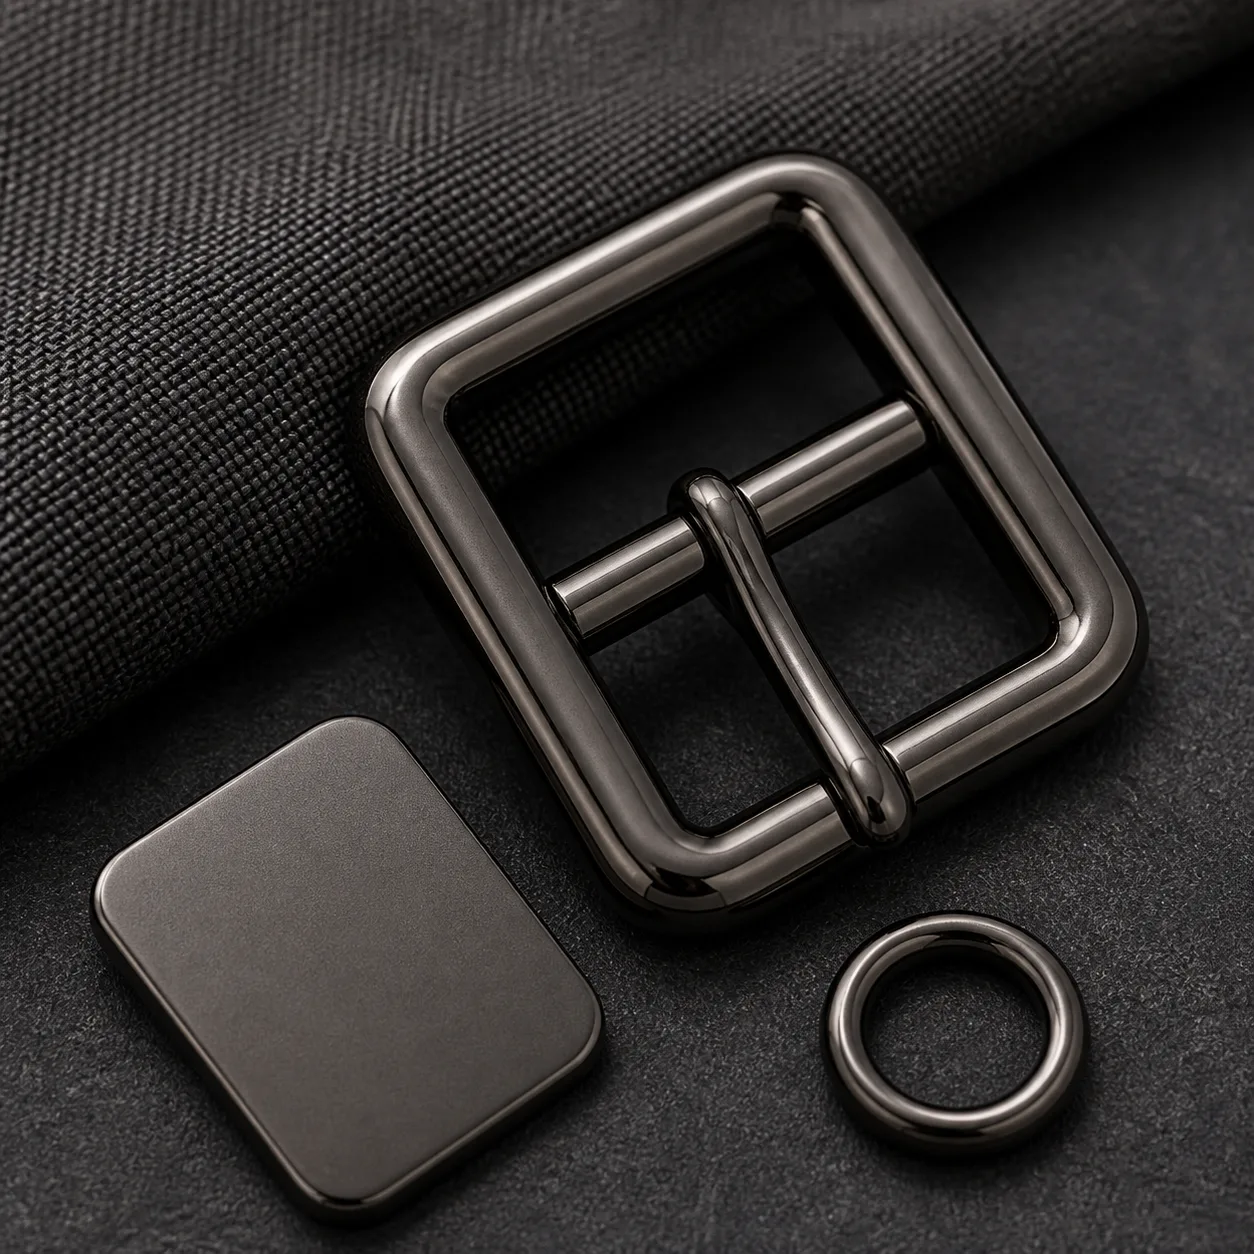
On a rectangular buckle, grain running along the long axis reads differently from grain running across it. Neither is more correct; leaving it unstated means the supplier chooses, and the choice may not be consistent between batches.
Across a set, grain alignment matters even more. Parts assembled next to each other with grain running in different directions look like a mistake, even when each part is individually correct.
What the tool can reach
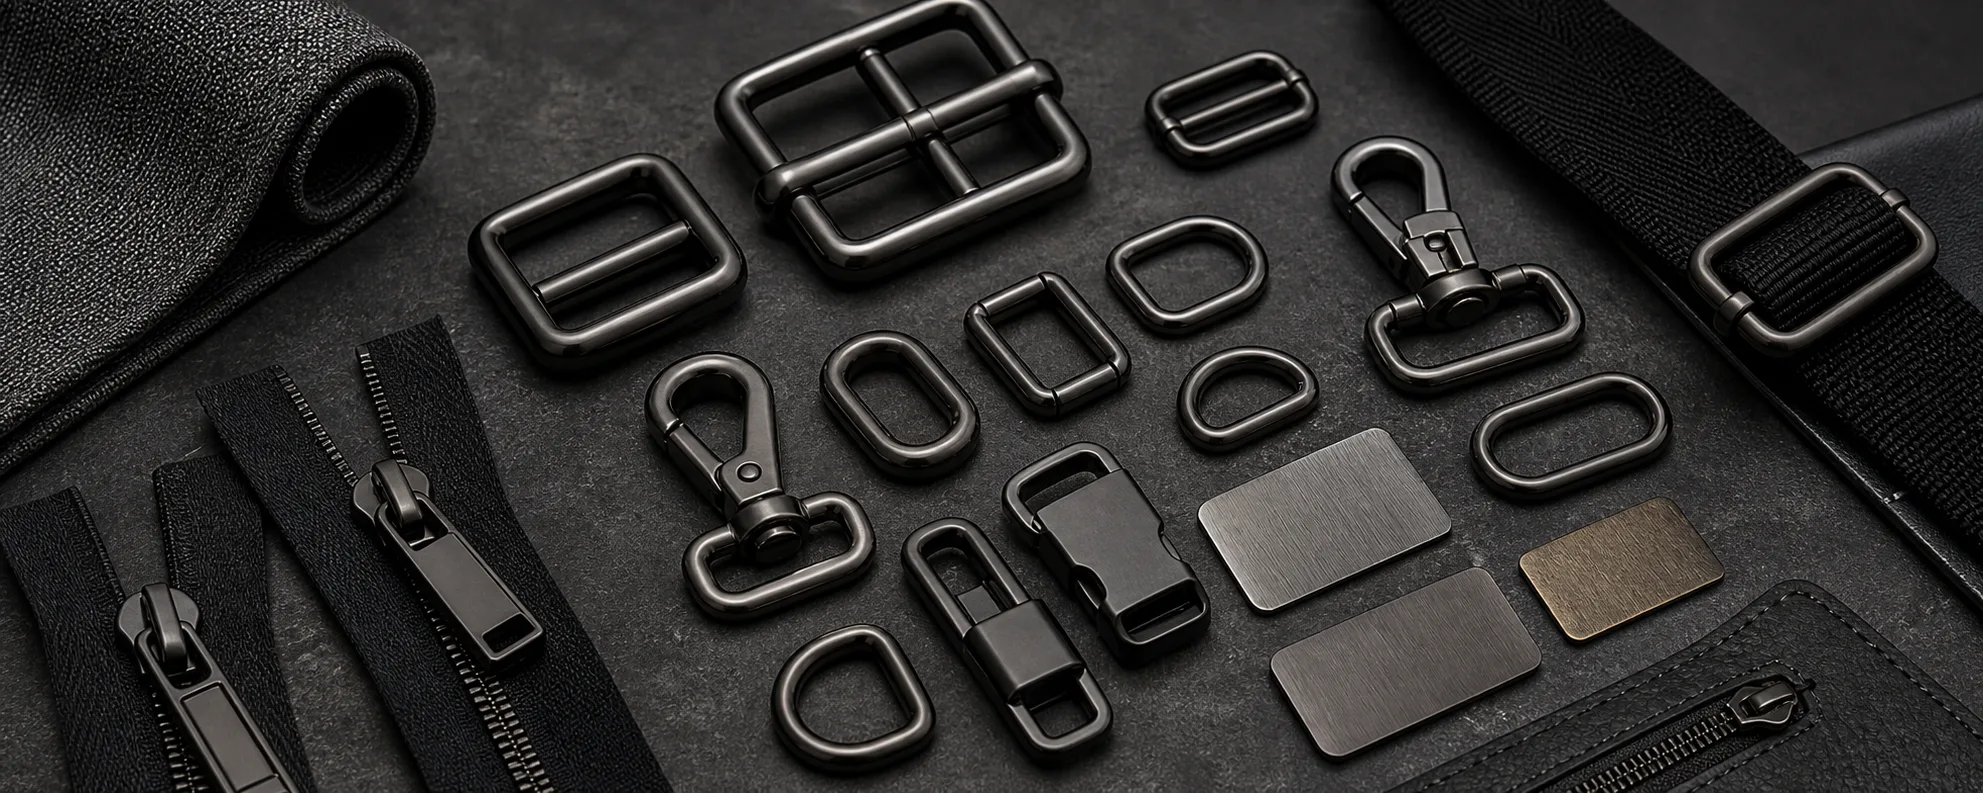
Brushing is mechanical, so it reaches flat and gently curved surfaces well, and deep recesses, tight internal corners and undercuts poorly or not at all. On a sculpted cast part, only the prominent faces may be brushed.
That produces a part with mixed surface character, which can look deliberate or accidental. Decide which faces are brushed and how the untouched areas are finished, rather than leaving it to the process.
Matching across constructions
A flat stamped part and a cast shaped part take grain differently even under the same process, because the surfaces and the accessible geometry differ.
Approve every construction in the set together. Where a part cannot carry a matching grain, consider a satin finish for that part and a stated deliberate contrast, rather than an approximate match that reads as an error.
Wear and handling
Scratches running with the grain are relatively forgiving; scratches across it are visible. On hardware that slides against another surface in a consistent direction, aligning the grain with that direction is a small decision that ages well.
This guide states no roughness or gloss values, because those depend on the abrasive and the process. Specify with a physical sample and note the coarseness alongside the direction.
What to specify
Grain direction per part, alignment requirements across the assembled set, grain coarseness by physical sample, which faces are brushed on shaped parts, how unbrushed areas are finished, and any subsequent plating or coating.
A marked-up drawing showing grain direction arrows is worth more than a paragraph, and takes a minute to produce.
Brushing gives a directional surface, and direction, coarseness and reachable faces all need specifying. On sculpted parts the tool cannot reach everything, so decide how the untouched areas are finished rather than discovering it on a sample.
 Finish Guides
 Finish Guides
 Finish Guides
 Finish Guides
 Finish Guides
 Finish Guides