
Buyers usually start a button conversation with appearance — colour, finish, logo. Appearance is the easy half. The half that decides whether the garment works is attachment: how the button is fixed, what that does to the fabric, and whether the factory sewing the garment is equipped to fit it. This guide covers the attachment families first and appearance second.
Sew-through buttons
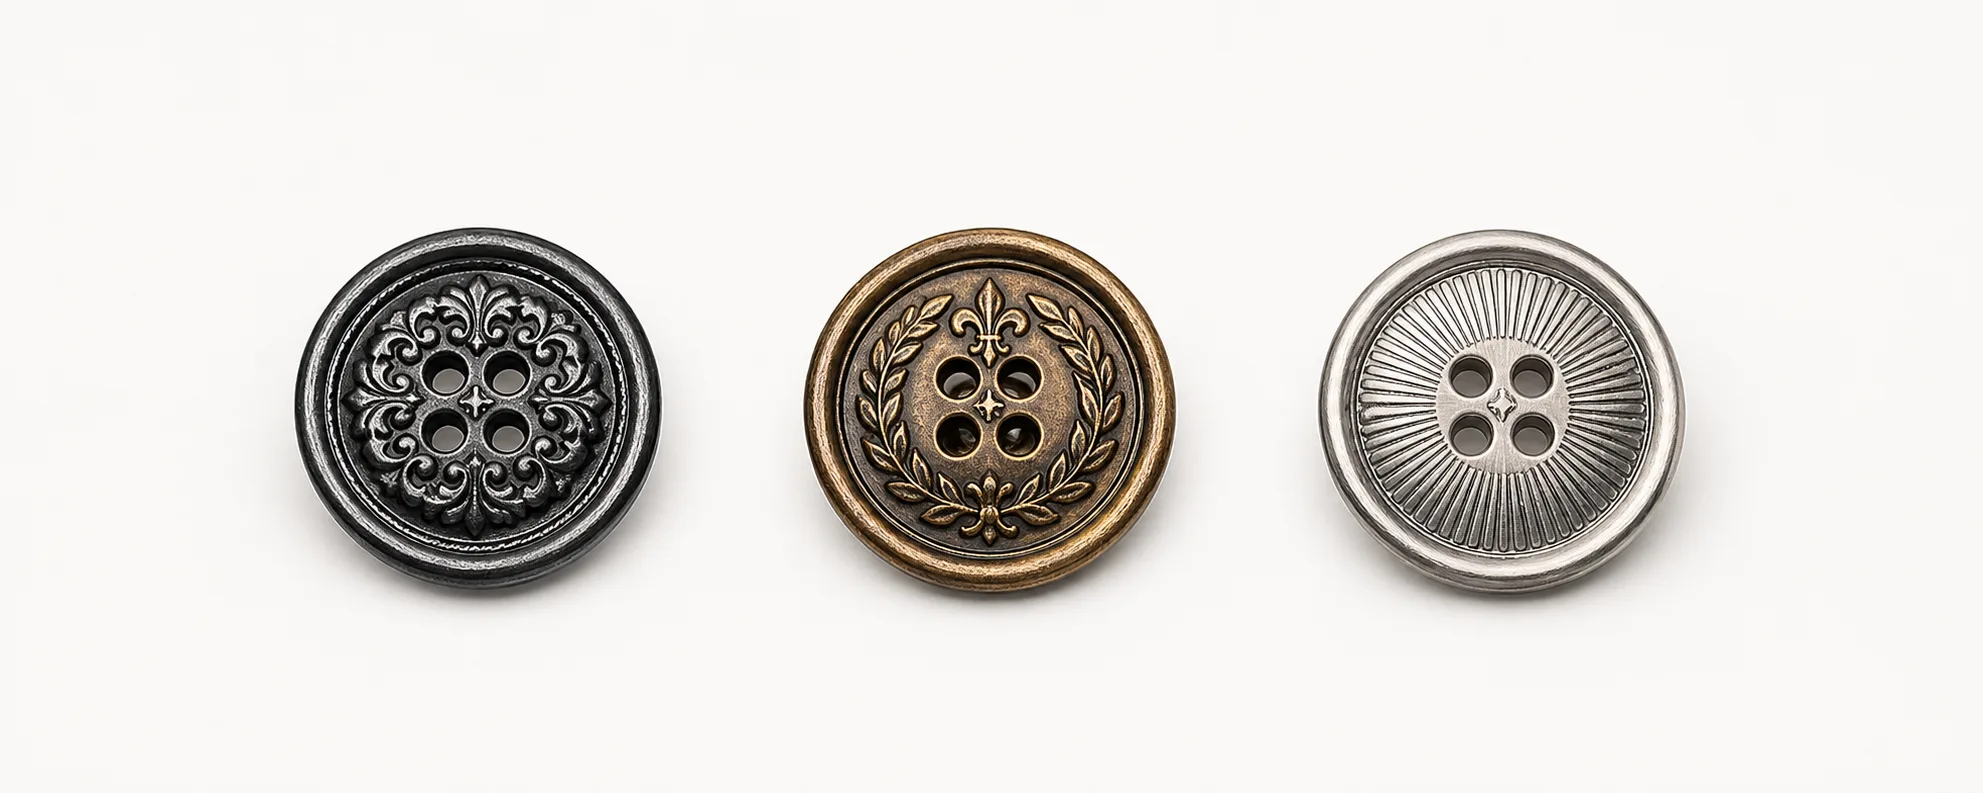
A sew-through button has holes through its face and is stitched flat against the fabric. It is the simplest to fit, needs no special press, and can be replaced by hand. Because it sits flat, it suits shirts, blouses and light jackets where the fabric closing over it is thin.
The limitation is thickness. On a heavy coat, a flat button pulls the buttonhole edge down and the closure strains. That is what shanks are for. The other consideration is that the thread is visible on the face, so the hole pattern and the thread colour become part of the design.
Shank buttons
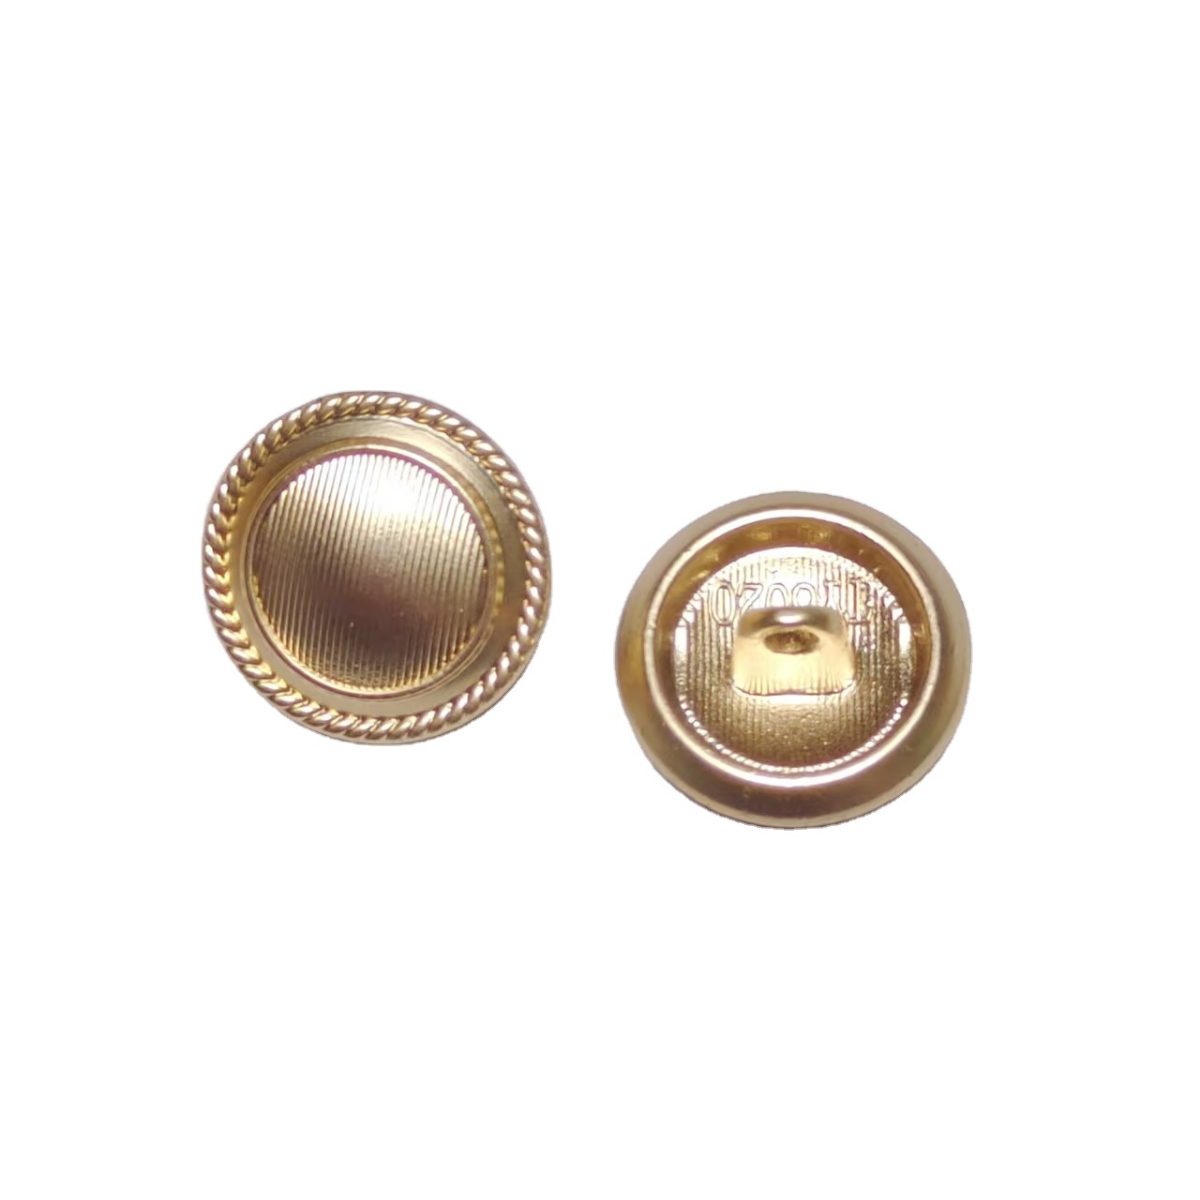
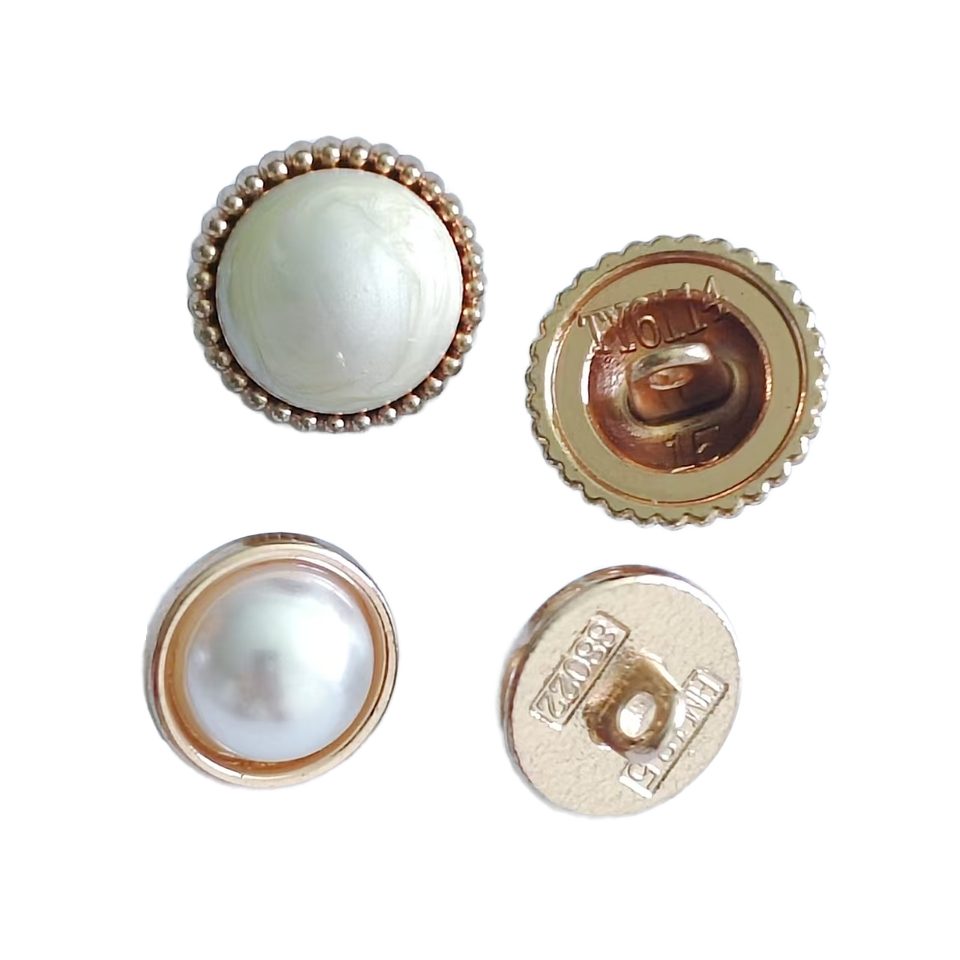
A shank button carries a loop or post on the back, and the stitching goes through that rather than through the face. The button therefore stands slightly proud of the fabric, leaving room for the closing layer to sit underneath without strain. This is the normal choice for coats, outerwear and anything where the buttoned layer has body.
Shanks come as integral cast loops, as separate wire loops fixed into the back, and as moulded posts on covered buttons. An integral cast shank has no joint to fail but constrains how the face can be shaped; a fitted wire shank gives more freedom in the face design and puts the joint where it must be checked. Neither is better in general — it depends on whether face detail or joint simplicity matters more for the product.
Set buttons: tack, snap and rivet-backed
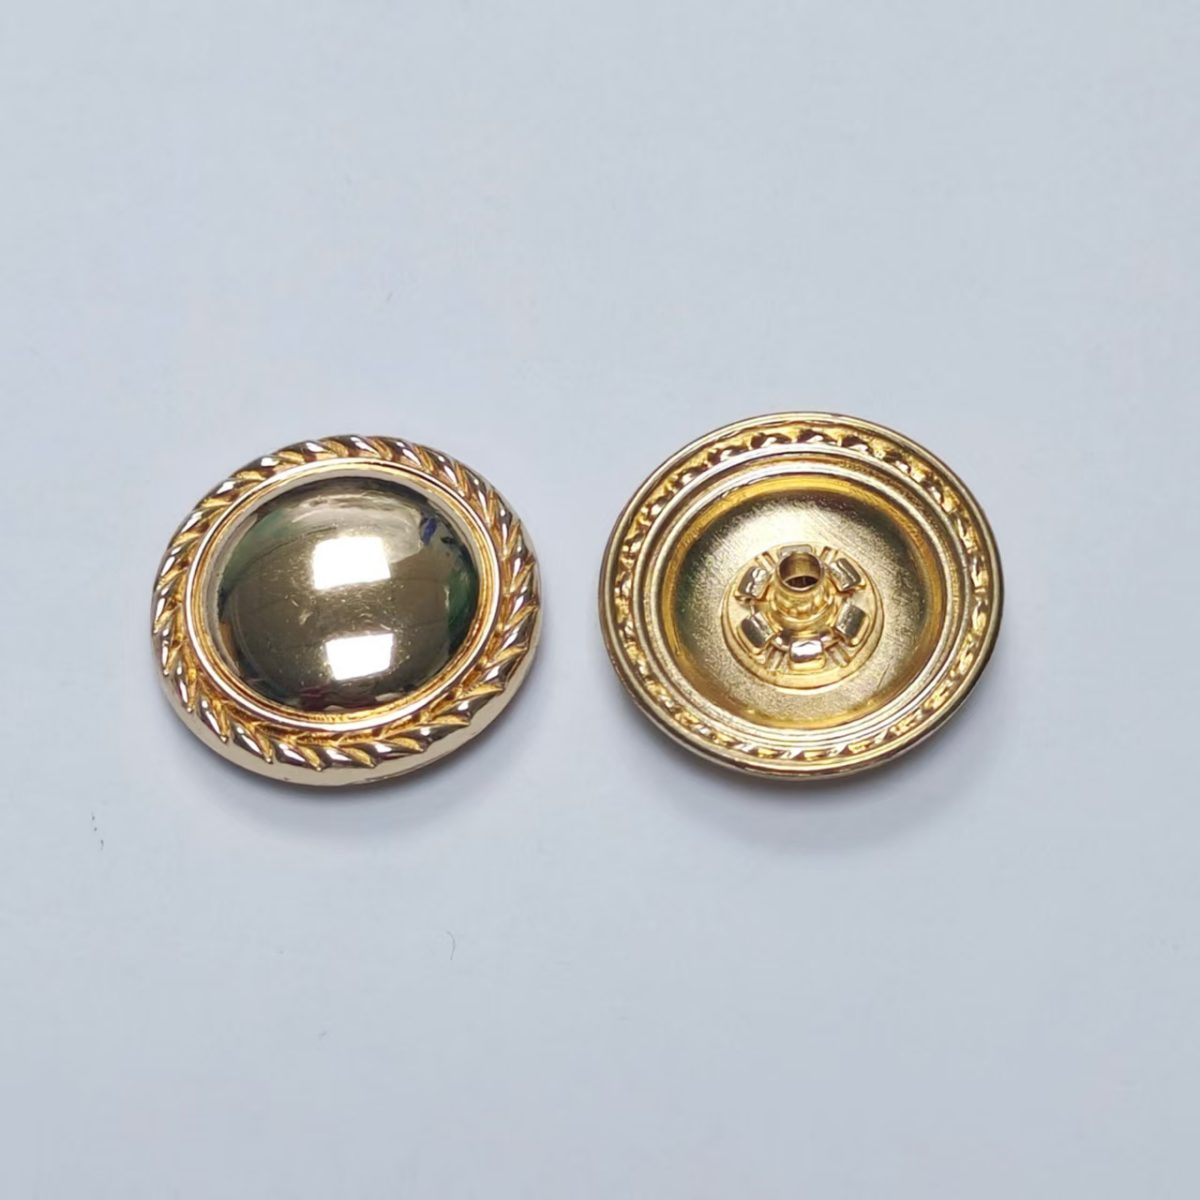
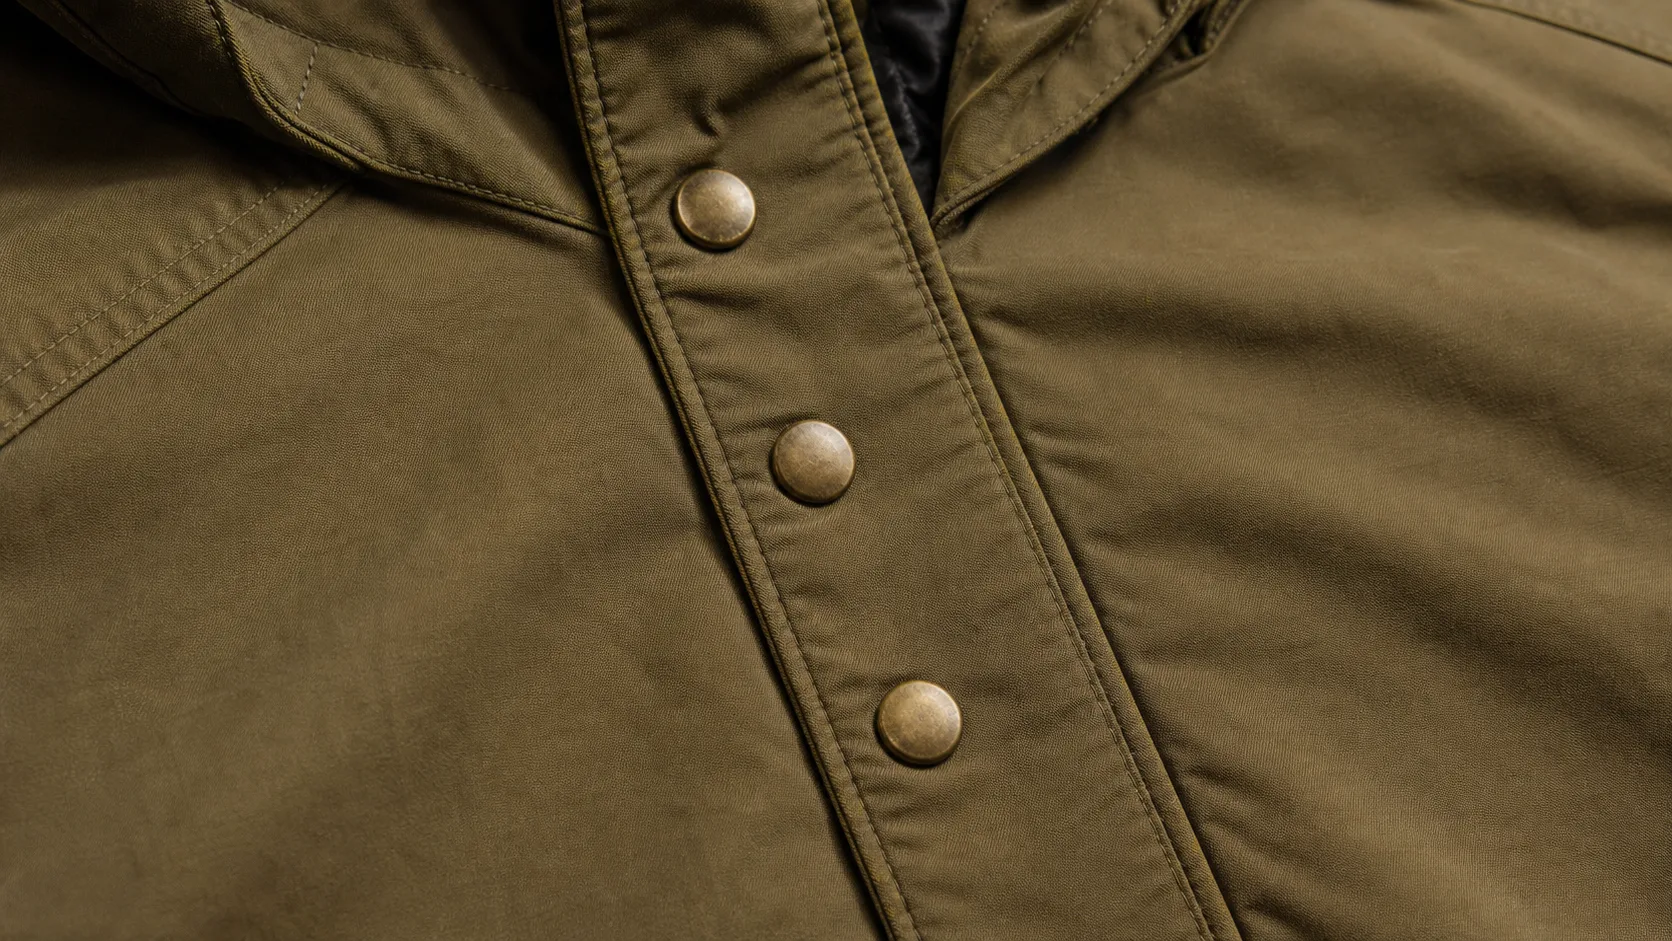
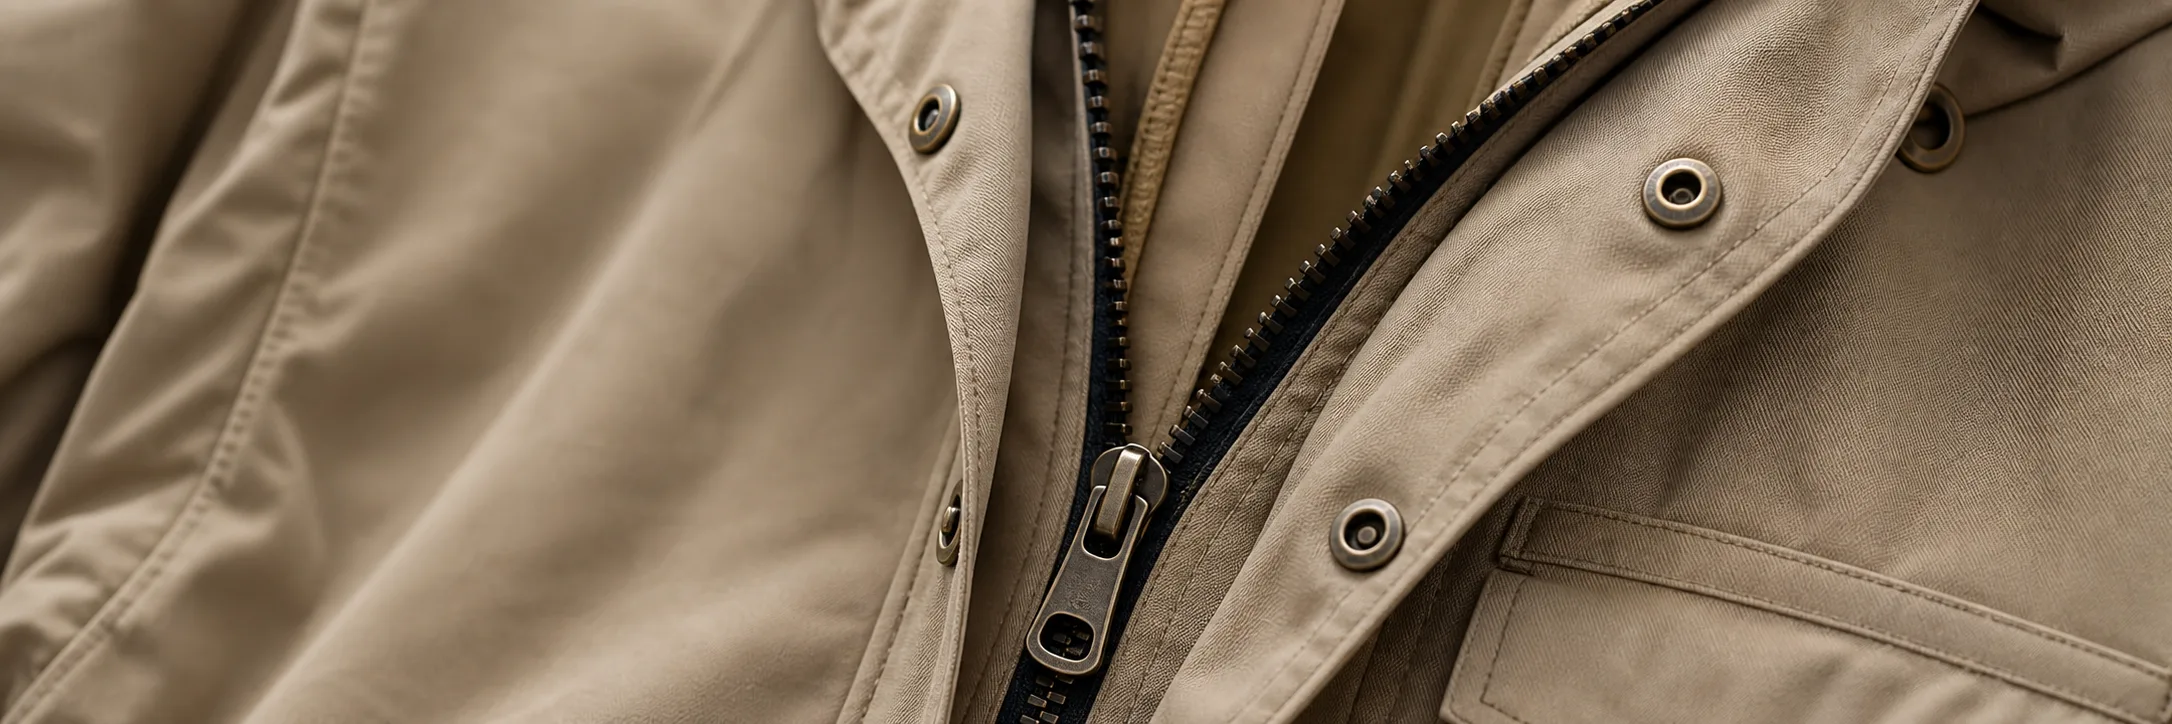
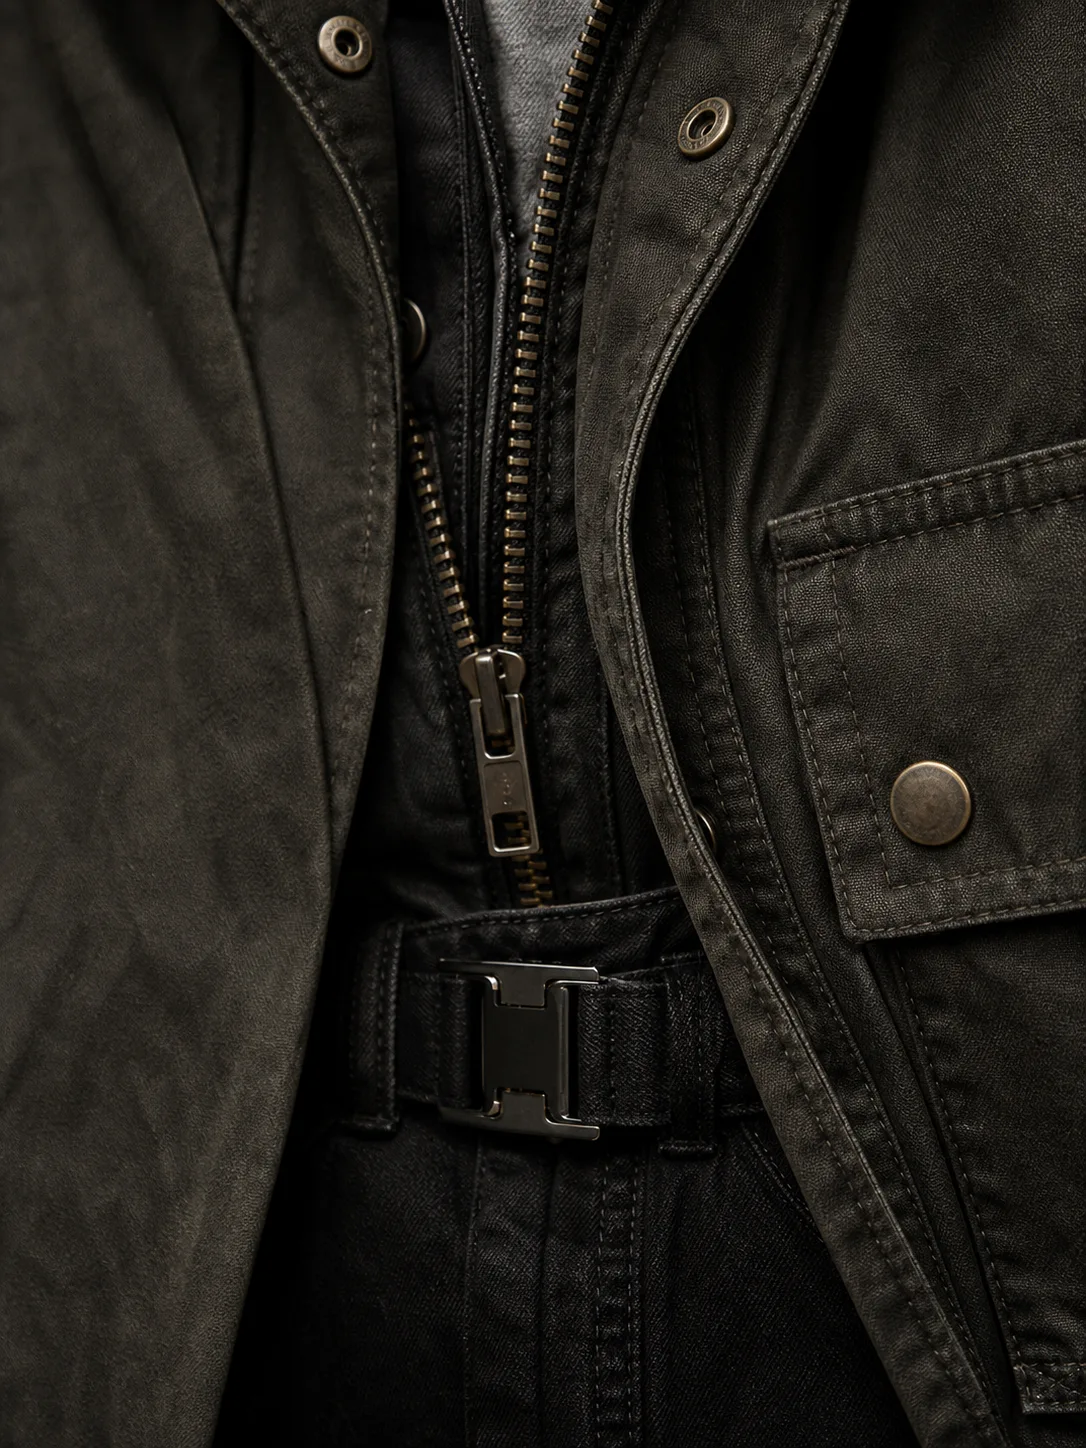
Set buttons are not sewn. A back part is pushed through the fabric and joined to the front part under press pressure, capturing the fabric between them. Jeans buttons, snap fasteners and rivet-backed decorative buttons all work this way. Because the fabric itself is part of the joint, fabric thickness and weave are not optional details — they determine the post length and the setting pressure.
The practical consequence is that set buttons need the right press, the right die and a trial on the actual fabric. A garment factory without that equipment cannot fit them regardless of how good the button is. Confirm this before choosing a set type, especially when moving an existing design to a new maker.
Face construction and logo
Once attachment is settled, the face can be discussed. Cast buttons carry relief detail and take engraved or moulded logos well. Stamped buttons give a cleaner, thinner profile and suit flat logos, laser marking or enamel fill. Covered and inlaid buttons combine a metal rim with fabric, resin or pearl-effect centres and are chosen mainly for appearance.
Logo method follows from face construction rather than the other way round. Deciding on a deep engraved mark and then choosing a thin stamped face leads to a mould change nobody planned for. Send the artwork and the acceptable logo diameter together with the button size.
Wash, wear and the process the garment will go through
Garments are washed, pressed and sometimes garment-dyed or enzyme-washed after the buttons are on. Those processes act on the finish, on any enamel or paint, and on the joint in a fitted shank. A button that is fine on a hanger can come back from a wash trial looking different.
This guide does not state what any particular finish will survive, because that depends on the plating specification, the process chemistry and the cycle. What it does recommend is running the wash trial with the real button before bulk, and agreeing in writing what the approved sample looks like after that trial rather than before it.
What to send with an inquiry
Attachment type, button diameter (and ligne if you use it), fabric type and thickness at the button position, garment process after attachment, logo artwork and method, material and finish direction, and quantity per garment. If the garment factory is already chosen, say what setting equipment it has.
For set buttons, a fabric swatch is worth more than a description. Suppliers can trial post length against a real swatch and tell you what will actually set.
Attachment comes first: sew-through for flat, light closures, shank where the closing layer has body, set types where no sewing is involved and the press decides the outcome. Face construction and logo follow from that choice. Reversing the order is what produces buttons that look right and fit badly.

 Buyer Guides
 Buyer Guides
 Application Guides
 Comparison Guides
 Application Guides
 Quality Guides