
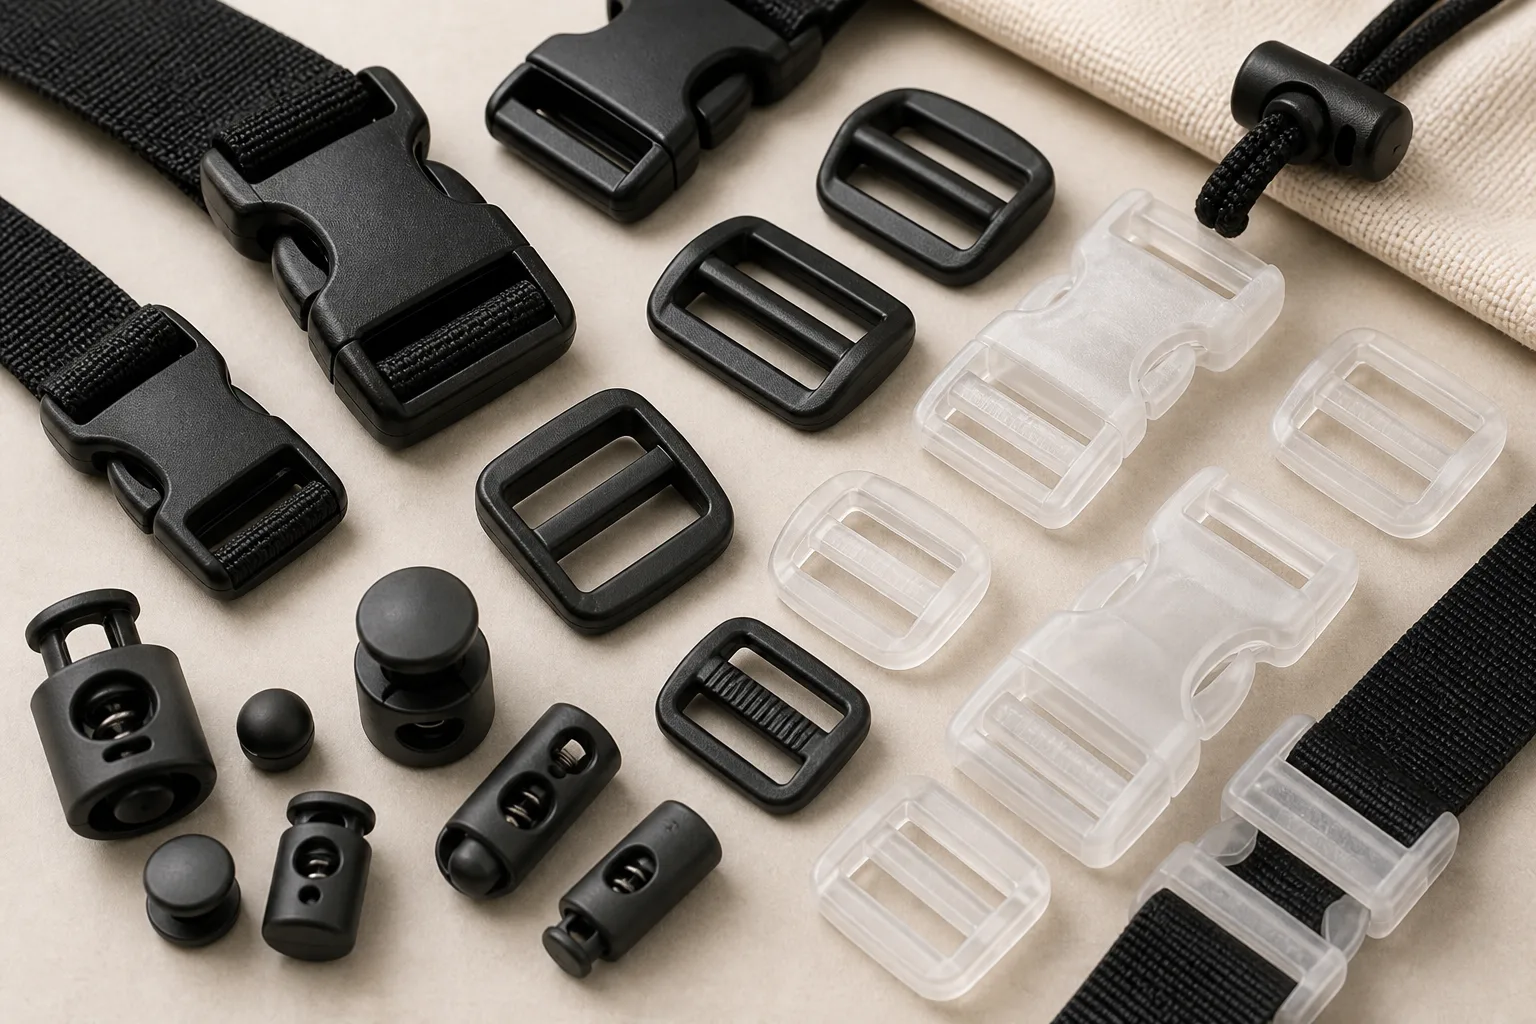
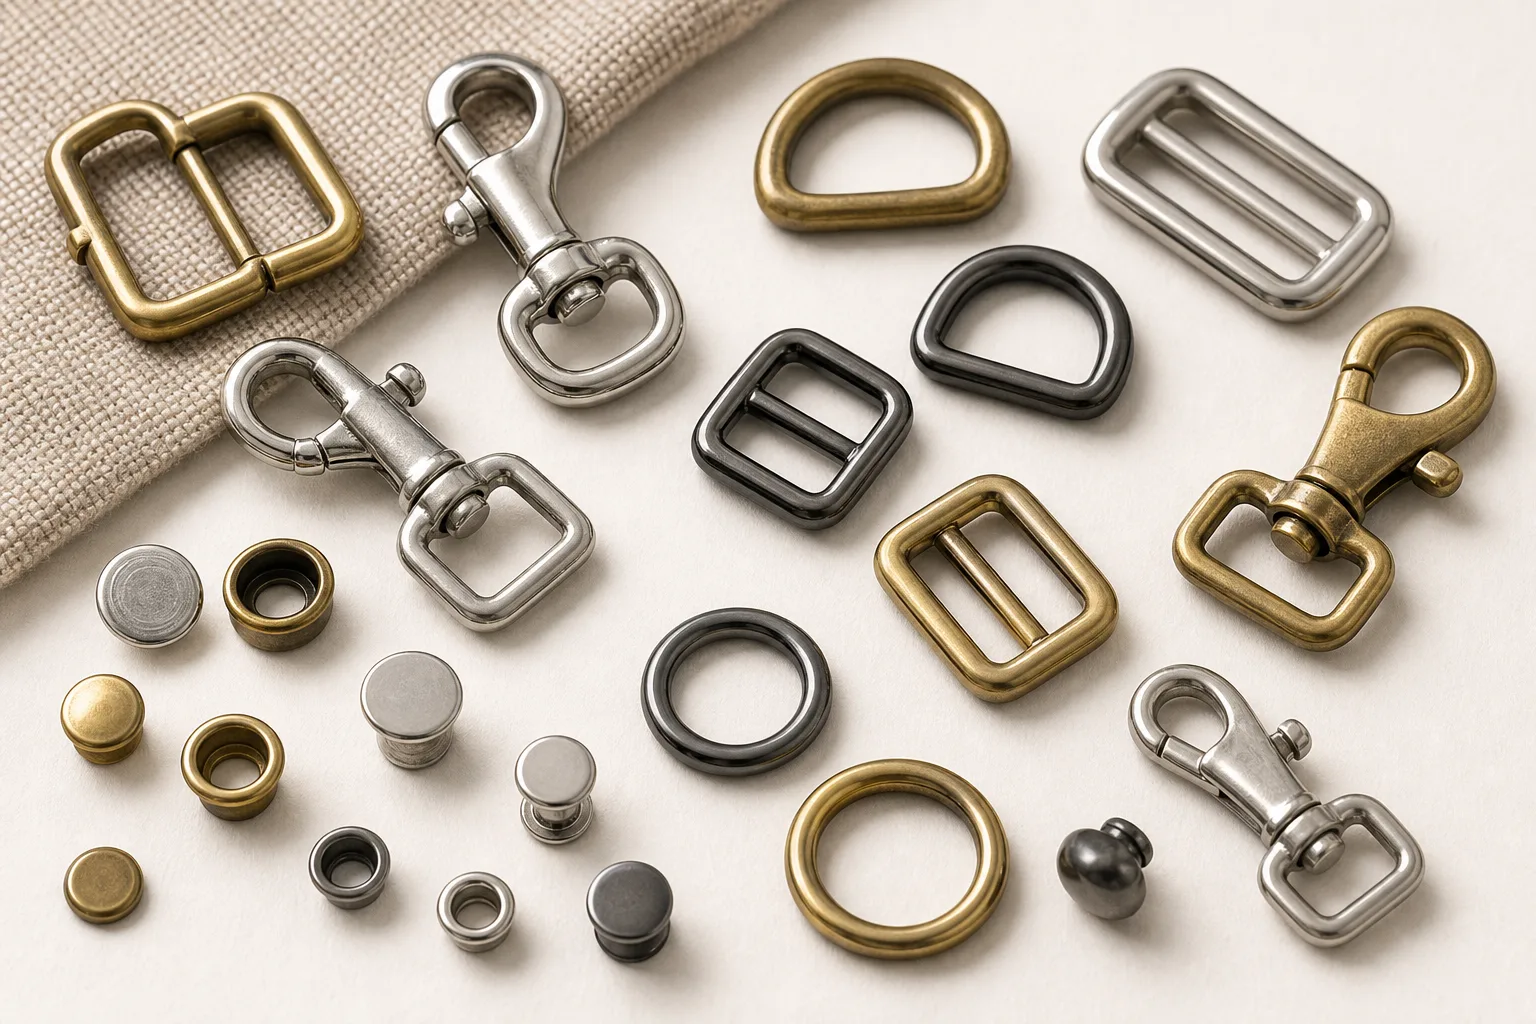
Buyers reviewing a first moulded sample often flag things that cannot be removed and miss things that can. Knowing which marks are inherent to moulding and which indicate a problem makes the review far more useful, and it changes the conversation from complaint to specification.
What comes from the tool
Everything about the part shape is in the tool: form, wall thickness, surface texture, any moulded mark. Changing any of it is a tool modification, which is why moulded parts are cheap per piece and expensive to alter.
That asymmetry is the main thing to plan around. Get the geometry and the mark right before tooling; expect per-piece cost to be low afterwards.
Marks that are inherent
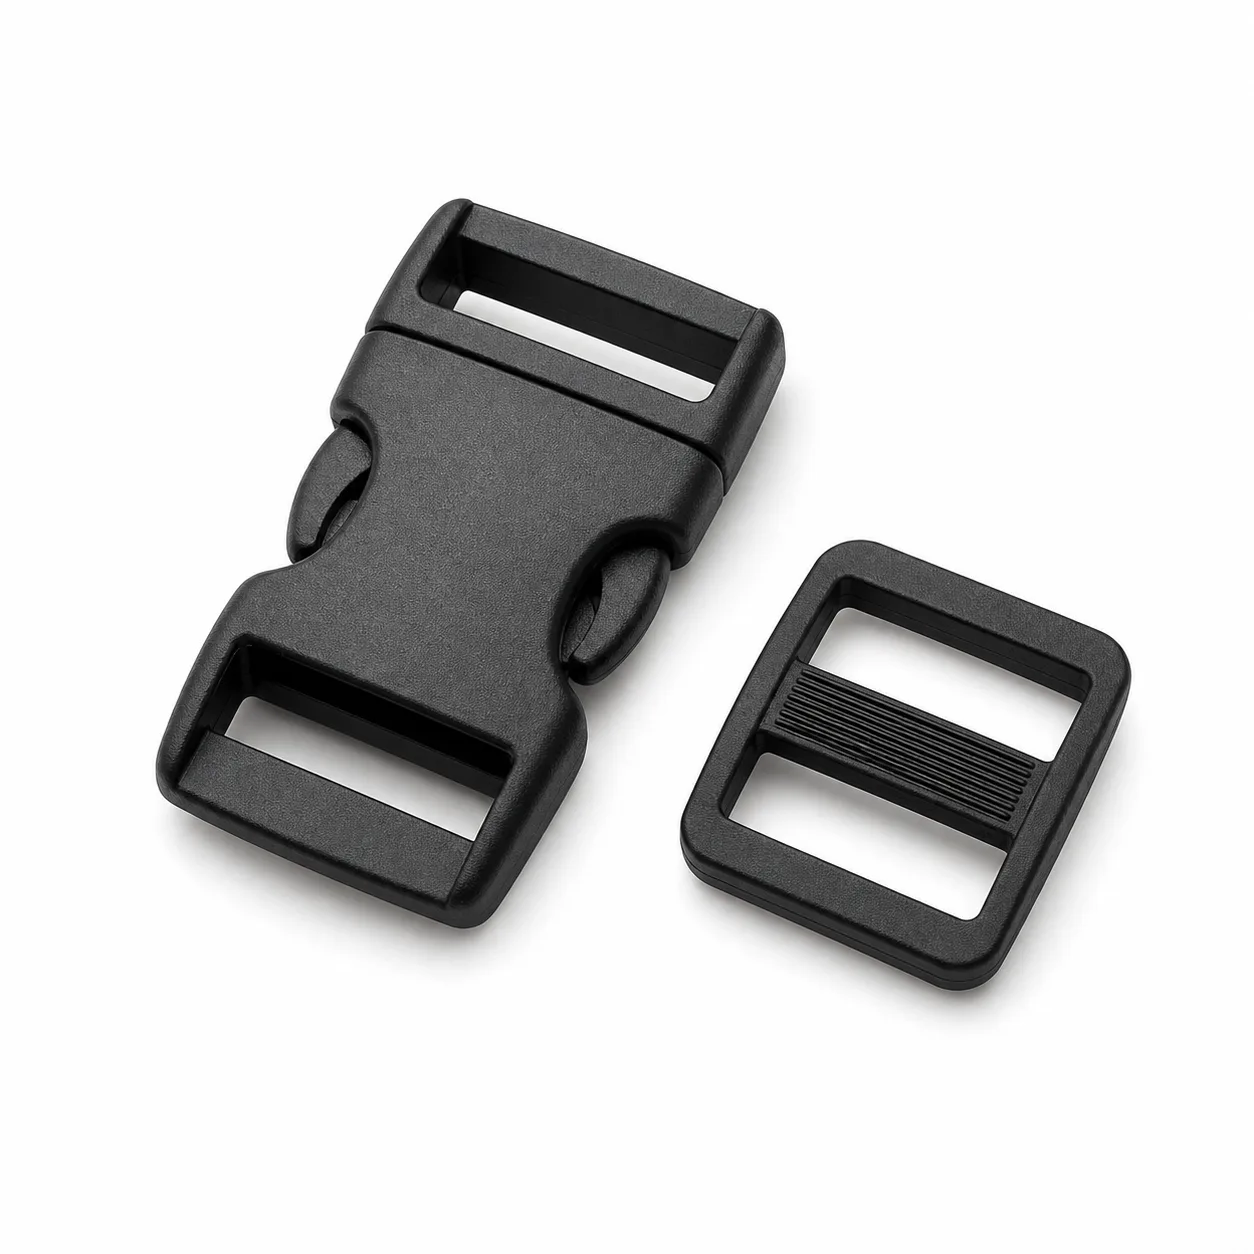
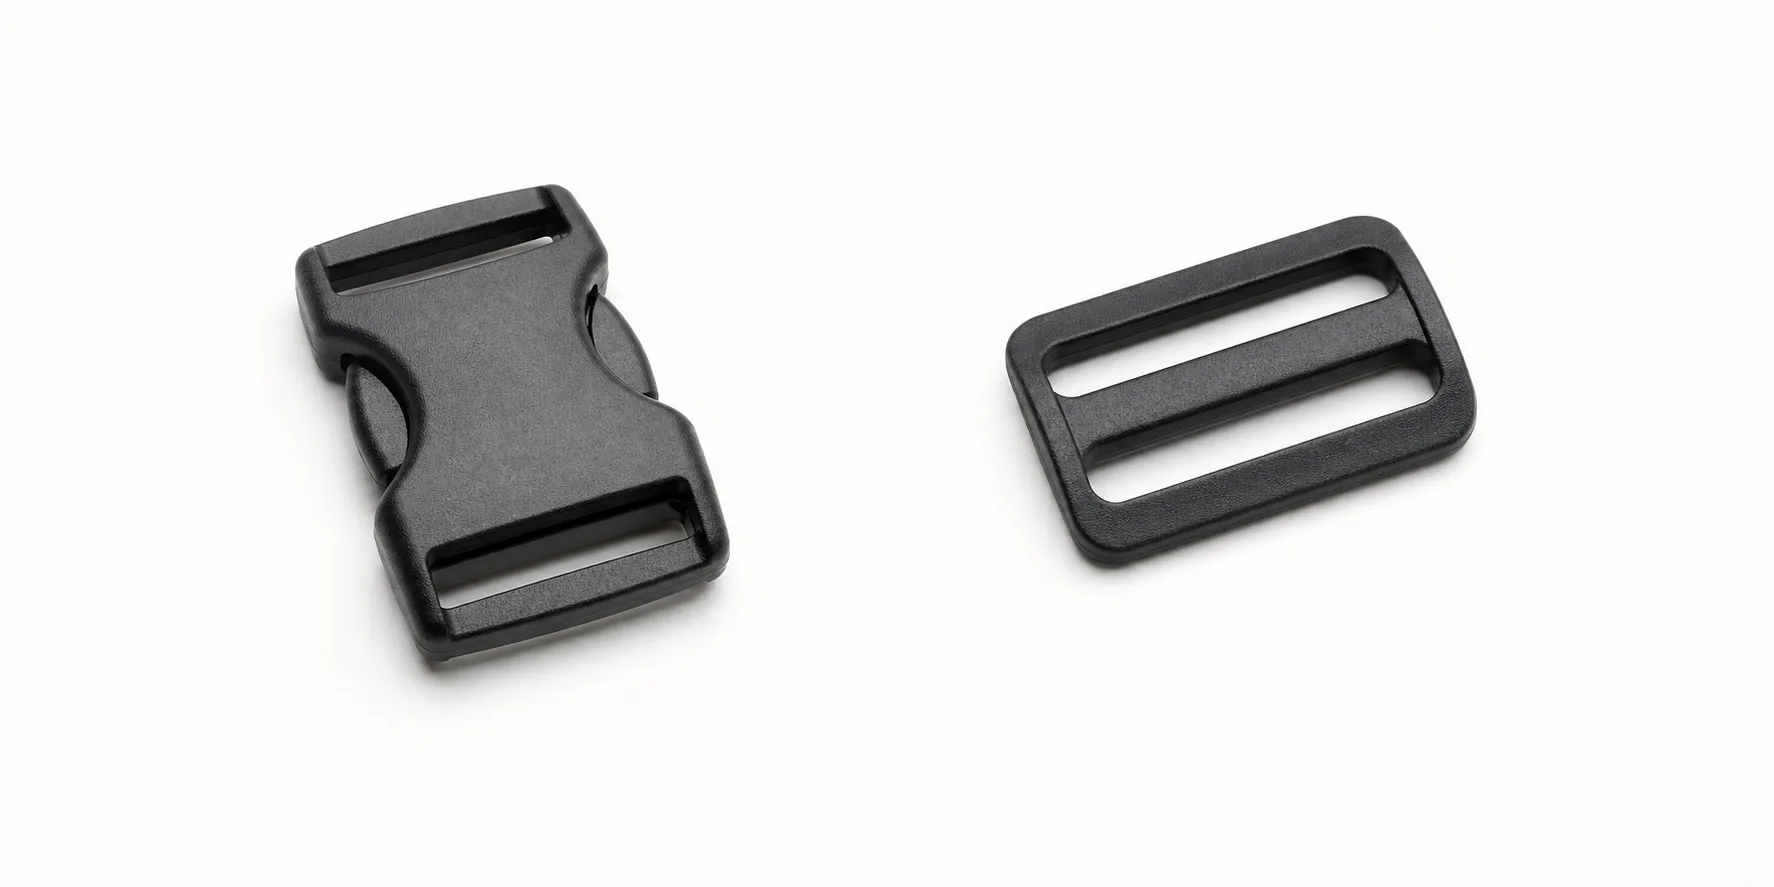
The gate is where polymer enters the cavity, and it leaves a small mark. The parting line is where the tool halves meet, visible as a fine seam. Ejector pins push the part out and leave slight circular impressions. Thick sections cool more slowly than thin ones and can show a slight sink on the opposite surface.
None of these can be eliminated, only positioned. On a visible face they matter; on a hidden face they do not. Agreeing their position at tooling stage is a normal part of the design conversation.
Signs that something is wrong
Short shot, where the cavity has not filled and the part is incomplete. Flash, where material has escaped the parting line and left a thin fin. Visible weld lines in a load-bearing area, where two flow fronts met and joined imperfectly. Warping that makes a part sit unevenly.
These are process or tooling problems and are worth raising. Distinguishing them from inherent marks is exactly what makes a sample review efficient, because it tells the supplier what to actually fix.
Colour, texture and surface
Colour is normally in the material, so it does not wear off. Surface texture is in the tool, which means a matte or grained finish is a tooling decision and cannot be added later without reworking the tool.
Approve colour and texture together on a physical sample, and note that the same colour on different wall thicknesses can read slightly differently, particularly on translucent materials.
Multi-part and over-moulded constructions
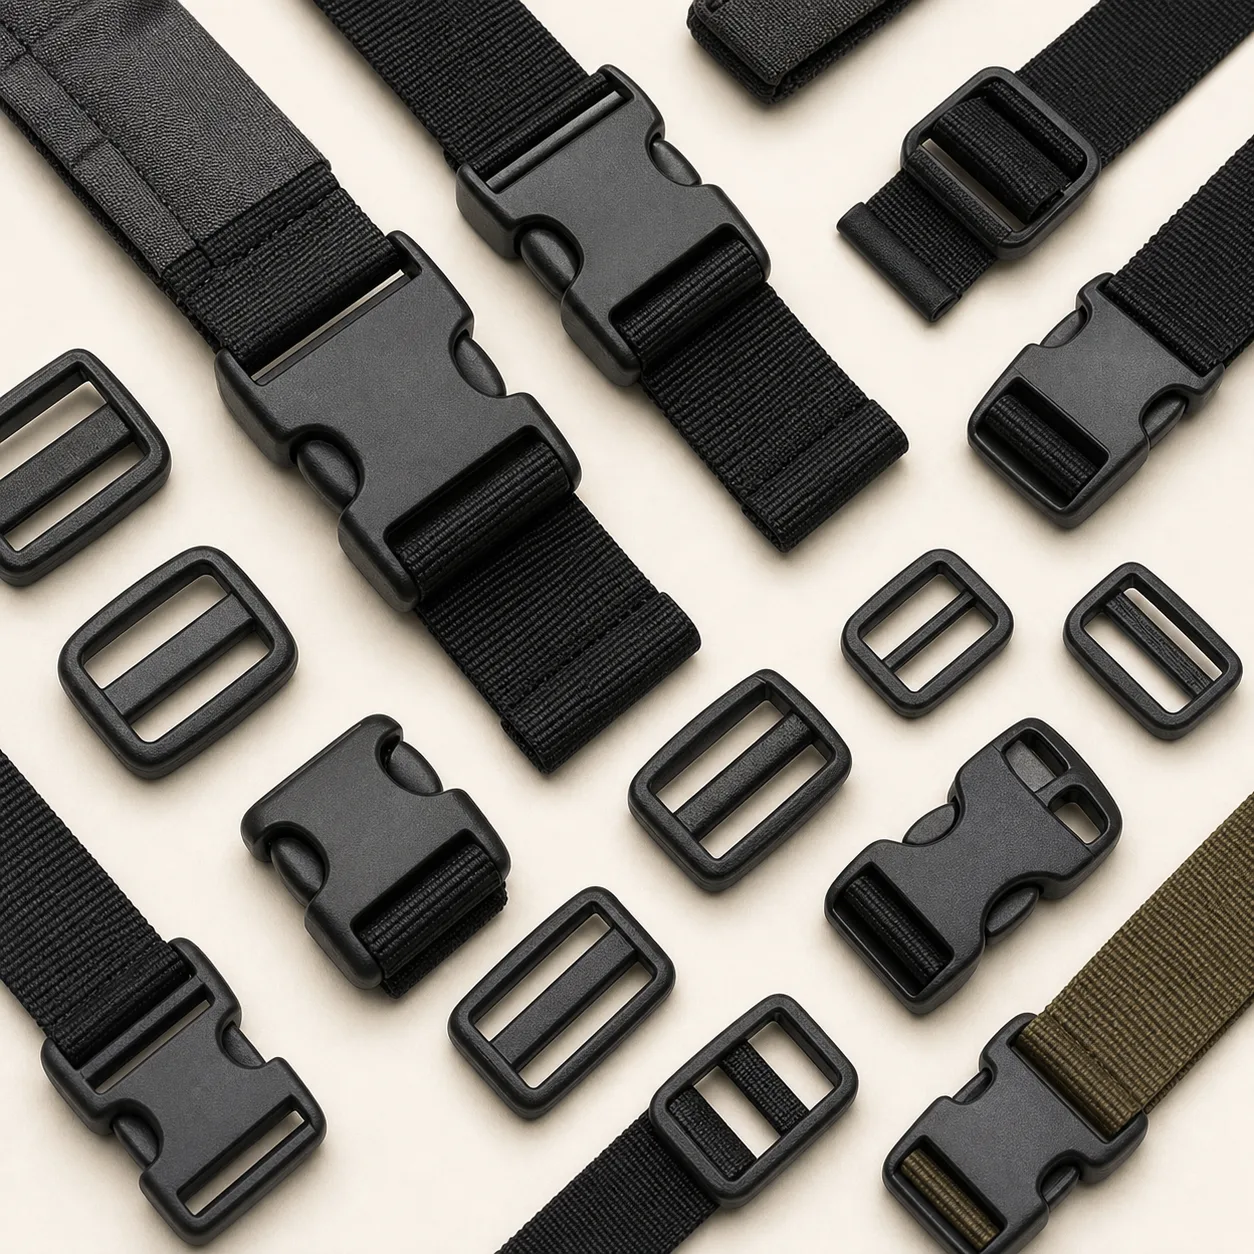
Some hardware combines materials — a soft grip over a rigid body, or a metal insert moulded into plastic. These give useful properties but add tooling complexity and introduce an interface that has to hold.
If a design needs one, discuss it early. Over-moulding and insert moulding are normal processes but they change the tooling conversation substantially.
How to review a first sample
Check the mark positions against what was agreed, check colour and texture against the approved reference, look for flash and short shot, and check that the part functions with the actual webbing or cord rather than in isolation.
Write findings as either move this mark, fix this defect, or accept as inherent. That categorisation is what turns a sample review into a short list of actions.
Moulded hardware takes its shape and its marks from the tool. Gate marks, parting lines, ejector marks and slight sink are inherent and should be positioned rather than eliminated; flash, short shot and warping are defects. Knowing which is which makes sample review productive.
 Material Guides
 Comparison Guides
 Buyer Guides
 Buyer Guides
 Application Guides