
A lacing system is one continuous path, and it fails at whichever part fits it worst. That is why footwear hardware is a poor candidate for buying part by part from whichever supplier quotes lowest on each line — the parts have to agree on lace diameter, on finish, and on how the lace is meant to move.
The lacing system as one path
The lace runs from the toe end to the top of the boot, passing through eyelets, then often across hooks, and ends in tips. Every part it touches sets a constraint: the smallest opening limits lace thickness, the roughest surface sets where abrasion happens, and the finish of every part has to match because they are all seen together.
Specify the lace first — diameter, whether it is flat or round, its construction and any coating — and let the hardware follow. Doing it the other way round produces a set of parts that individually meet a drawing and collectively bind.
Eyelets in the lower section
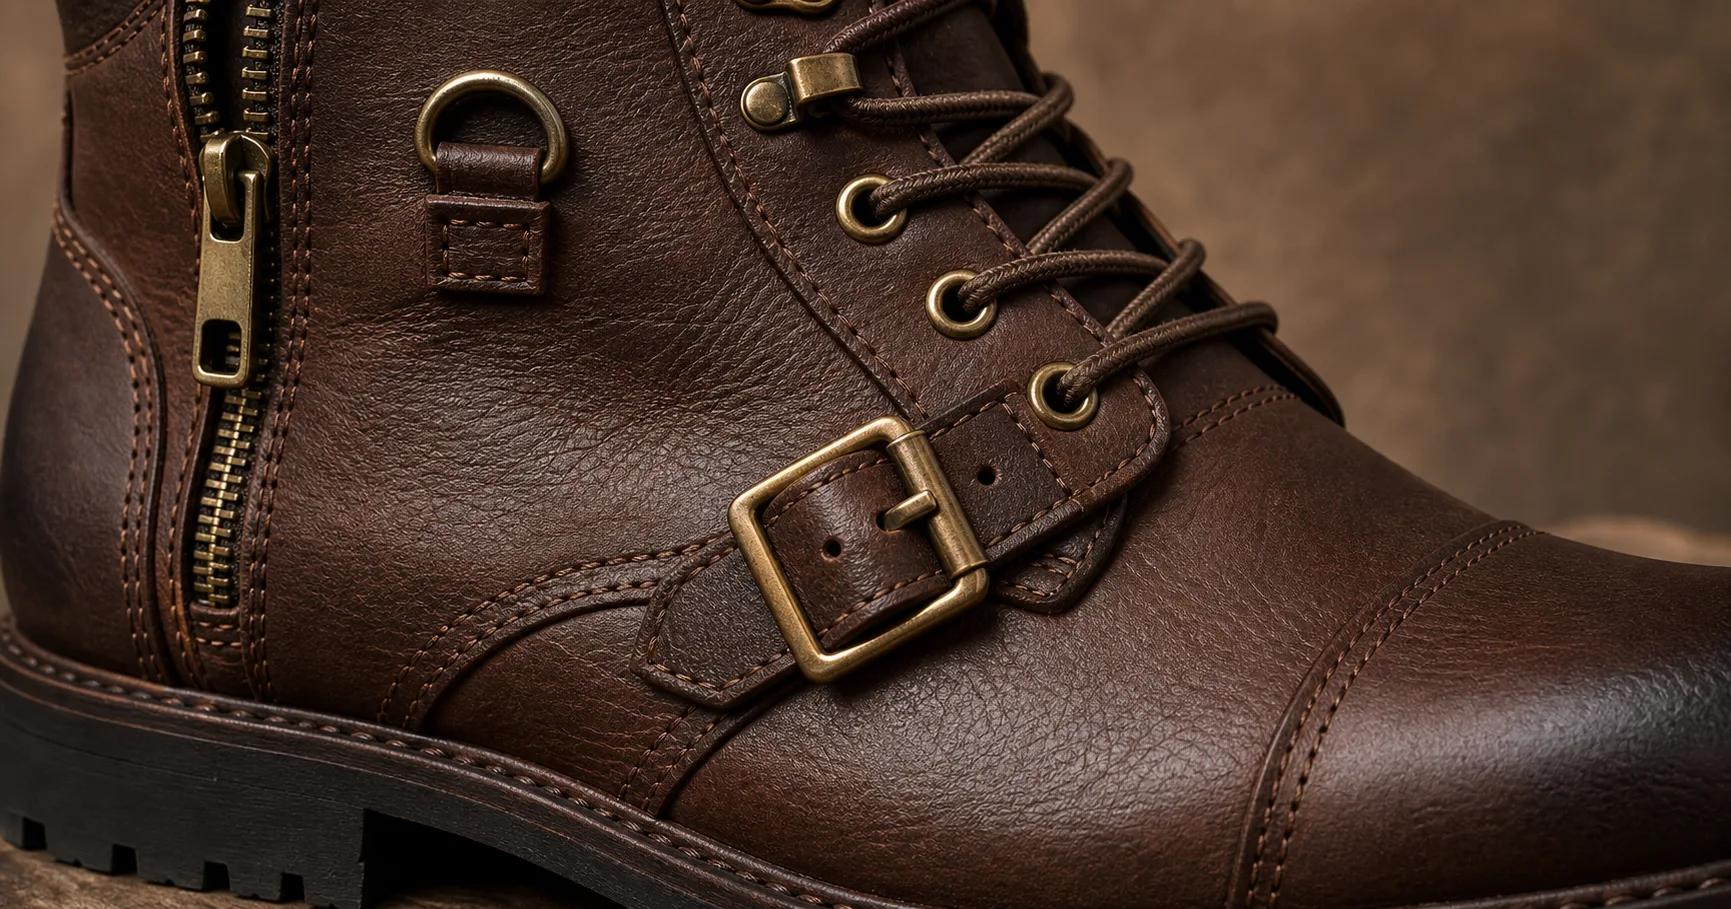
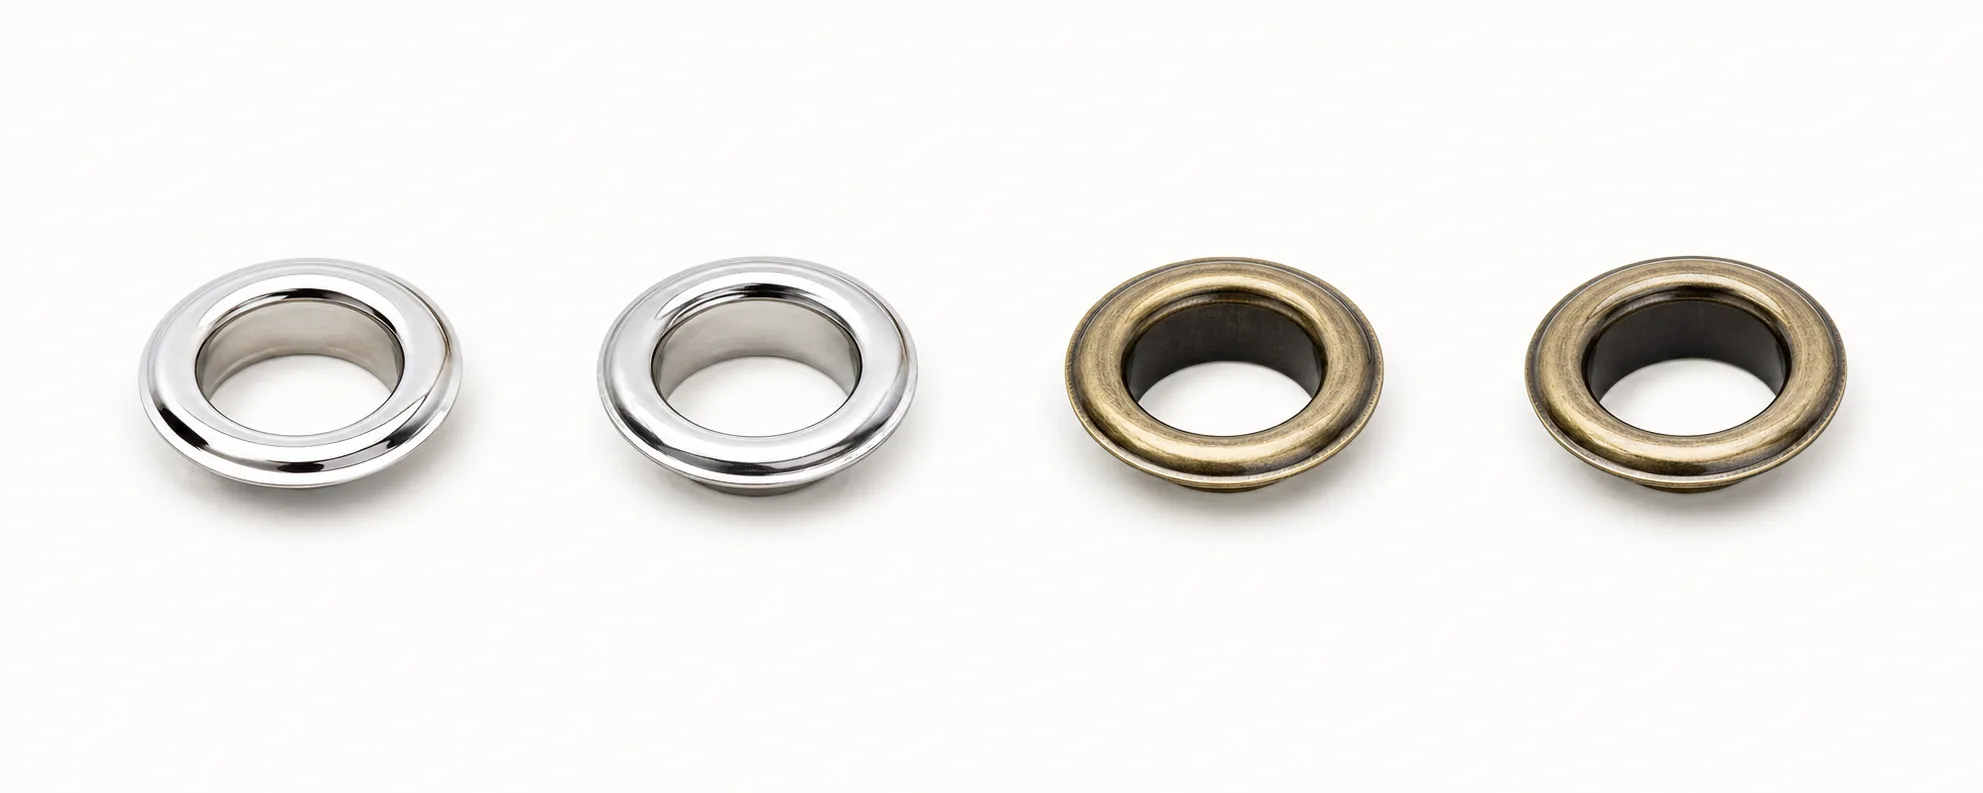
Eyelets carry the lower lacing where the lace is threaded rather than hooked. They reinforce the hole in the upper so the lace does not tear it, and their inner diameter has to allow the lace to slide, not just to pass. A lace that only just fits will pull hard when the boot is tightened and will abrade fast.
On footwear the material stack at the eyelet position often includes the upper, a lining and a reinforcement, so barrel length has to be set against that stack. This is the same principle as any eyelet application, but footwear stacks vary more across the upper than a flat panel does.
Speed hooks and D-rings in the upper section
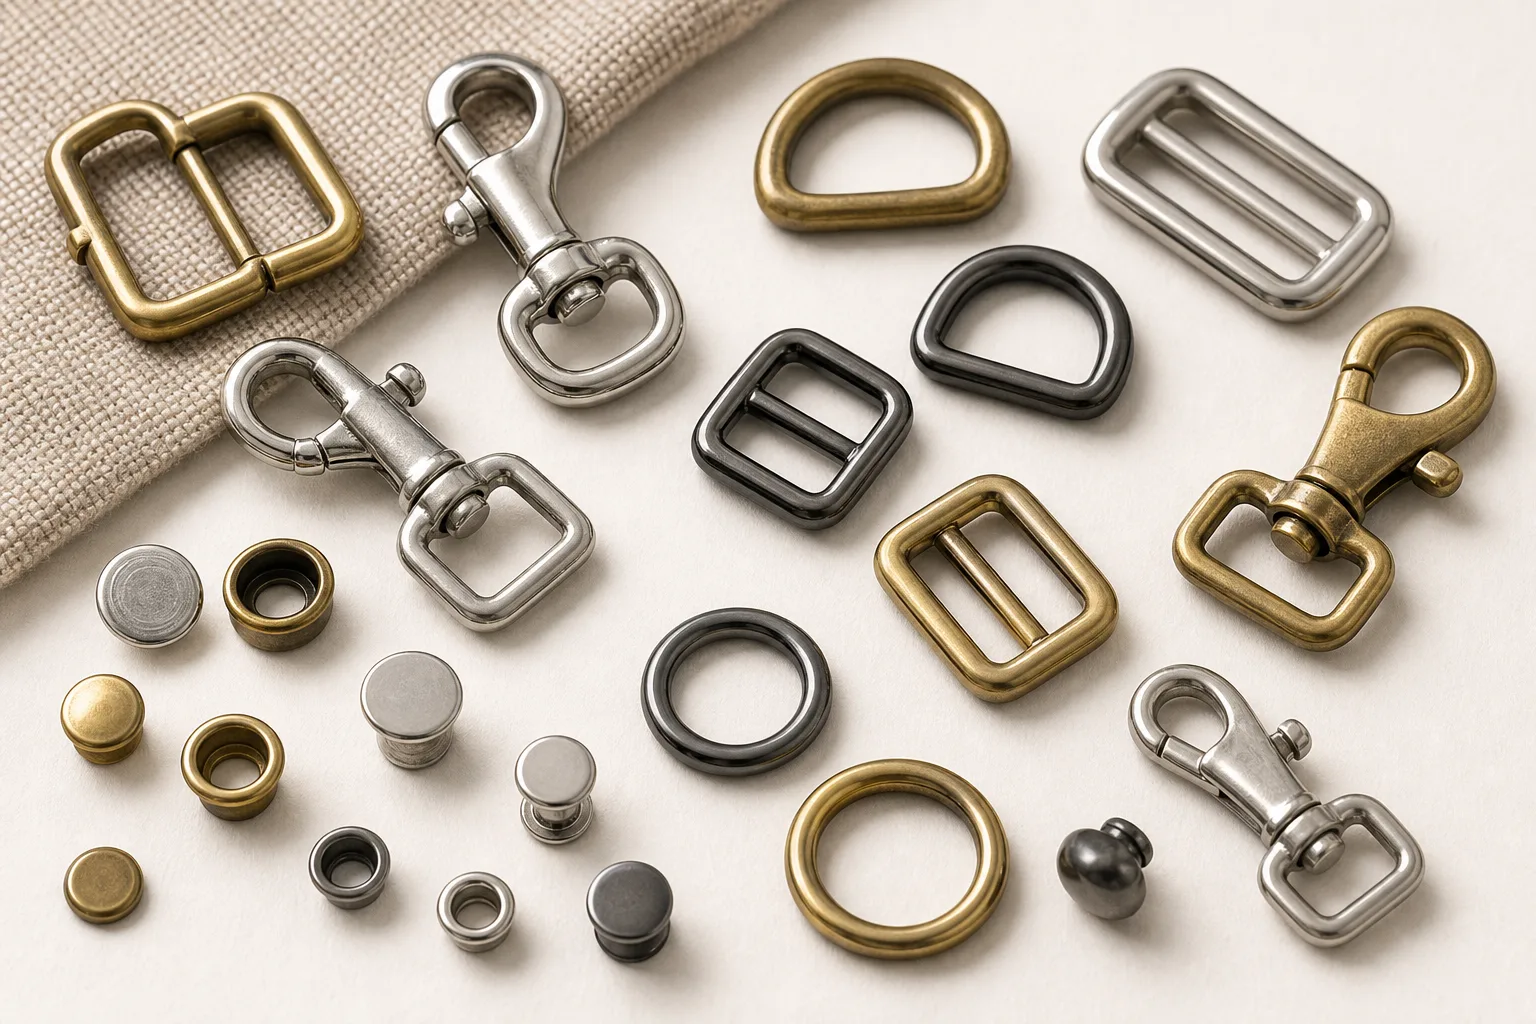
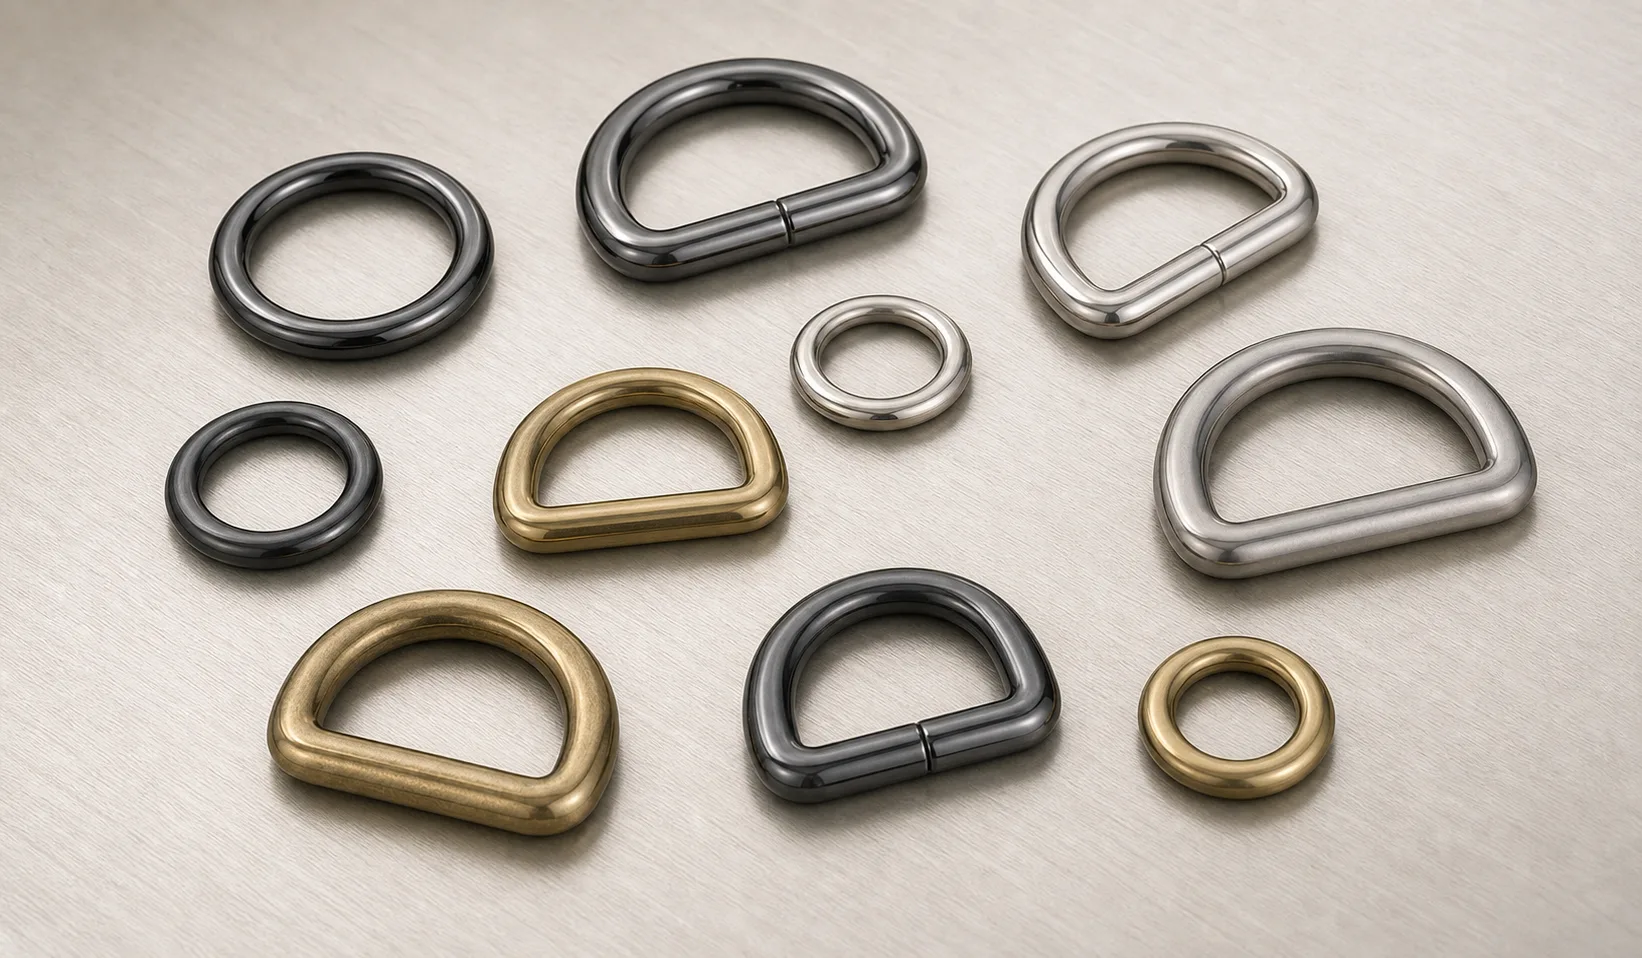
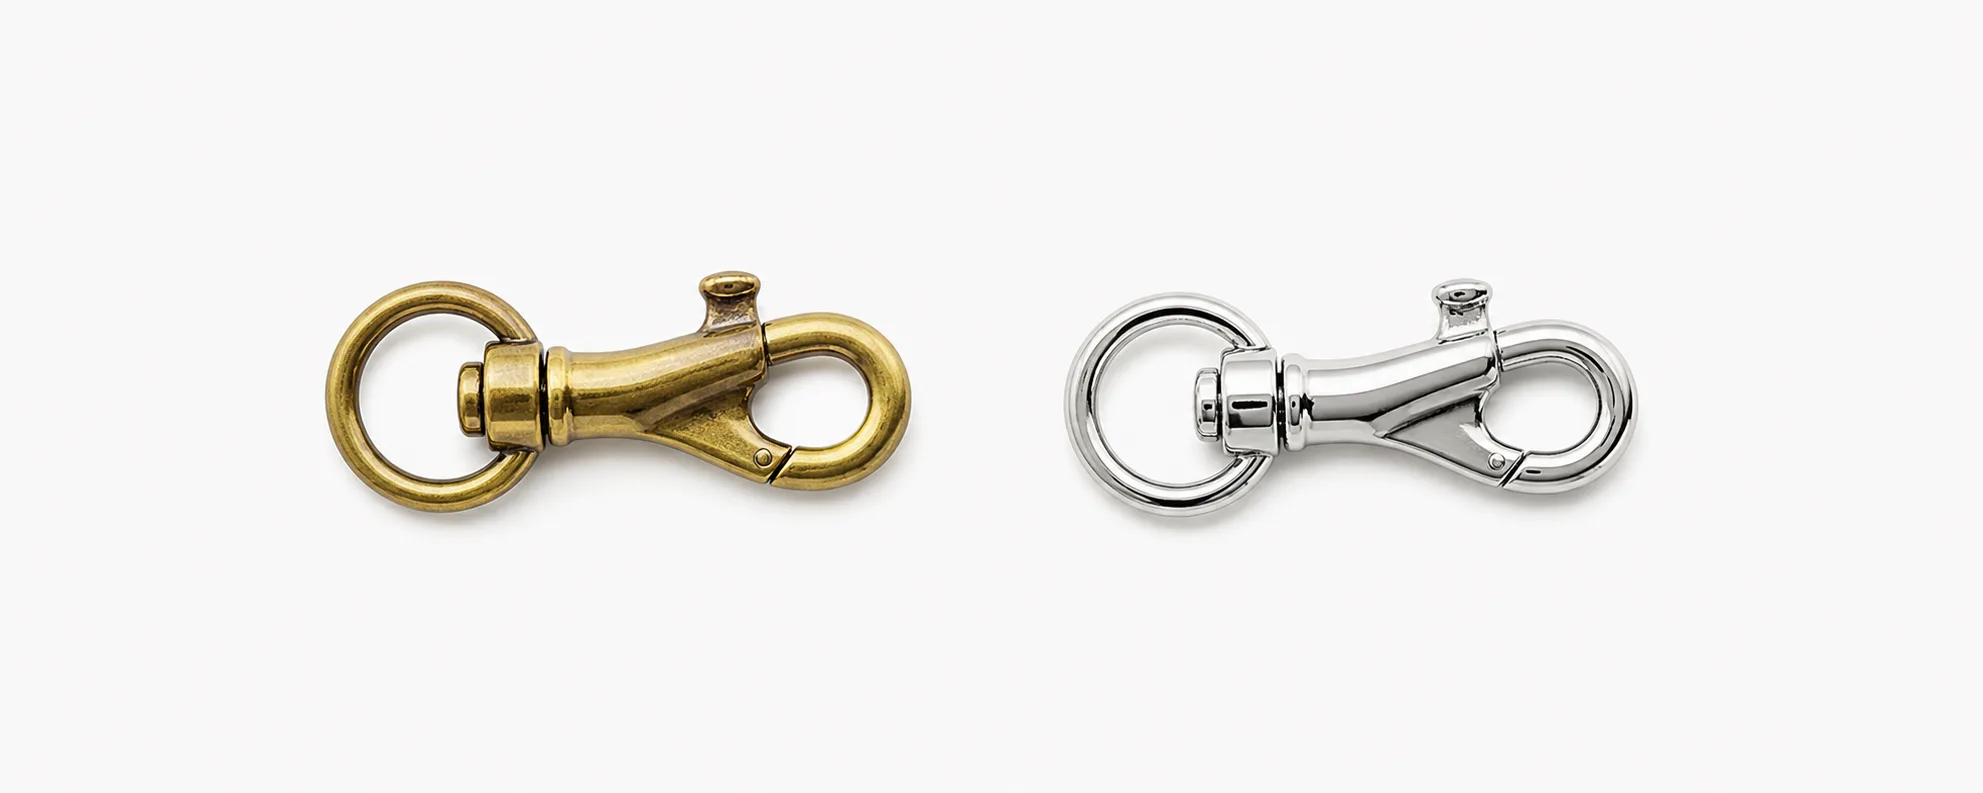
Above the ankle, threading through holes becomes slow and the lace path becomes longer. Speed hooks let the lace be dropped in and pulled taut without threading, which is why boots switch to them higher up. D-rings and swivel loops do a similar job where the lace should change direction cleanly.
Hooks are exposed and get caught on things, so how they are fixed matters. A hook set into the upper without adequate reinforcement will loosen; one with a sharp inner radius will cut the lace over time. Ask about the fixing and about the radius the lace bears on, not just the outline shape.
Lace tips, lace locks and finishing parts
Aglets or lace tips stop the lace end fraying and let it be threaded. They are crimped, moulded or heat-formed onto the lace, and the fit depends on lace diameter and compressibility. A tip that is too loose slides off; one crimped too hard cuts the lace.
Lace locks, toggles and hook-and-loop tabs appear on technical footwear where the lacing needs to be adjusted quickly or held at a set tension. These join the same system and need the same lace specification as everything else on the path.
Finish across a visible set
Footwear hardware is visible in a row, often a dozen pieces of two or three types on each shoe. That makes mismatch obvious: a set of eyelets from one batch and hooks from another, both specified as the same finish, will show any drift immediately because they sit centimetres apart.
Approve the parts as a set on one card and state that later batches match that approved set. Where the shoe goes through a finishing process after assembly, run that process on the sample before approval.
What to send with an inquiry
Lace diameter, shape and construction; the parts required and their positions up the upper; upper material and total stack thickness at each fixing; inner diameters needed for the lace to slide; finish direction for the whole set; number of parts per pair; and any post-assembly finishing process.
A sample shoe or a lasted upper with the intended positions marked is the most useful thing to send. It resolves stack thickness at each position, which varies more up a boot than most drawings show.
Footwear hardware is a lacing system, not a parts list. The lace sets the constraints, the stack at each position sets the fixing, and the finish has to be approved across the whole visible set at once. Specify in that order and the individual parts fall out of it.
 Buyer Guides
 Application Guides
 Buyer Guides
 Buyer Guides
 Buyer Guides