

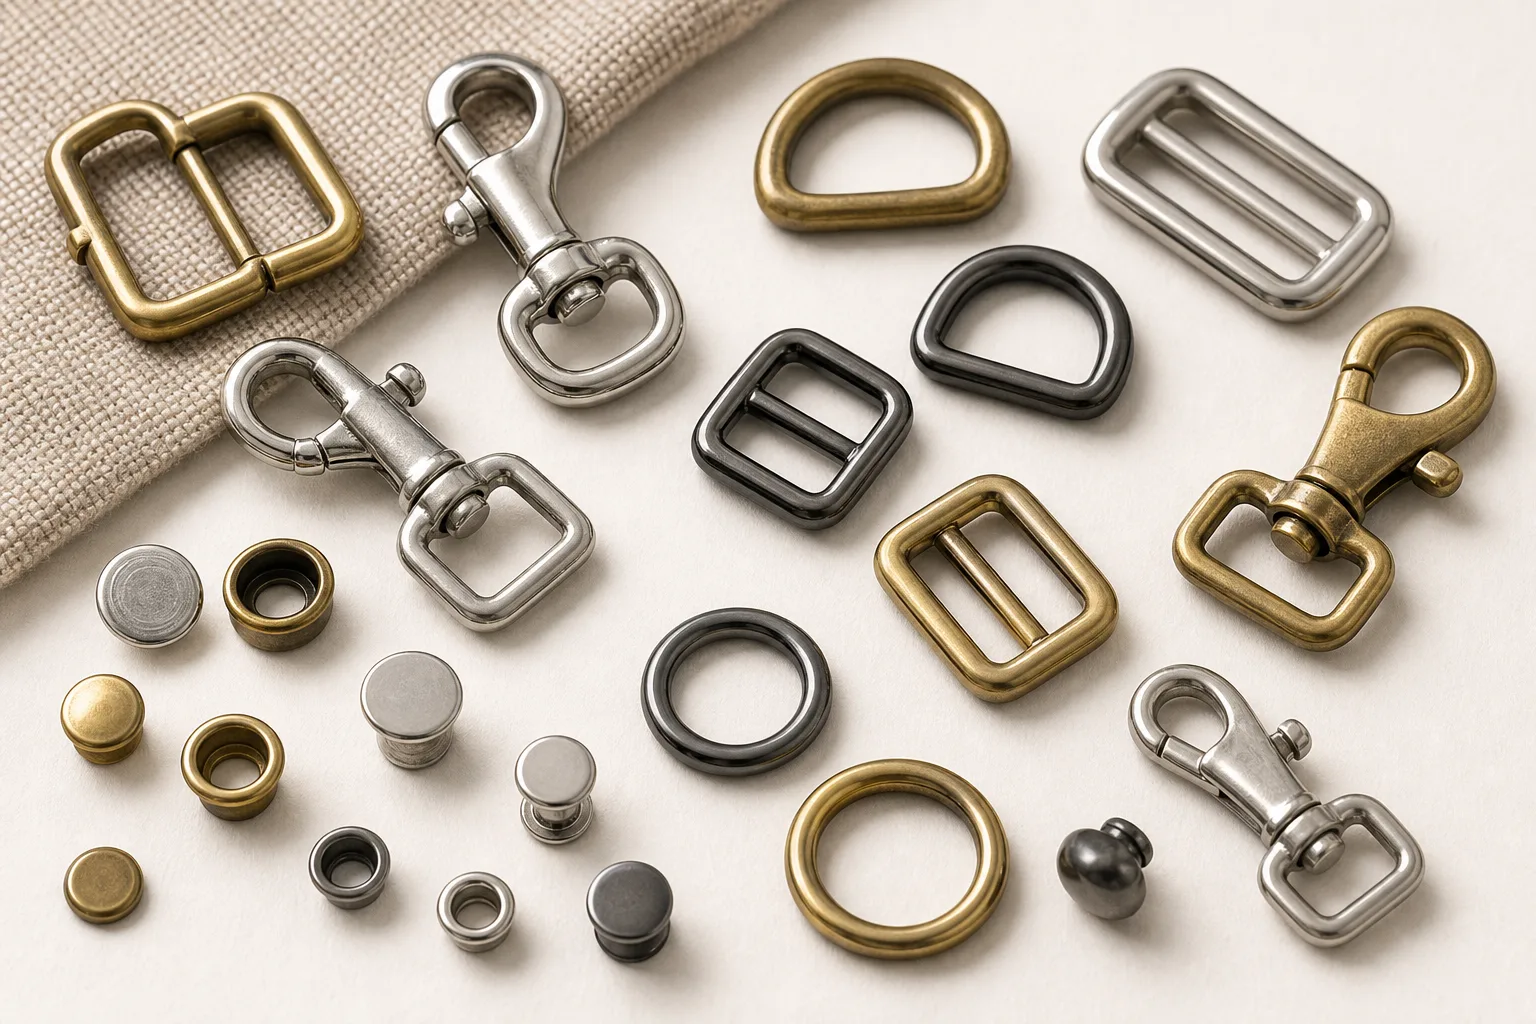
When a strap fails, the hardware gets the blame because it is the visible metal part. In practice the break is often in the stitching, at the webbing where it turns a corner, or where the strap meets the body panel. Approaching this as a system question changes both the specification and where money is best spent.
The load path, element by element
Follow the load from the user through the strap to the product: the shoulder or hand, the webbing, any adjuster, the connecting hardware, the stitched attachment, and the panel and its reinforcement. Each is an element and each has a limit.
Draw or list this explicitly for the actual design. It usually reveals an element nobody has considered — most often the panel reinforcement behind an attachment point.
Where straps actually fail
Stitching abrades and breaks; webbing wears where it turns over a hard edge; attachment points tear out of unreinforced panels; adjusters slip rather than break. Hardware fracture is real but less common than these.
That is why upgrading the buckle material on a strap that fails at the stitch line changes nothing. Identify where failures have occurred, or where they are most likely, before changing hardware.
What the hardware contributes
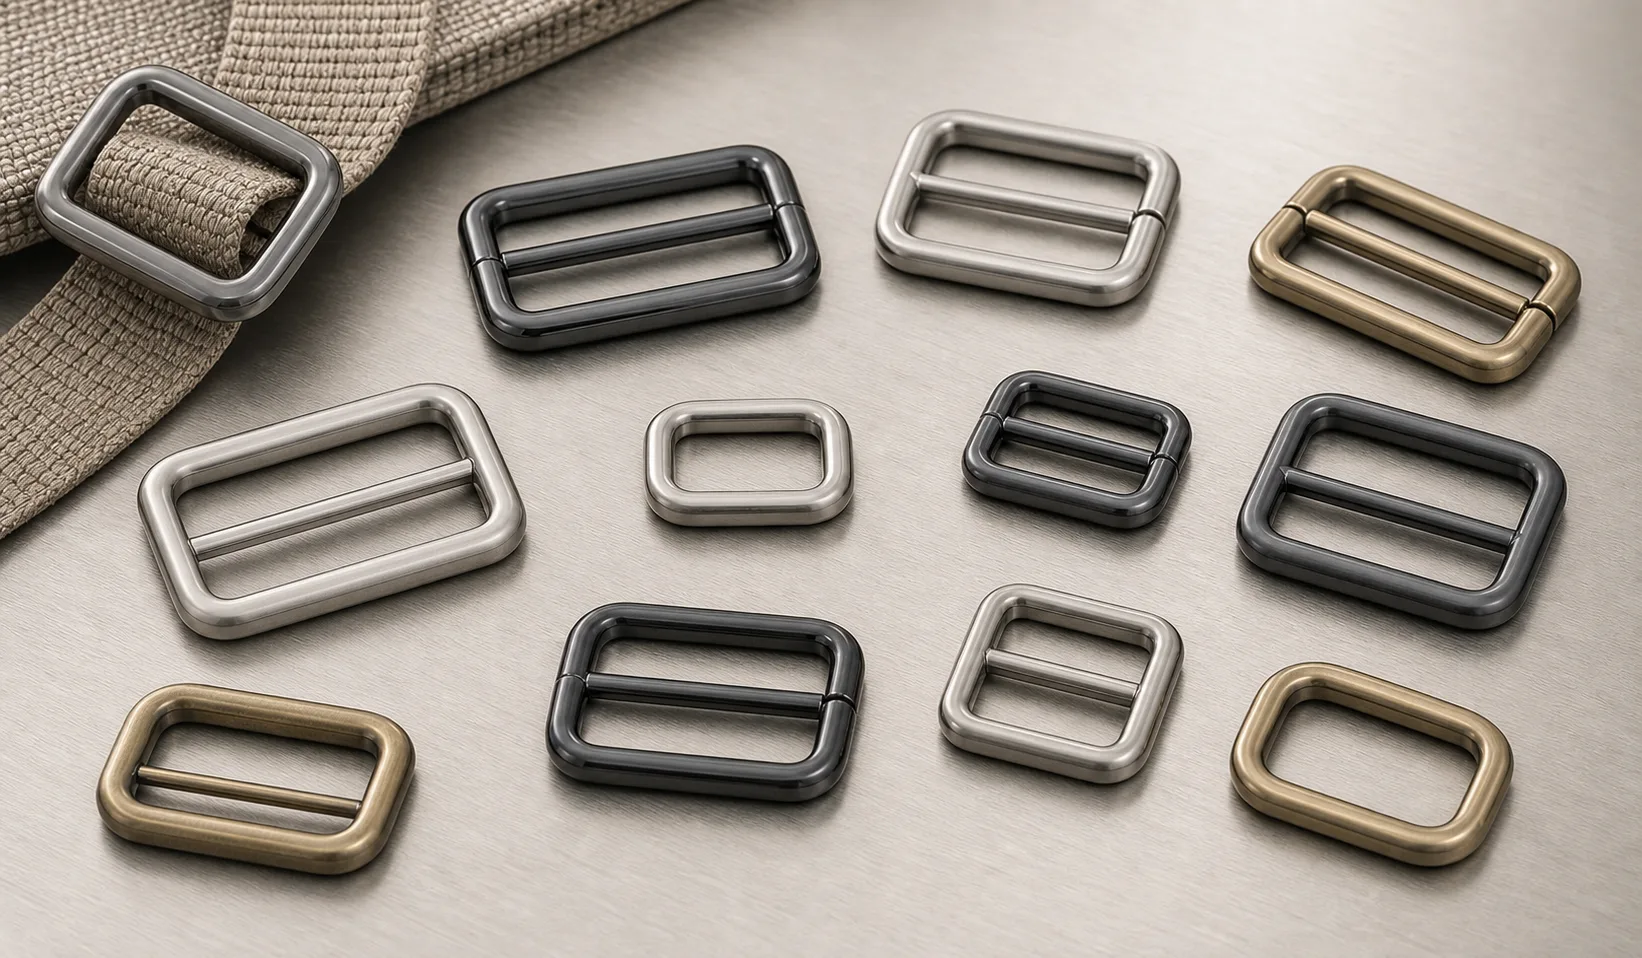
Hardware matters for section under load, for the radius the webbing bears on, and for whether an adjuster holds. A sharp inner radius cuts webbing over time regardless of how strong the part is; a generous radius spreads the bearing.
Adjusters deserve particular attention because slipping is a failure even though nothing breaks. Grip depends on the adjuster geometry and the webbing surface together, so both belong in the specification.
Attachment and reinforcement
A strap anchor concentrates load into a small area of panel. Without reinforcement the panel tears before anything else fails. Reinforcement patches, bar tacks and layered construction are the normal answer, and they are part of the hardware conversation because the hardware determines where the load arrives.
Send the panel construction at the attachment point, not just the hardware requirement. A supplier can then flag a fixing that the panel will not support.
Testing the assembly, not the part
A component tested alone tells you little about the strap. What matters is the made-up assembly with the real webbing, real stitching and real panel construction.
This guide states no load values for any material or part, because a meaningful number belongs to an assembly and a test method, not to a component in isolation. If load matters, agree an assembly test and its acceptance criterion in writing.
What to specify
The load path listed element by element, webbing specification, adjuster type and expected adjustment frequency, bearing radii on hardware, panel construction and reinforcement at each attachment, and the assembly test to be run.
If a previous version failed, send the failed assembly. It shows the weakest element directly, which is far more useful than a strength requirement stated in isolation.
Strap hardware is one element in a load path that also includes webbing, stitching and panel reinforcement, and the system fails at its weakest point. Specify the whole path, test the made-up assembly, and expect the answer often to be reinforcement rather than stronger hardware.
 Buyer Guides
 Material Guides
 Application Guides
 Buyer Guides
 Buyer Guides
 Comparison Guides
 Material Guides