
Buyers often assume a drawing is the supplier’s job and approve whatever arrives. It is the supplier’s job to draft it, but approving it is a buyer decision — the drawing becomes the definition of the part, and mistakes in it become mistakes in tooling.
What a usable drawing shows
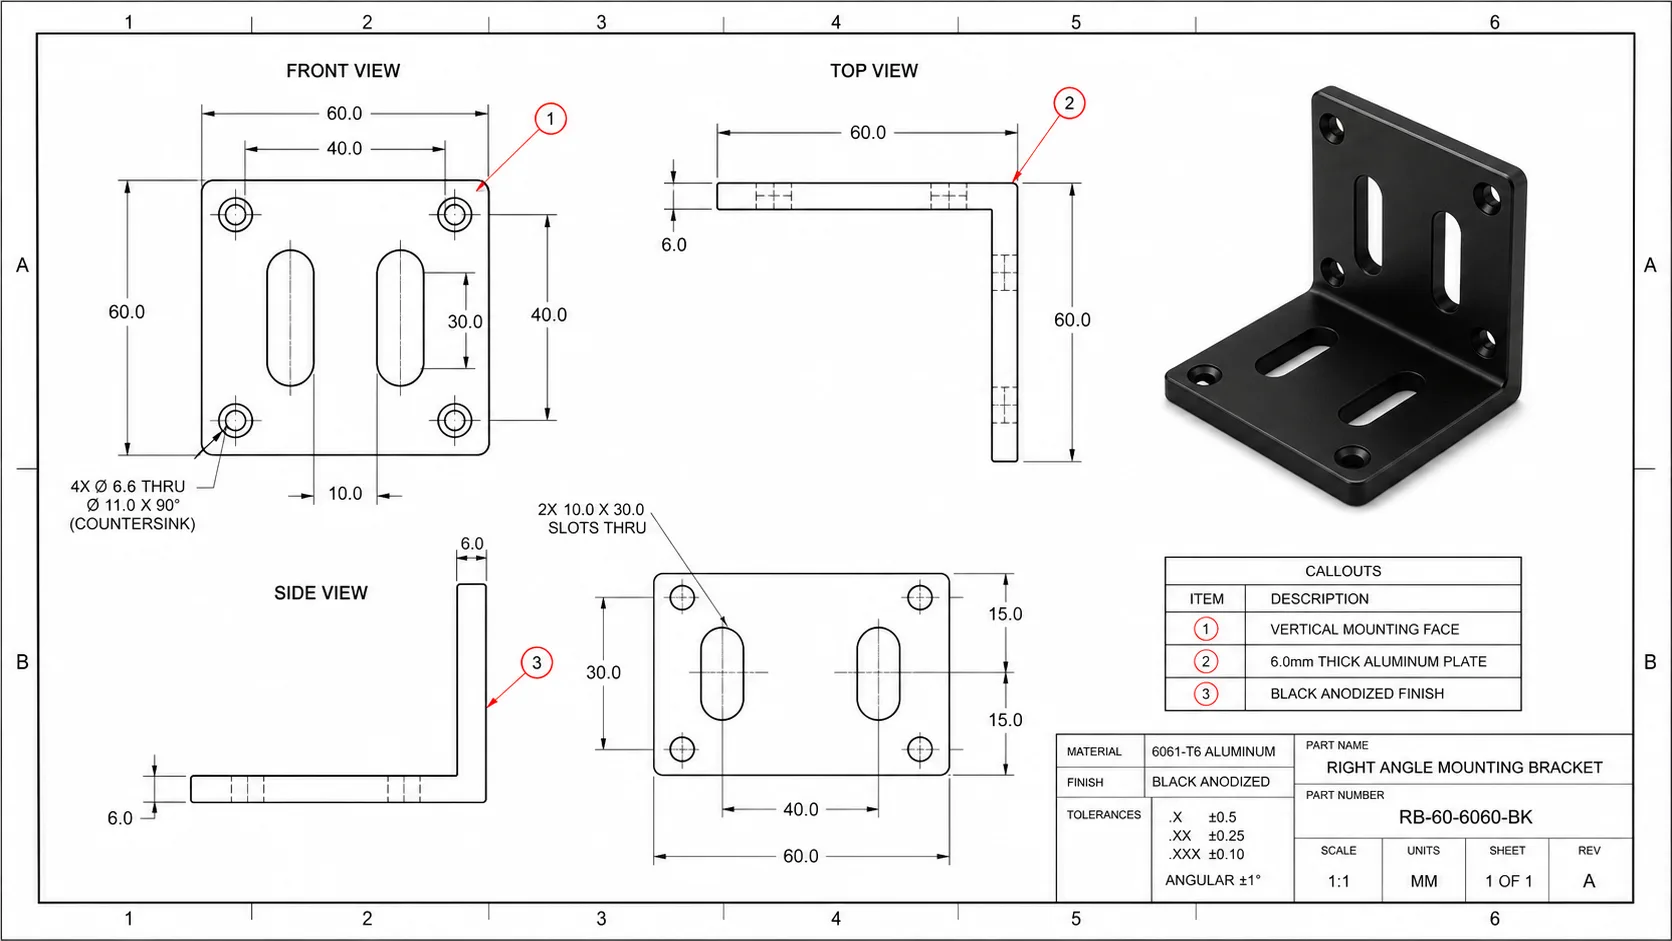
Enough views to define the geometry without ambiguity, dimensions for the features that matter, tolerances on those dimensions, material and finish, and a title block with part number, version, date and scale.
A drawing missing the title block is the most common problem. Without version and date, two drawings of the same part cannot be told apart, and that is exactly the situation in which a drawing is needed.
Reading one back: the four questions
Does every dimension you care about appear, with a tolerance? Does the material and finish line match what you agreed? Do the views describe the part you actually want, including the back face? And does anything on the drawing contradict the specification sheet?
The last question catches the majority of real errors. A drawing and a specification produced at different times drift apart, and production follows whichever the factory floor is holding.
Where hardware drawings usually go wrong
Recurring problems are a missing thickness at a fitting position, a slot dimension given at the wrong place, a radius that is drawn but not dimensioned, and a finish note that names a colour without a base material.
Check the features that interface with something else first — slot widths, inner diameters, post and prong lengths. Those are where an error stops the part fitting rather than merely making it look different.
Formats and what each is good for
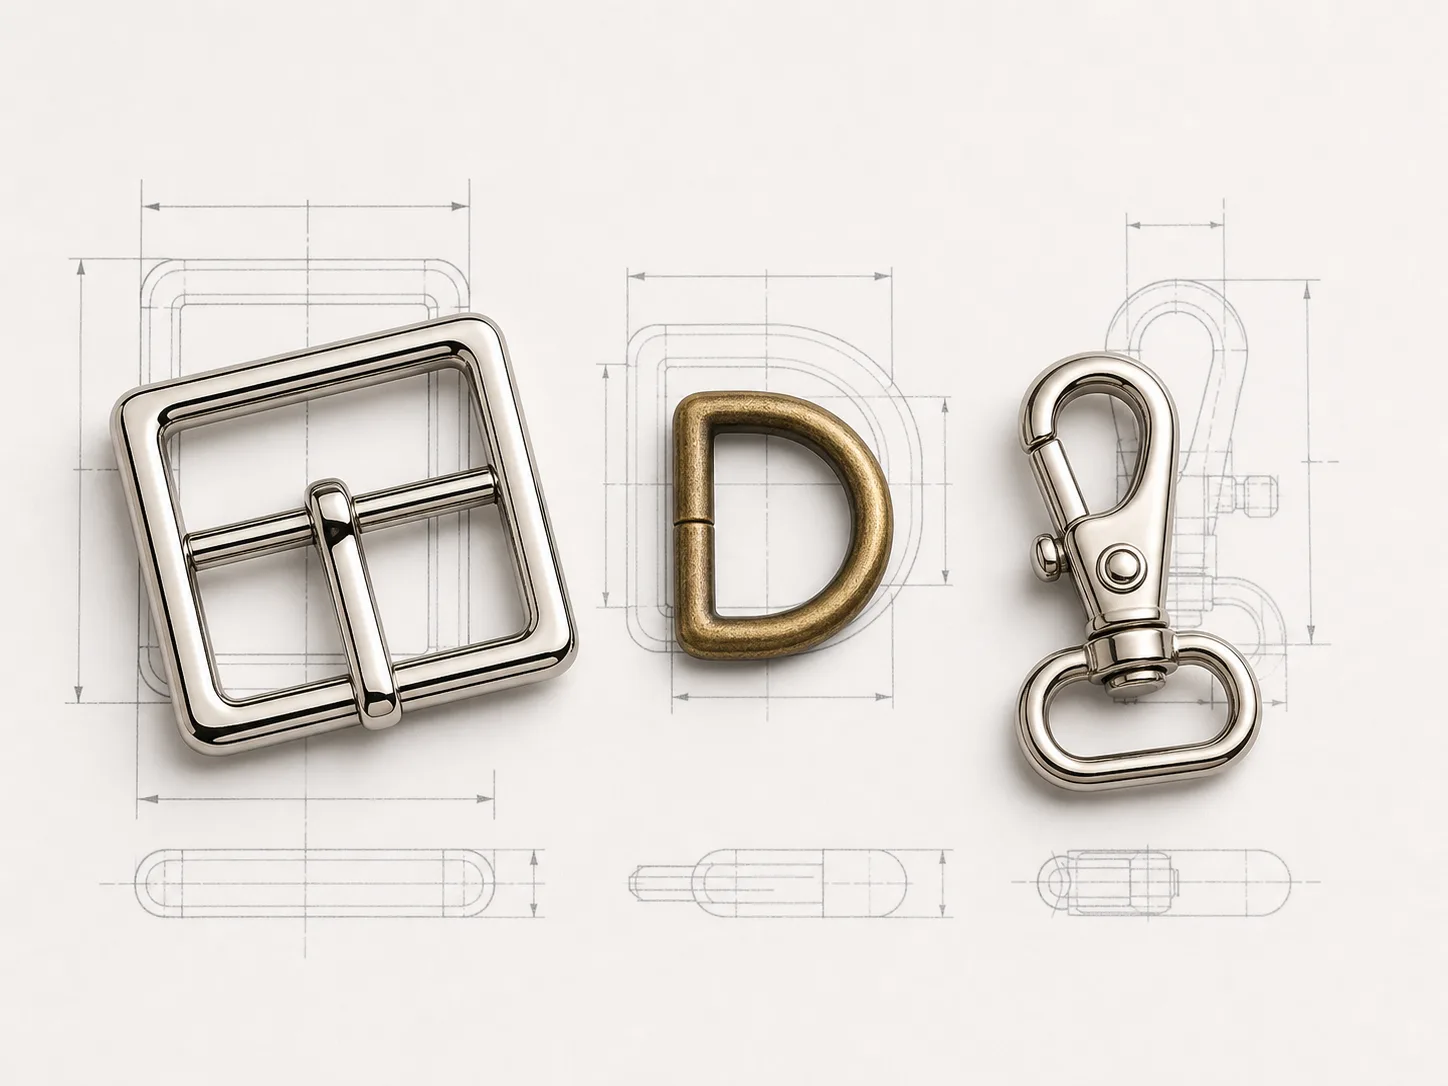
A 2D drawing defines dimensions and tolerances and is what a dispute is settled against. A 3D model communicates shape efficiently and is what tooling is built from. A photograph or a physical sample communicates appearance better than either.
Exchange all three where they exist, but be explicit about which one governs. When a 3D model and a 2D drawing disagree, someone has to have decided in advance which one wins.
Starting without a drawing
Plenty of hardware projects start from a photograph, a sketch on paper, or a sample posted to the supplier. That is a perfectly normal starting point and often faster than an inaccurate drawing.
What matters is that a drawing exists and is approved before tooling. The route to it can be entirely supplier-led; the approval cannot.
What to send with the drawing request
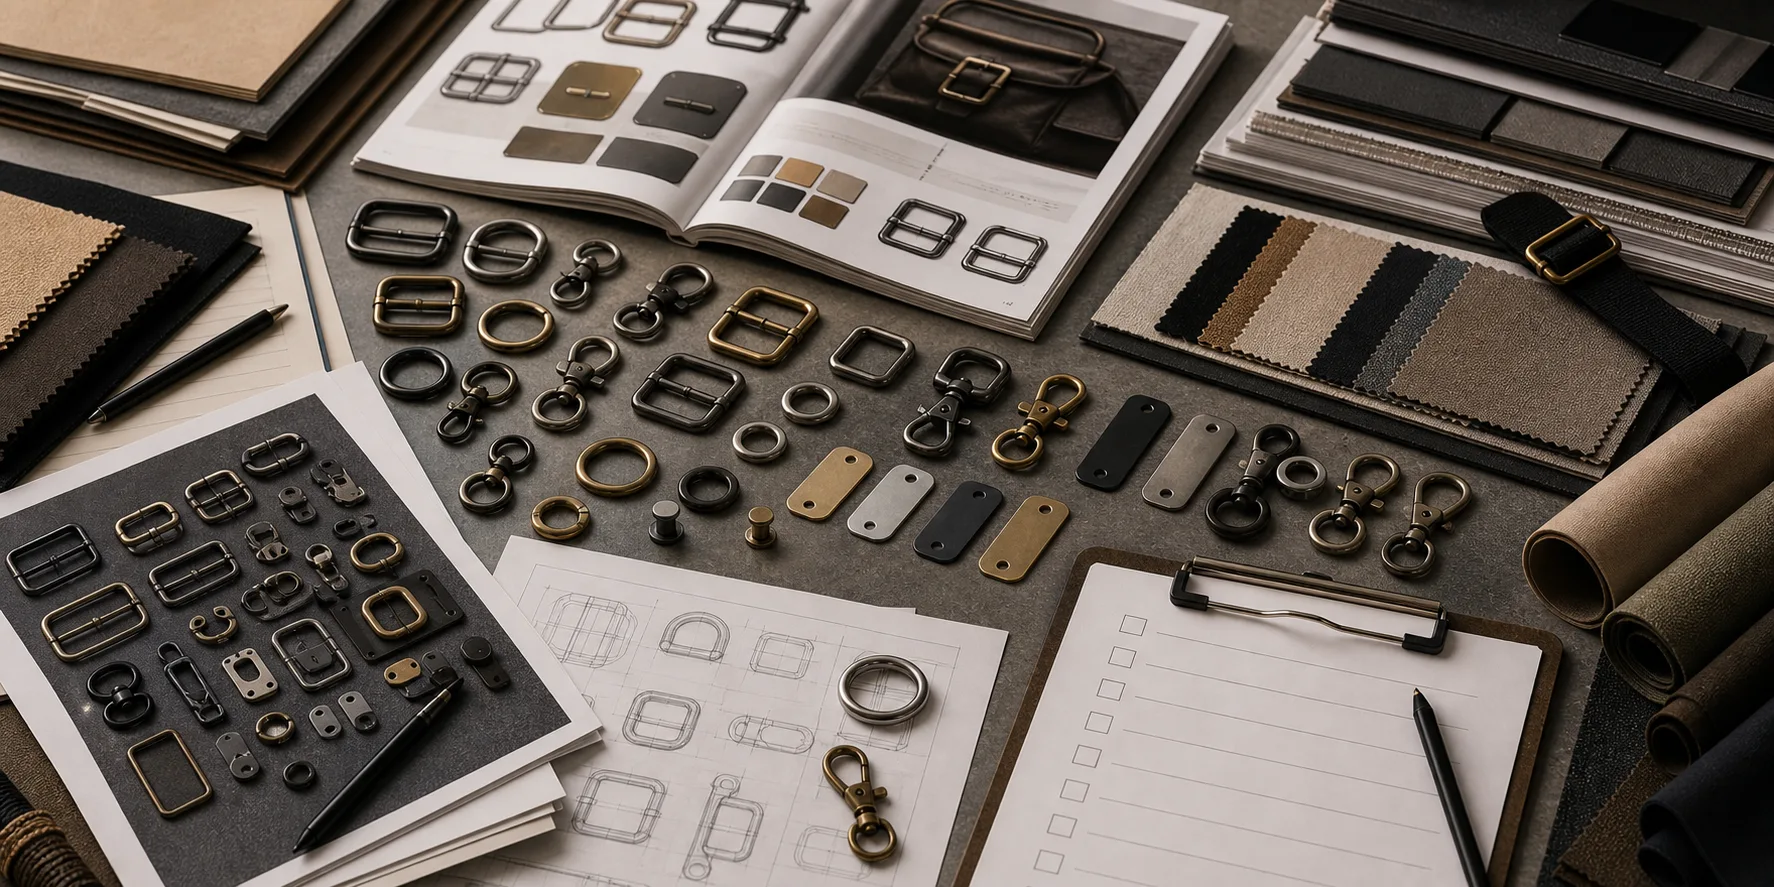
A sketch or photograph, the interfacing dimensions you know, the material and finish direction, the intended application, any sample you can post, and which dimensions are fixed versus still open.
Say explicitly if you cannot read technical drawings. A supplier can then annotate the important dimensions in plain language, which is a much better outcome than an approval given without understanding.
The drawing becomes the definition of the part, so reading it back is a buyer responsibility even when drafting it is not. Check the interfacing dimensions, confirm the drawing and the specification agree, and settle which document governs before tooling starts.
 RFQ & Sample Guides
 RFQ & Sample Guides
 RFQ & Sample Guides
 RFQ & Sample Guides
 RFQ & Sample Guides
 RFQ & Sample Guides
 RFQ & Sample Guides
 Custom Hardware Guides